
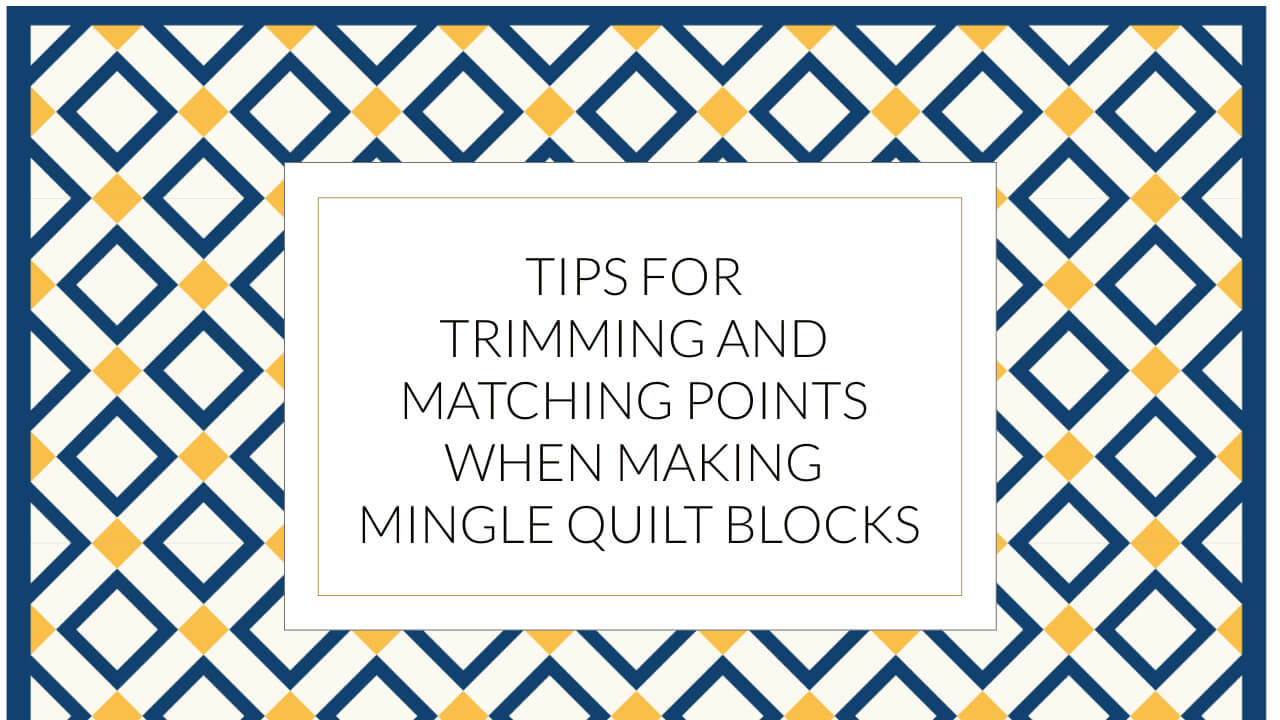
Tips for Trimming and Matching Points on Strip Quilt Blocks {like in the Let’s Mingle Pattern}
Estimated reading time: 10 minutes
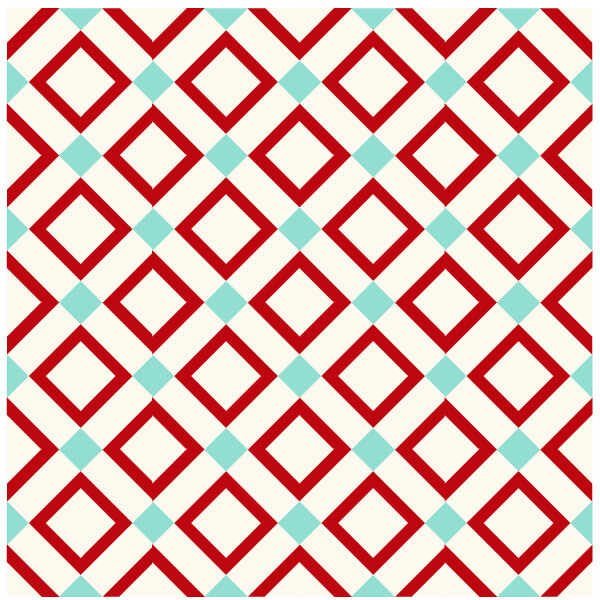
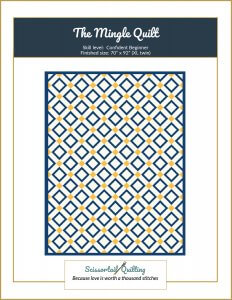
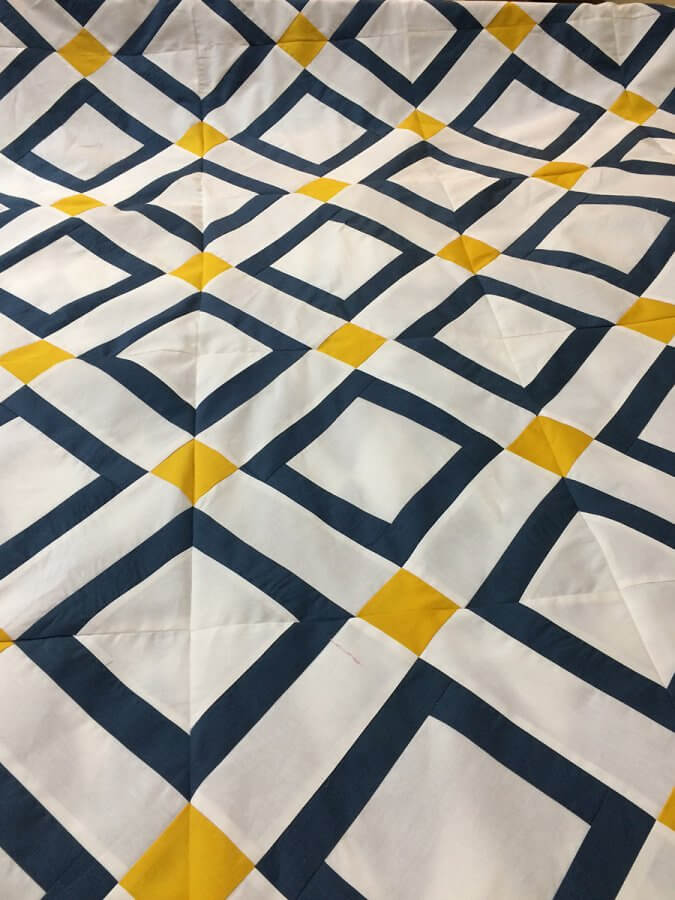
The Let’s Mingle Quilt Pattern is one of the latest quilt designs I have released for sale in my pattern shop. The design is a repeat of one clever little quilt block that I call the Mingle Quilt Block. When grouped together, the block creates a great secondary pattern that has a clean and modern vibe to it. In this post, I share a bit about my design inspiration and some tips for trimming and matching points when setting the blocks. While these tips are specific to the Mingle Quilt Block, many of the principles work on other strips quilt blocks, too, or when assembling blocks such as the Checkerboard Quilt Block.
Design Inspiration for the Mingle Quilt Pattern
It had been in the back of my mind for awhile that I needed to make another quilt for our oldest son. The last quilt I made for him was about 6 years ago, and since that time he has graduated from college, moved back home, and we have purchased a new different-sized mattress for him. Although we have been “making do” with the last quilt I made him, it’s a sad state of affairs when the child of a quilter does not have a quilt that fits their bed. (Kind of like the plumber’s family always needs a plumber, right?)
Something Classic, yet still modern
He’s a traditional sort of guy, but I’ve noticed that he is drawn to things that lean a bit more to the modern spectrum. In my work as a graphic designer, I try to spend a few minutes each day looking online for fresh inspiration. I have a few websites that I haunt looking for insights, and one day I saw this surface design at Paperless Post. (For copyright reasons, you will need to go to their site to look at it.) I instantly knew that this would translate into a great quilt for him or anyone who wants a clean, modern look. I isolated the pattern repeat and drew up the block in Illustrator. At this point, I thought that certainly, this is a block that has been made before. But after digging through every quilt block design book I own (and I have quite a few!) I couldn’t find any that were exactly like it. A few, however, were similar.
Why I call it the Mingle Quilt Block
Since I couldn’t find an existing block like this one, I decided it must be new. (Now if I’ve claimed someone else’s block as my own, then someone please let me know!) The “Fancy Stripe Quilt Block” was the most similar design I could find. As I worked at drafting the block I realized that I needed to call it something other than “that strippy block” and for some reason, the word “Mingle” kept popping in my brain. Later I realized that my subconscious was remembering that the design inspiration had been from a party invitation. And so, “Mingle Quilt Block” seemed an appropriate name.
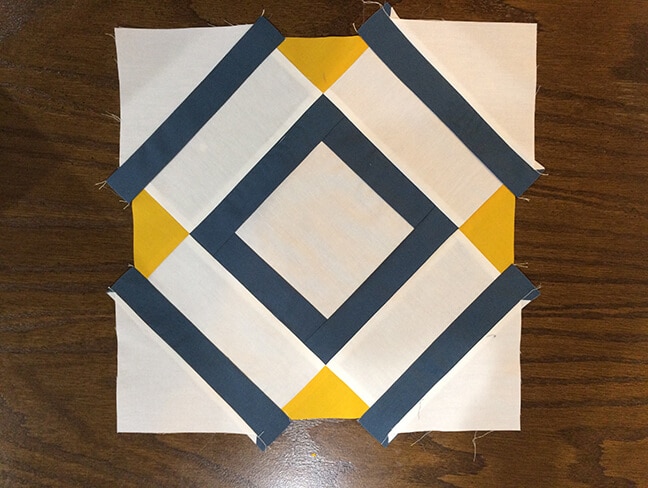
After I made the first test block, I realized that all the edges were on the bias, so I went back and figured out another way to make it so that the bias edges were limited to just the small triangles and red strips on the sides.

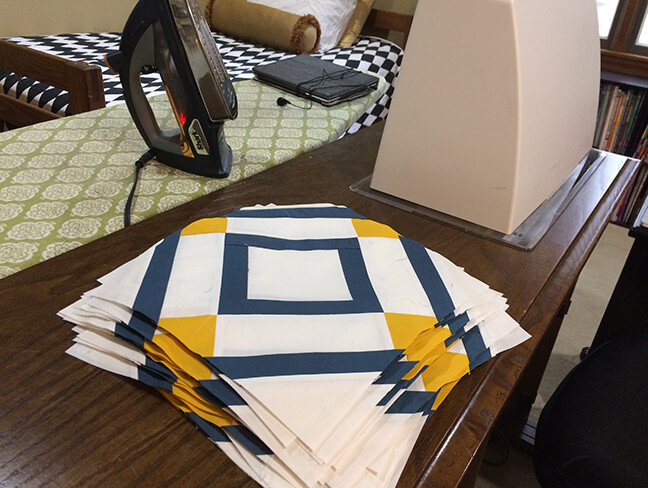
Tips for Trimming and Squaring up the Mingle Quilt Block
The pattern instructions walk you through everything you need to know to make the block, but I thought I would give a few extra pointers on squaring up these blocks, as that can get a bit tricky. I should note that it’s great if your block turns out the proper size, but you may find that all of your blocks measure a bit larger or smaller than the “perfect” block. There are lots of reasons this can happen. With other patterns, you might be concerned about that. But with this block, it’s more important that they all be square and be trimmed properly. Ideally, all your blocks should measure the same size, but if a few are an eighth of an inch smaller or larger than called for, there is no need to stress over it.
For starters, here’s a photo of the untrimmed block.
For best results, it’s a good idea to heavily starch your blocks before you trim them. This will help the block stay stiff and not stretch so much while trimming.
When you trim the block, there are basically two things you want to watch for:
1.) Make sure the block is square
2.) Make sure you cut the 1/4″ seams properly so that the side triangles and strips will align perfectly.
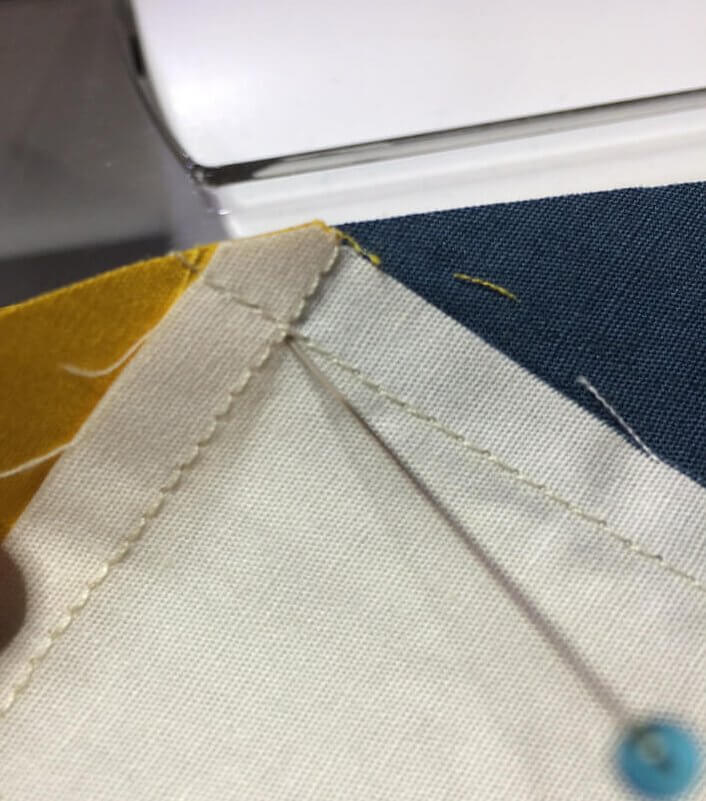
To trim the block, take a large square-up ruler and align it so that the quarter-inch mark passes through where all three seams from the navy, white and yellow pieces intersect. Here is what that looks like up close:
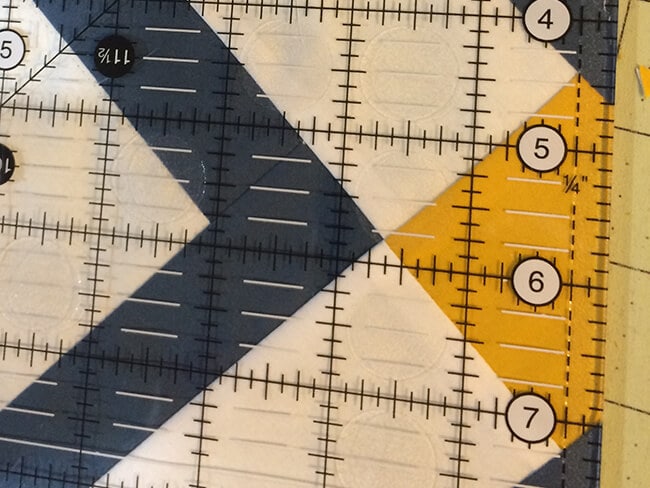
And here is a photo of two sides properly trimmed:
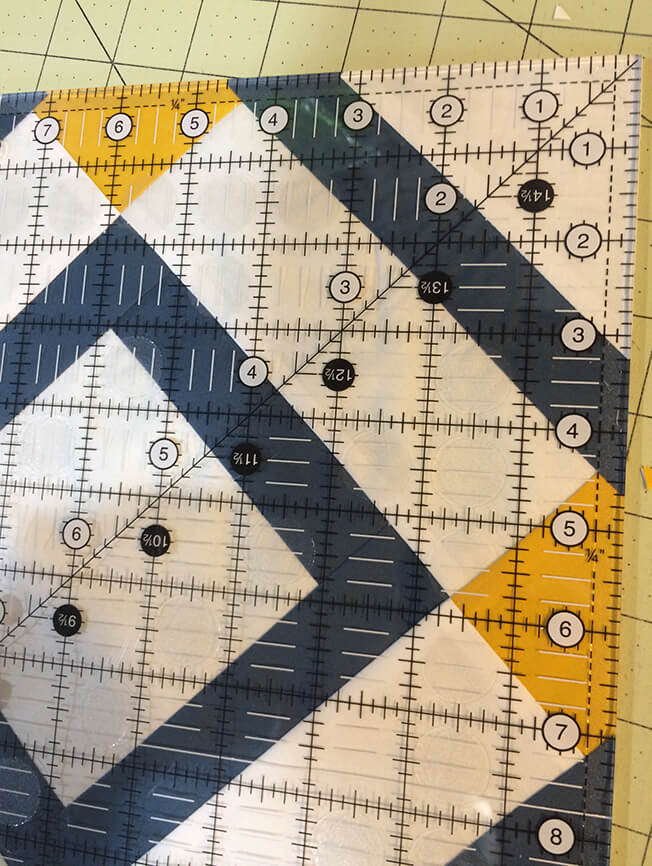
Notice how the diagonal line of my ruler is passing exactly through the middle of the center white square. After you trim those two sides, turn your block around and repeat for the other two sides. Before you cut the other two sides, check to make sure the block is square. Sometimes the corners pull in on this block, so be sure they are laying perfectly flat.
Now that all your blocks are trimmed and square, you’re ready to sew them into rows.
Tips for matching your points when you sew the blocks together into rows
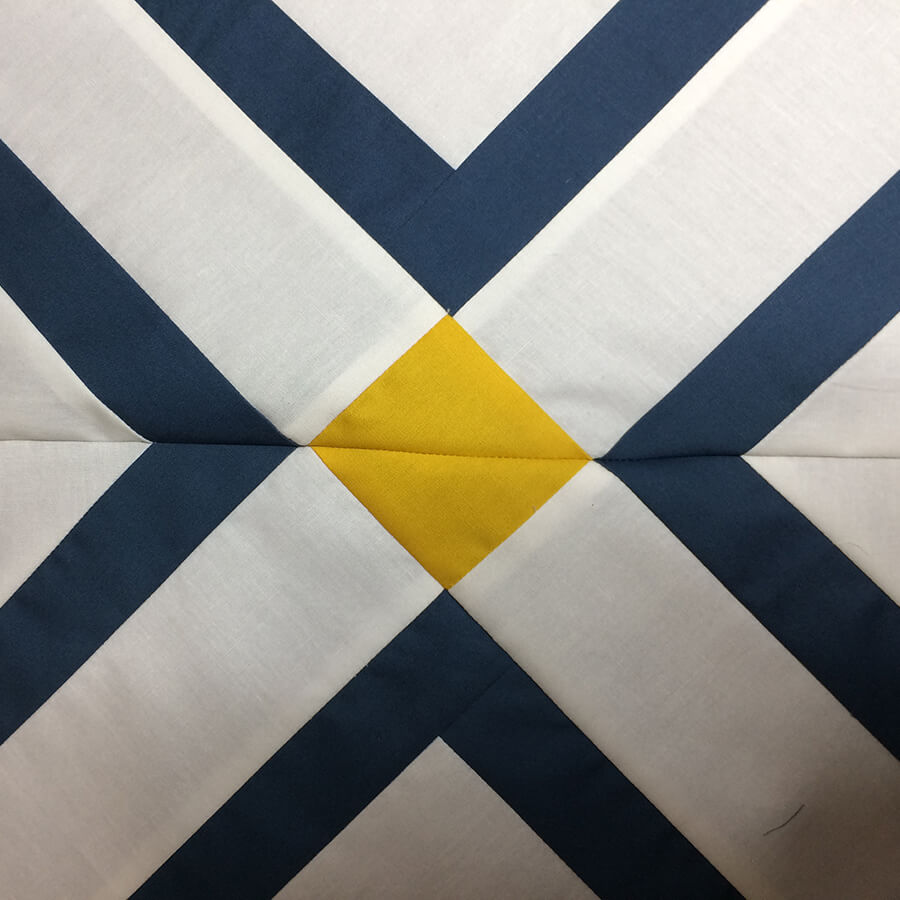
The closer your points match when you assemble your blocks, the more this quilt is gonna rock! And you can do this!
As you sew the blocks together, here are a few tips to help you make those points behave:
1.) Use lots of pins. Use at least one for every matching point. I don’t tend to use pins when making blocks, but when I put them together in rows, I use a LOT. For this project, I used my favorite glass head pins. You can find out more about them on my product recommendations page.
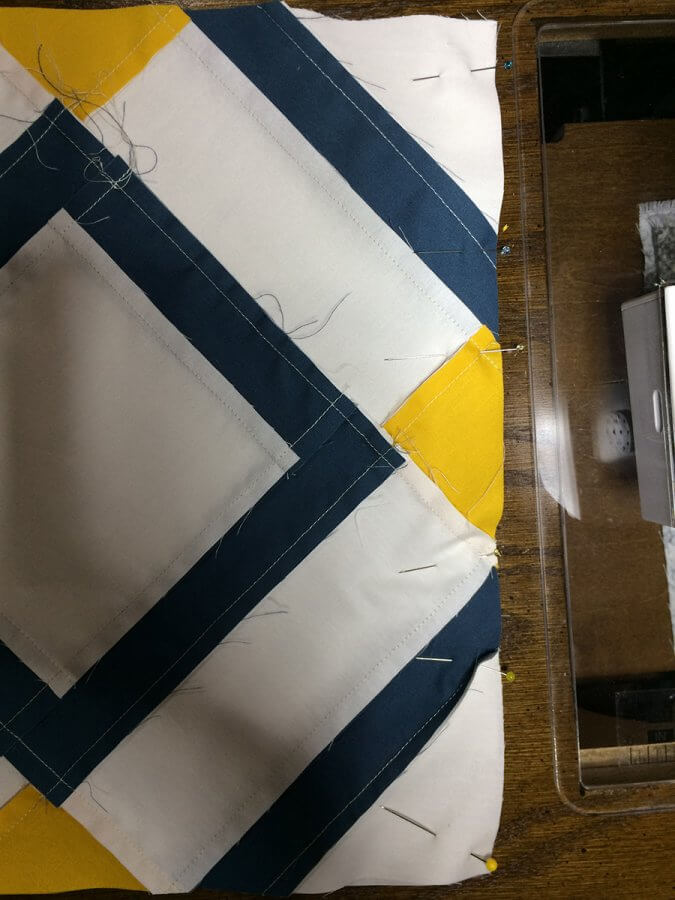
2.) With each pair of blocks that I sew together, I start by pinning at the middle of the block. Hold the two blocks right sides together and insert a pin precisely into one of the 3 seam intersections as shown below.
3.) Next, make sure the pin goes through precisely into the 3 seam intersection on the second block. Secure the pin.
4.) I sometimes will slip another pin in the same spot going the other direction for a little more security, but this time I didn’t feel like it was necessary. If you aren’t getting good results with one pin, you might try using an additional pin in that spot. Repeat steps 2-3 for the other 3-seam intersection on the blocks.
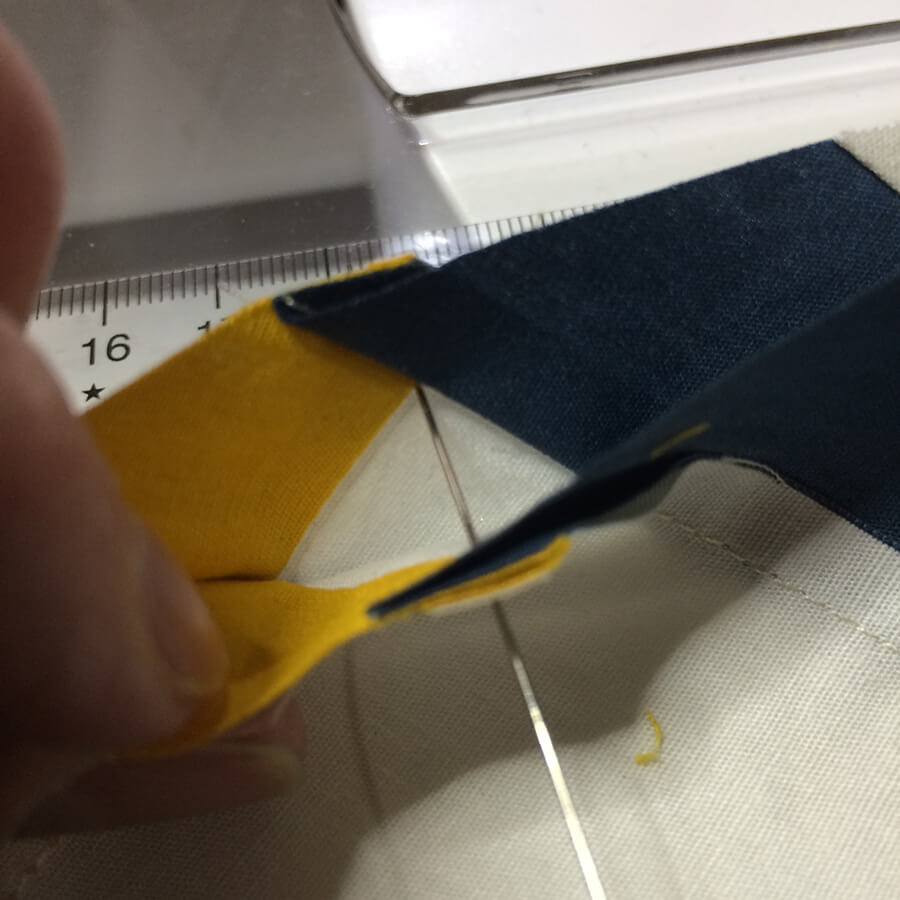
5.) Use a pin to make sure the blue stripe points will match. An easy way to do this is to make sure the seams are turned so that they nest. This photo is a bit hard to see, so I’m hoping you can tell that the seams are nesting in opposite directions. Insert the pin so that it is securing both seams in place so that they will not slip. I usually put this pin in at an angle.
Now that you have your blocks pinned, you can take them to the machine and sew them together with a quarter inch seam. Keep in mind that you have a little bit of bias on the edges of your blue strips and yellow triangles. It’s important to not try to stretch these when you handle the block, but when you are sewing them, sometimes that little bit of bias can work in your favor and help you get those point pulled in perfectly. (I learned that tip straight from Jenny Doan when I visited her shop a few years back.)
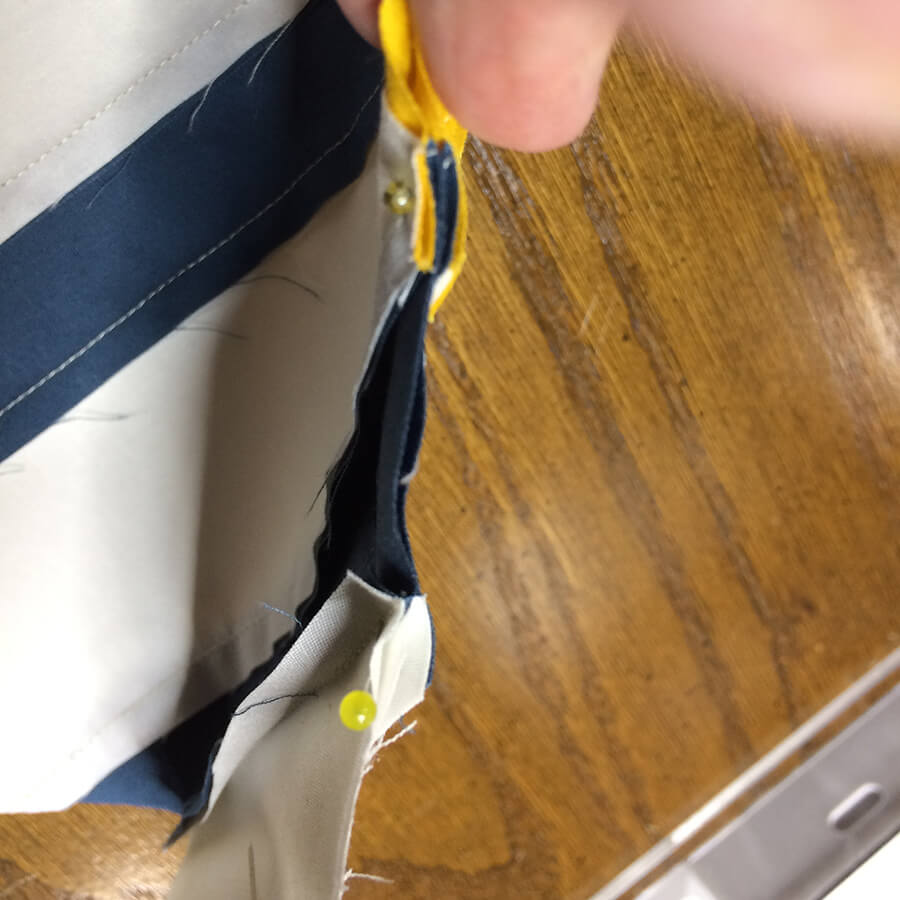
As you sew, remember to not sew over your pin, as this can damage your machine. I try to keep the pin in place right up until the last second before the needle gets to the place where the pin is holding the points together, removing it just before the needle needs to pass over that spot.

I should have pressed this open, but you can already tell that the points where these two blocks meet are going to match beautifully.
I hope you enjoy making the Let’s Mingle Quilt and the Mingle Quilt Block. I found it to be a really fun project and I was super pleased with the final product.
Now, I just need to get it to the quilter! I’ll post more photos once it comes back home.

