A review of fabric marking tools and a few tips & tricks for successful fabric marking
Estimated reading time: 16 minutes
Let’s chat a bit about fabric marking tools. I know, it may sound a bit boring upfront, but honestly, it’s an important topic because It only takes one quilt stained with ugly marks to make you sour and bitter. (As they say, once bitten, twice shy.) In this post, I’m going to share my favorite fabric marking devices and give you some insider tips to help you make good decisions next time you need to mark on some fabric. It’s a deep-dive into some of the most common options you will find on the market, so it’s going to be a long post. If you prefer to skim on down cause you’re more of a “bottom feeder” I wouldn’t blame you. At the end of the post, you will find my favorite option along with some helpful tips. But if you want the good, bad and all the nitty-gritty details concerning the most popular choices on the market, then strap on your oxygen tank and read on down!
This post may contain affiliate links, which means that if you click the links and choose to make a purchase, I will earn a commission. This commission comes at no additional cost to you but does help me earn enough to support the cost of this website. Please know that I only link to items which I personally use and feel that I can confidently endorse. Your support by clicking on these links is greatly appreciated.
A recent project called for lots of marking, and while I worked on it I recalled some of the bad experiences I’ve had in the past with fabric marking devices. In particular, those that claimed to “easily ” disappear. And did NOT.
I’ve learned over the years which fabric marking products work best for me and thought I’d share my experiences and preferences with everyone here.
I learned these lessons the hard way
In a perfect world, you could purchase any of the available options and get excellent results. But it’s not that easy.
A quick survey of the fabric marking notions at any sewing or quilt shop will provide a plethora of choices.
Don’t you find the aisle of products in this picture just a bit overwhelming?
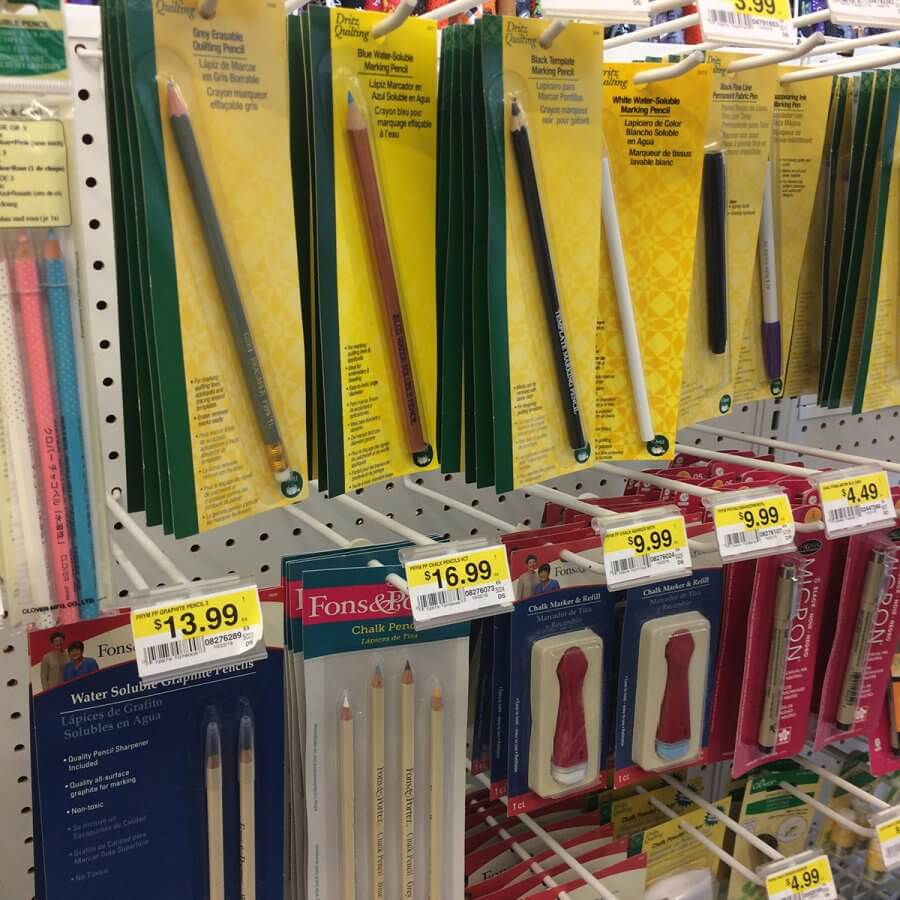
Apparently, I did because I ultimately bought them all… (I seriously think that was the store’s marketing strategy!)
One thing that all these fabric marking products have in common is this little phrase on the back of the package:
“Test the pen on fabric before use.”
One would think that they would have tested the product before putting it on the market, right? But in addition to the manufacturer needing to cover all the legal bases, the truth is that NOT all fabrics are created equal.
Not only do you have light, medium and dark fabrics, each requiring a different color mark to show up. You also have to contend with various manufacturing processes used when creating the fabrics (i.e. dyes and chemical washes) that make it impossible for them to guarantee that their marking product will either adhere or (most importantly) release from the fabric when you use it.
Here is a photo of some of the fabric marking tools in my “arsenal.” Not pictured are some that I’ve thrown away, but I will comment on some of those and tell you why later.
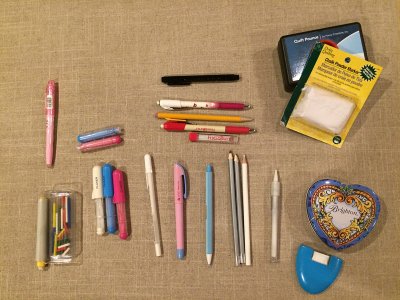
Read on to find out what it contains.
Fabric Marking Test Phase
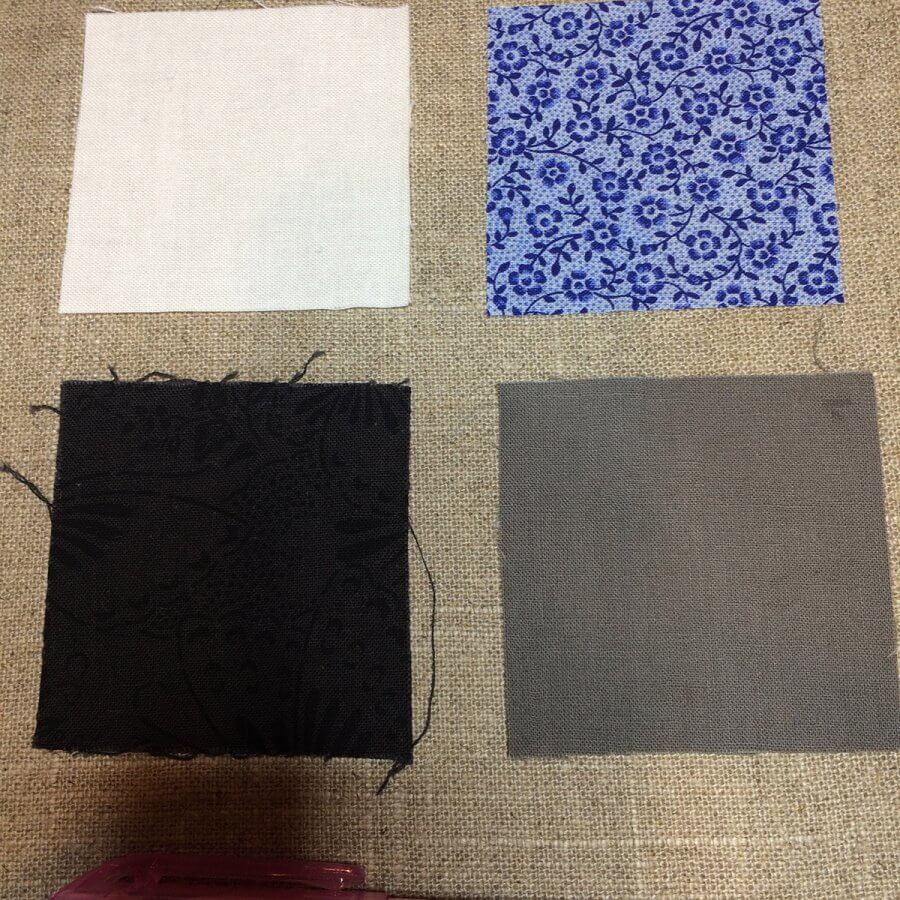
I thought it might be helpful if I got a bit scientific and showed you how these performed on some of my fabrics. I took three unwashed scraps of fabric (a white, a medium blue — which I think is the HARDEST fabric to get to show a mark, and a dark black fabric) along with a prewashed medium-value gray and began testing each fabric marking device on the swatches.
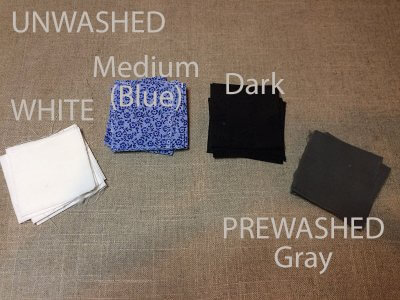
Then I washed the pieces to see how well the marks removed from the fabric. I then repeated the process, making marks on all four swatches, but this time I ironed over them. Finally, I washed those swatches to see how easily the ironed-over marks were removed from the fabric.
What follows are my findings…
Your results may vary
One more thing before we get started: even though I am showing you how these pens worked on my fabrics, you should always test your fabric marking tool on your own scrap fabric. Because as I said earlier – not all fabric is created equal.
The results — All you ever wanted to know about fabric marking notions
Frixion Marking Pens
Frixion pens are very popular with quilters. They are basically an “erasable” pen but the magic happens when you iron the mark: it disappears with heat. I’ve used these with great success, and I’ve never had one permanently stain fabric, but friends have told me some sad stories…usually with using the red version on light fabrics.
One problem with Frixion pens is what most people love about them: ironing makes the mark disappear. And that’s great, except for when you need to iron it after you’ve gone to the trouble of marking it. But my biggest source of aggravation is how quickly these pens dry up. I refuse to buy them anymore because I got weary of throwing away dried up pens that I had barely used. At about $3 a pop, I felt like I was throwing away a fat quarter.
But they do tend to work well. The only one still in my tool drawer is the Frixion pink highlighter. (And it has lasted quite a while.) Here’s how the mark shows up on the fabrics:
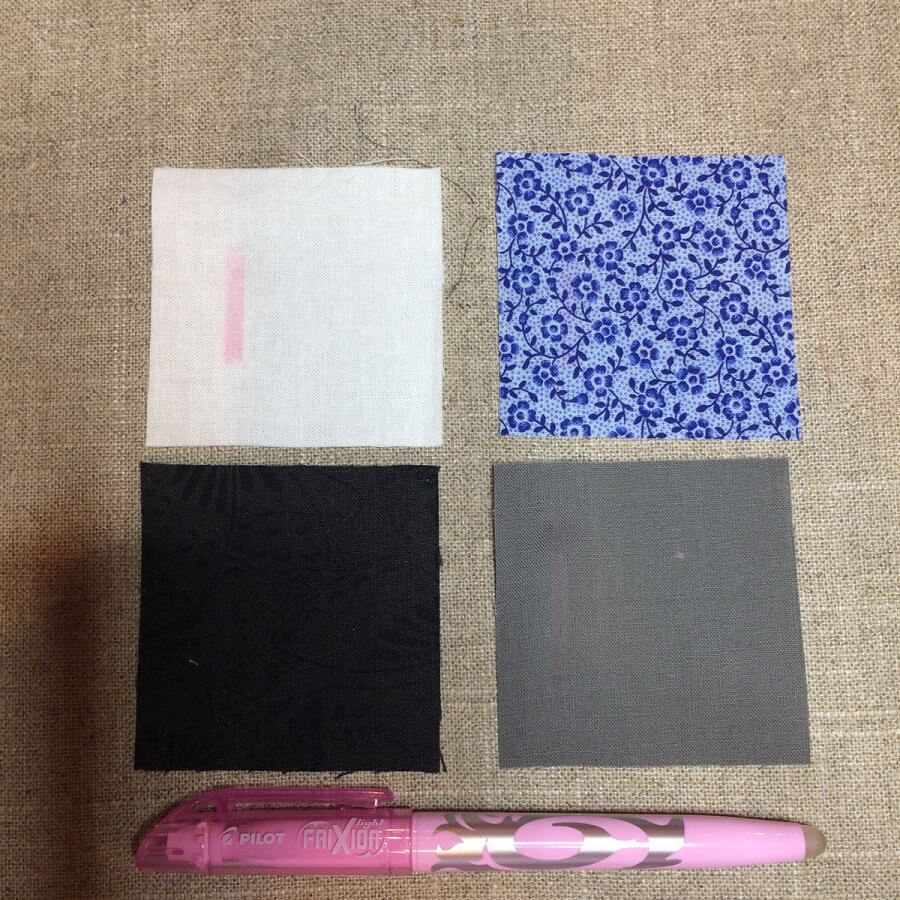
As you can tell, it is difficult to read on all but the lightest fabric. Here is what happens when you iron it:
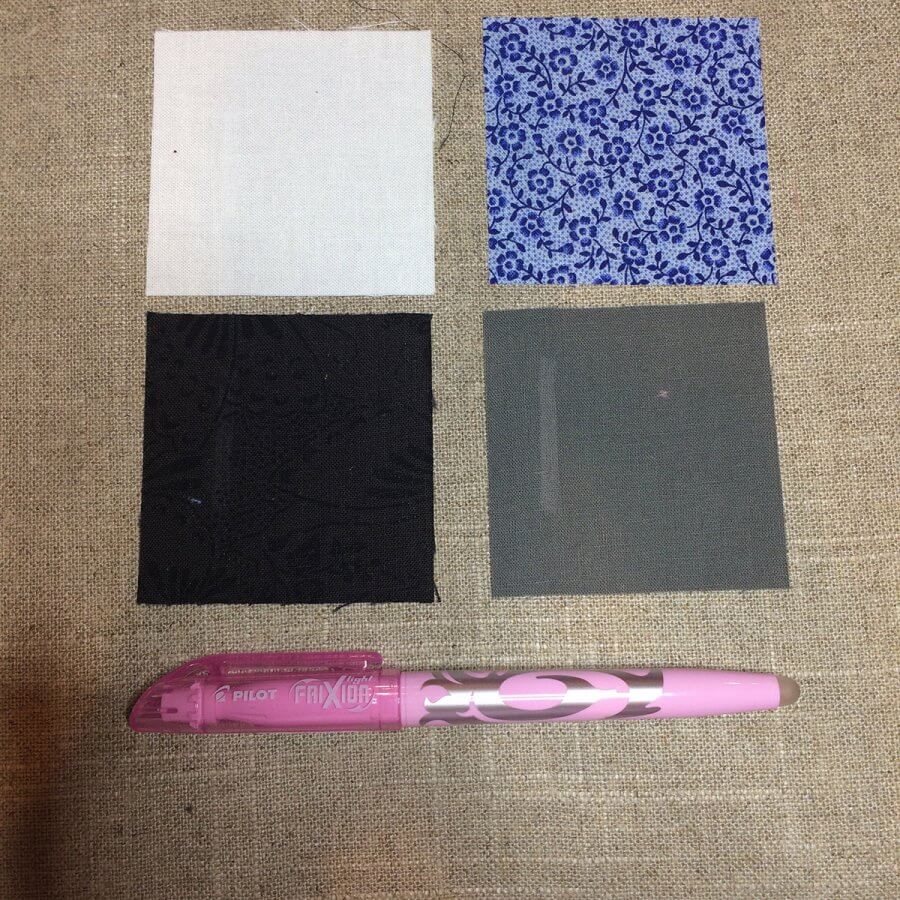
I then washed the fabrics, and all the Frixion marks completely disappeared, even after having been ironed.
Bottom line: Frixion pens tend to be a reliably good marking utensil, but can be short-lived, making them a more expensive investment.
Watersoluble and Silver Pencil Markers
These are an old standard found in almost any sewing shop, and they are very economical, costing about half of the Clover and Sewline notions retail price. While they tend to do the job, I find the the mark doesn’t go on very easily and it’s a bother to keep the lead pointy and sharp.
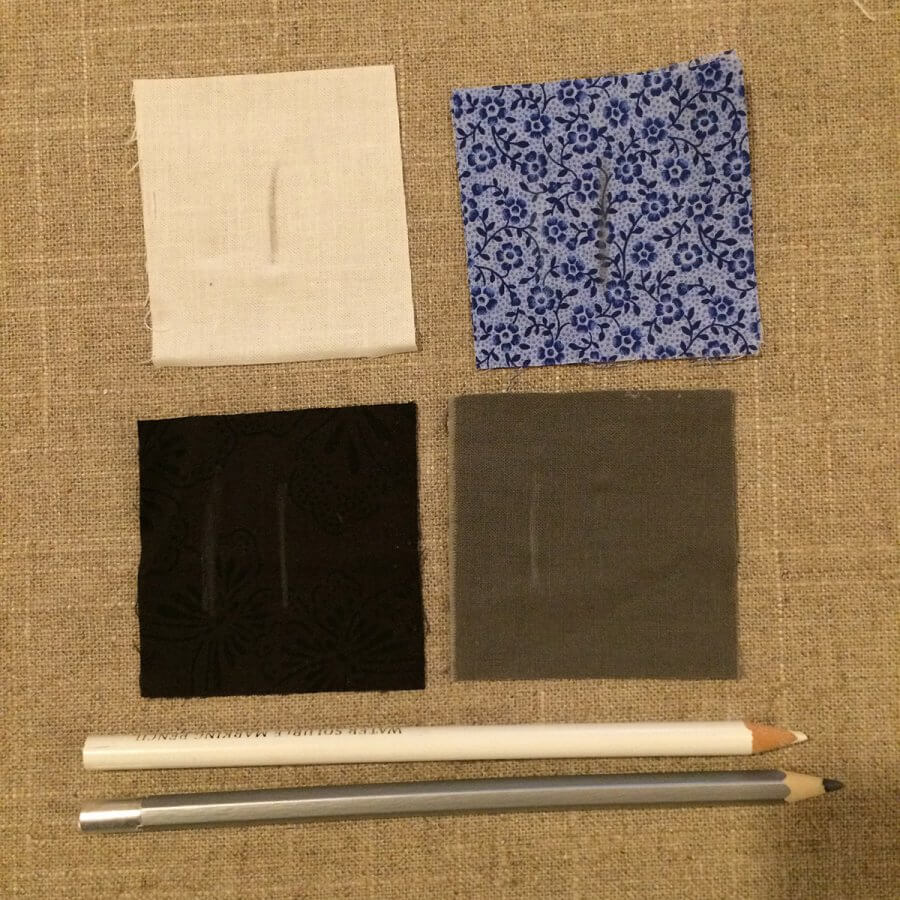
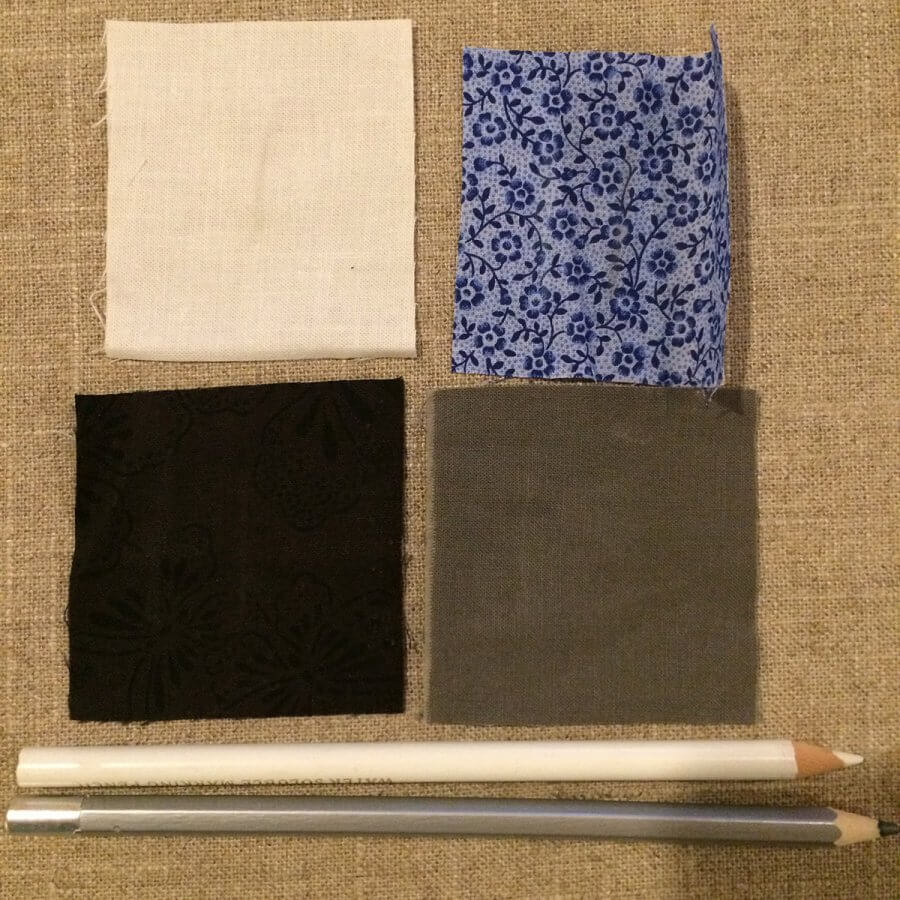
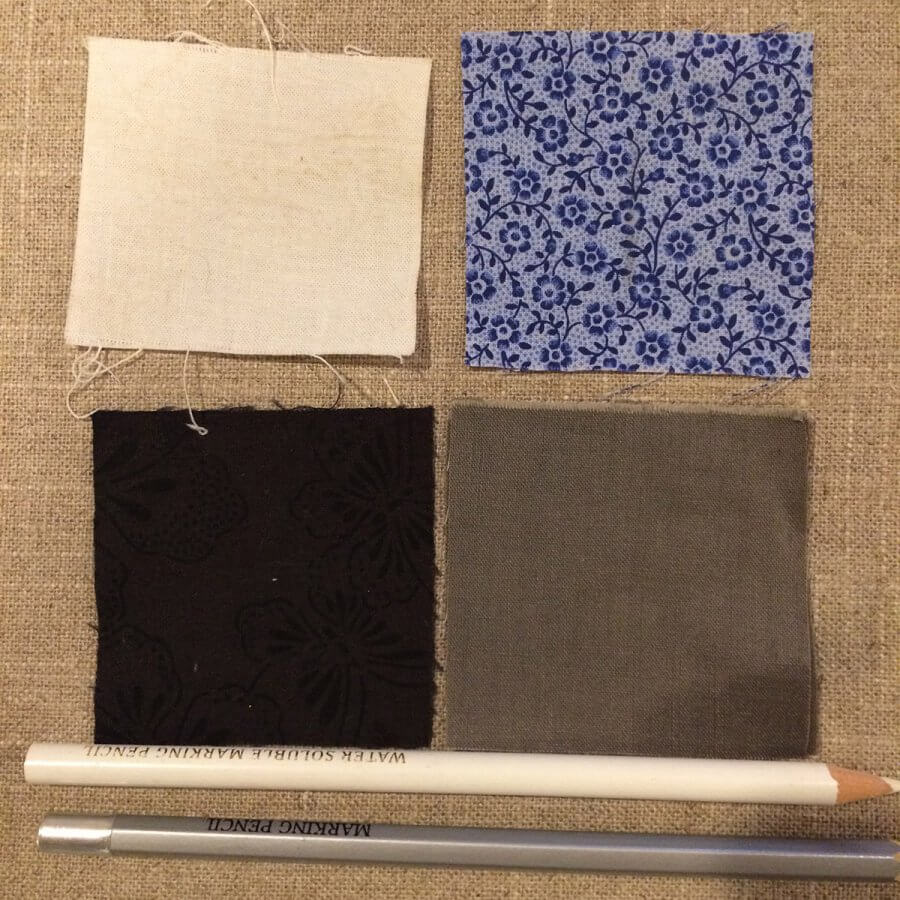
Bottom line: it’s an economical choice that works, but other tools might be more effective.
UPDATE July 8, 2023. I’ve since learned an interesting tidbit about Frixion markers. Actually the marks never really go away. If the fabric is subjected to cold temperatures, the marks will show again. So, my verdict still stands. Friction pens are a no-go.
Clover Chaco Chalk Liners
These are a big favorite of mine. I like how they make this super fine line that is usually very clear. The chalk sticks to the fabric very well and doesn’t smudge off. They cost around $8 each, but they are refillable.
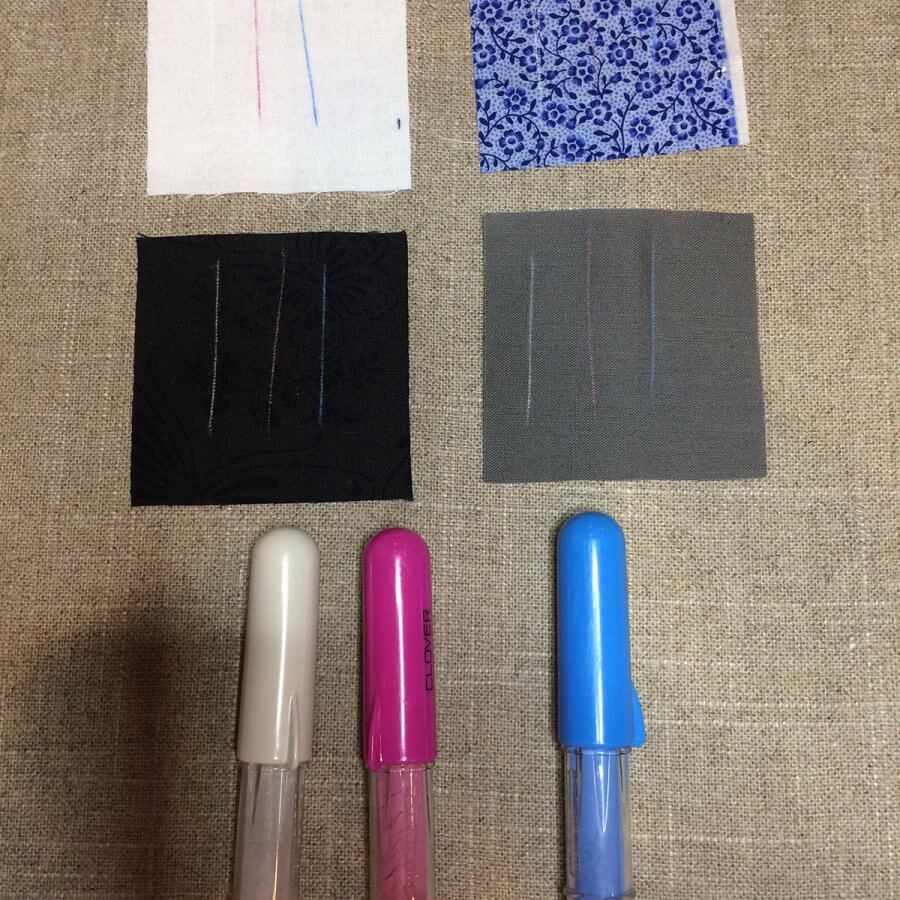
And it all came out in the wash…
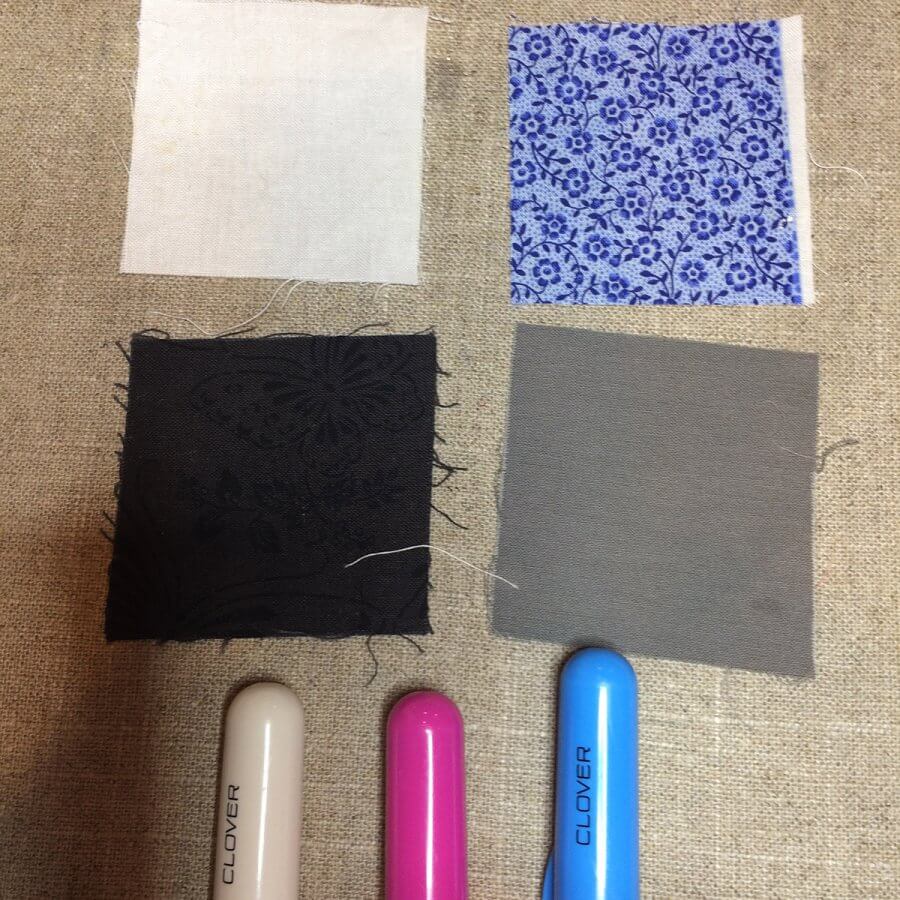
Be careful not to iron over the marks with this pencil. I tested what would happen, and the mark was still faintly visible after washing on the white fabric.
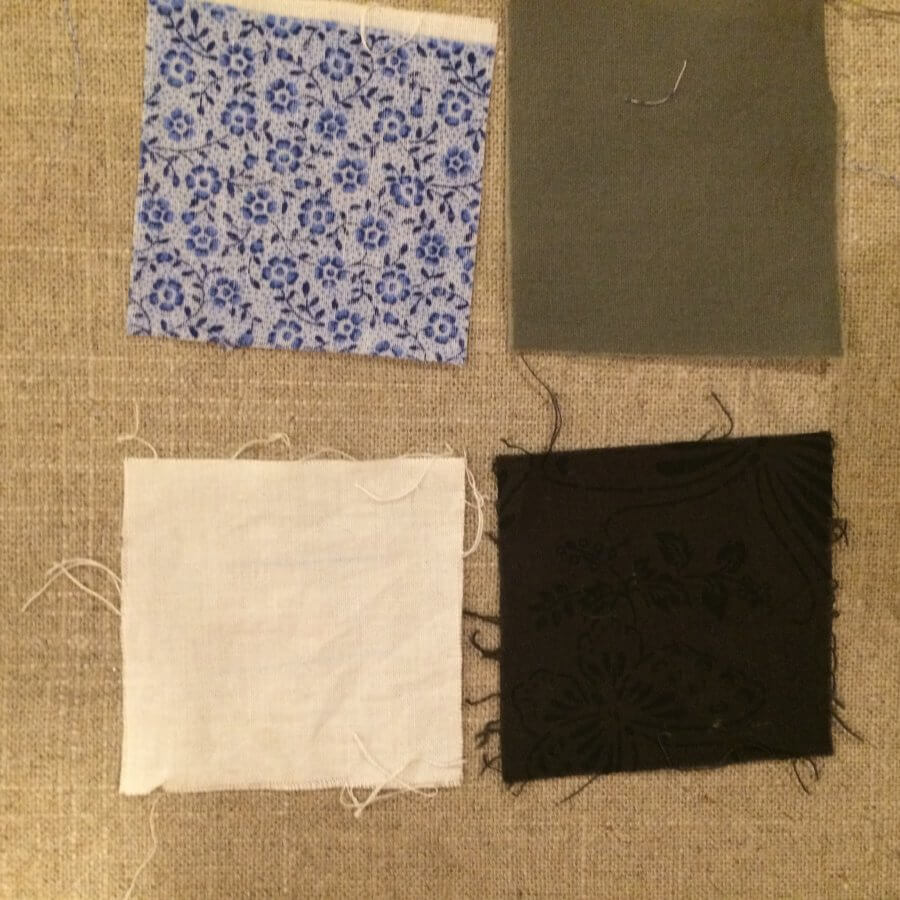
Overall, I think these are a good investment and work beautifully. The only caveat being to make sure not to iron over them, especially on light fabrics.
Clover White Marking Pen (Fine)
With this tool. you have to be patient. When you first make the mark, it is very difficult to see, but after about 15 seconds it gradually deepens and becomes more visible. The marks disappear when ironing and when washing. Works best on dark fabrics.
It’s not a favorite of mine because I find the mark difficult to see.
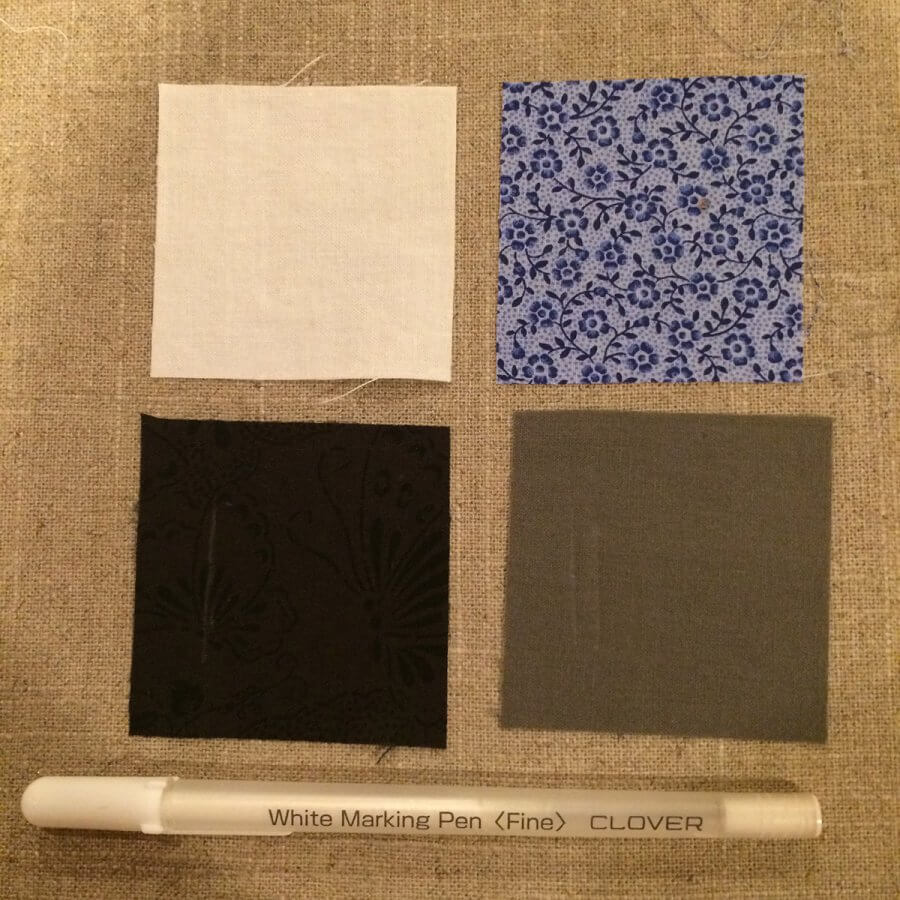
Bottom line: works as intended. It just doesn’t work as fast as I’d like for it to work!
Sewline Tailor’s Marking Pencil – Blue
This also comes in Pink, but I haven’t used the pink version. I’ve had great success with the blue. I think it shows up well, and can be erased with the special eraser that is at the end of the pencil. Laundering removes marks as well. When making marks along side a ruler, I prefer this pen. I think that’s because it feels more natural in my hand.
To keep it sharp, all you do is click it. The lead is nice and hard and I’ve never had it break on me.
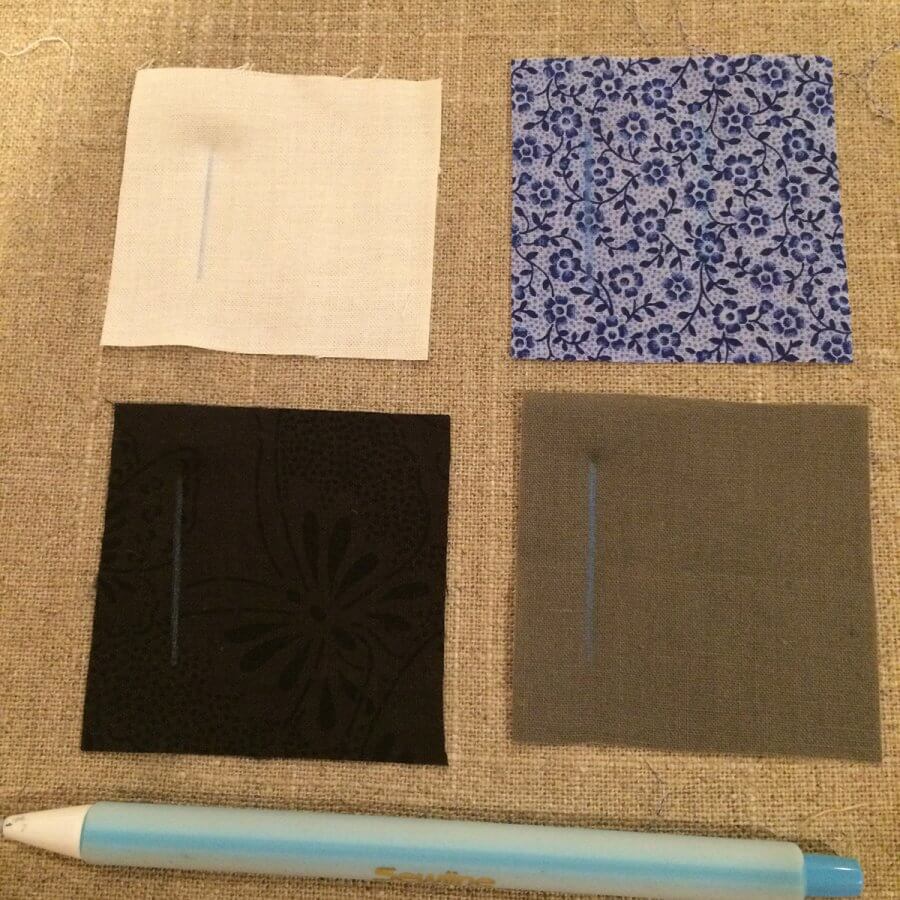
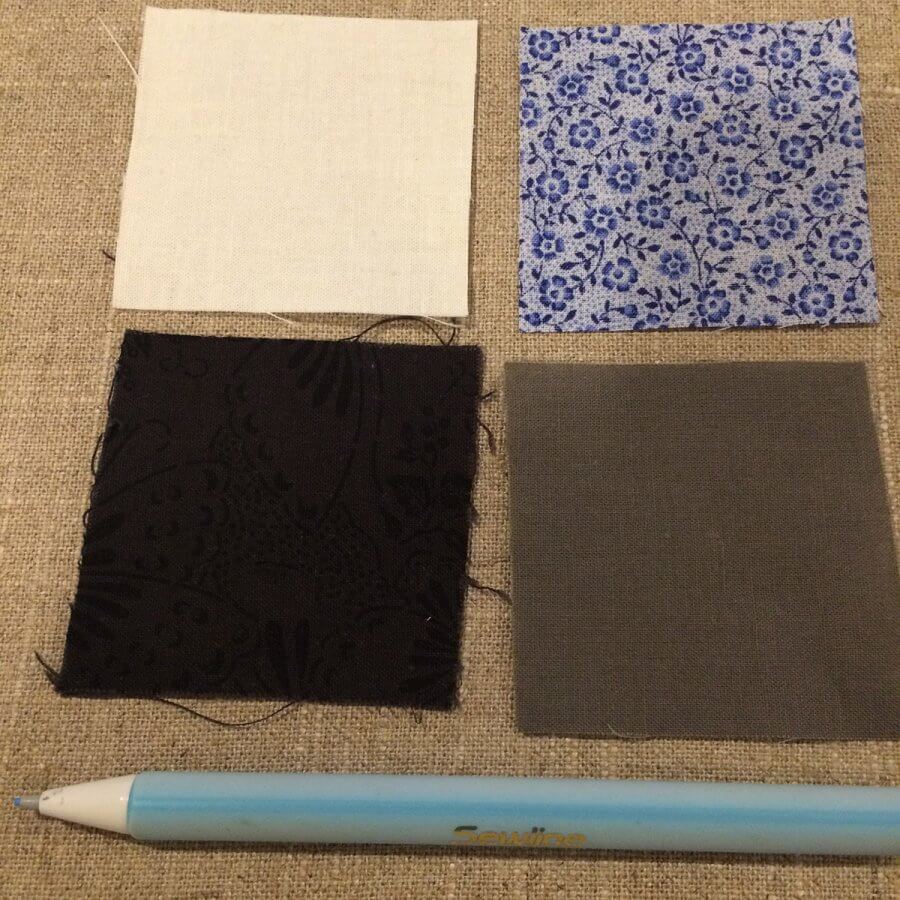
Bottom line: I love this pencil. It’s a goto.
Chalk Cartridge Set
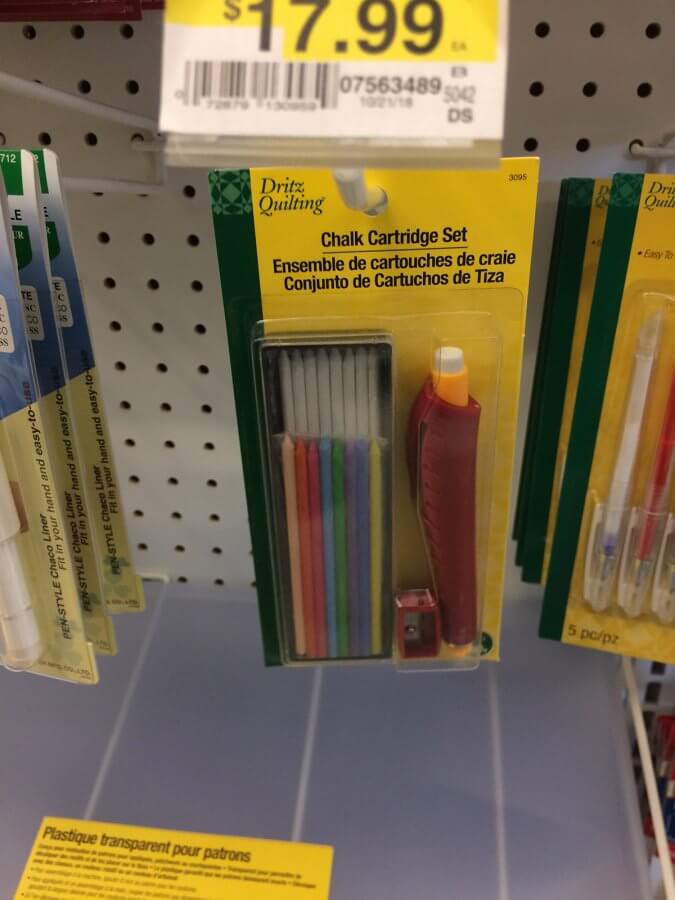
I loved the concept. They were a bit pricey, but I thought it would be great to have all those color options. Handy eraser on the end is supposed to remove the marks.
Here are my gripes:
- The chalk breaks very easily
- The marks stain. (See photo below)
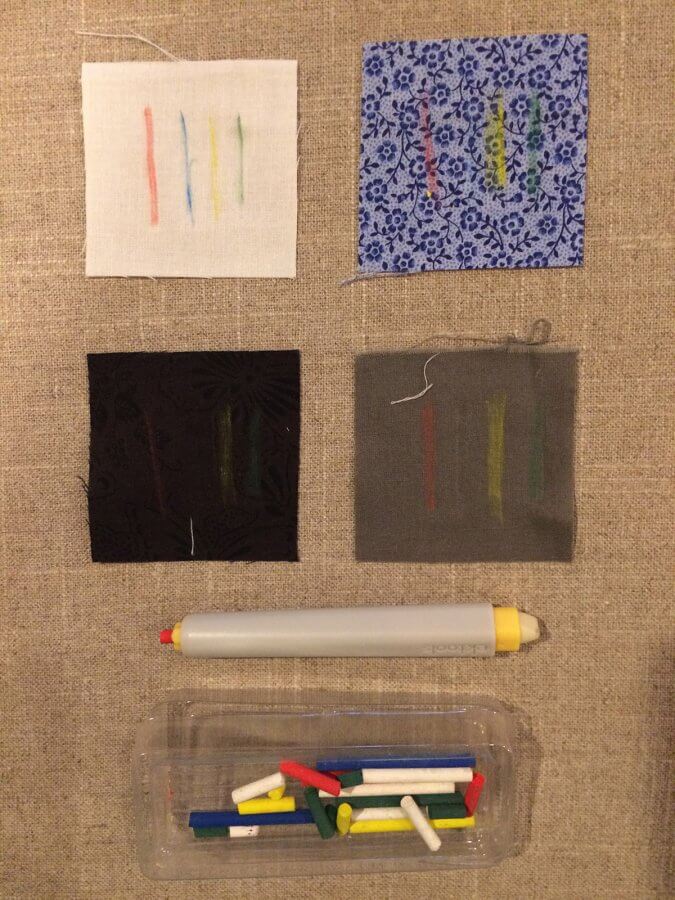
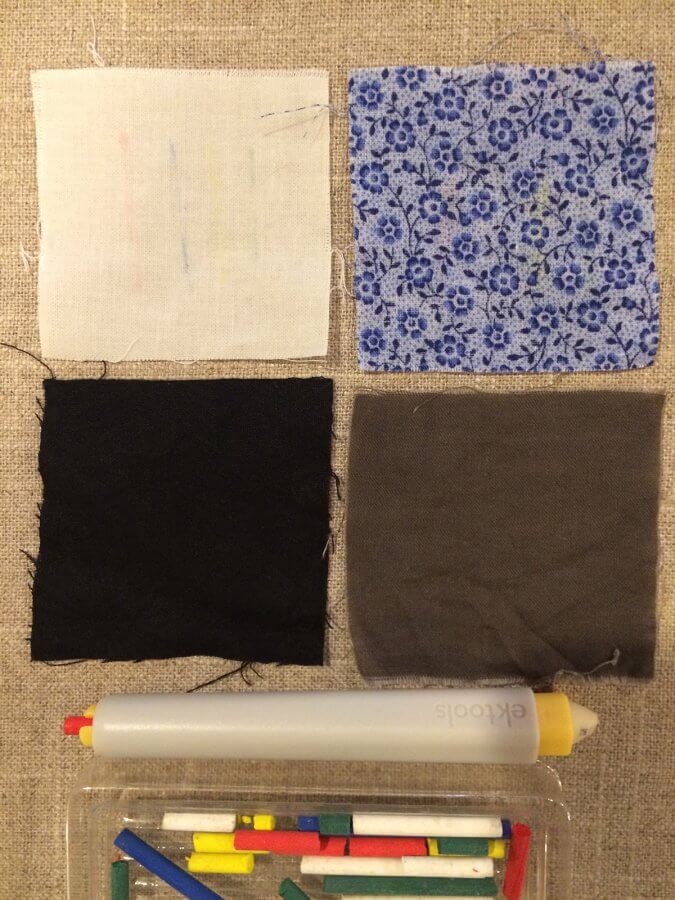
Bottom line: It’s not a favorite. I’ve kept it around and use it for another purpose, which I’ll tell you about another time.
Sewline Ceramic Fabric Pencil, Black
I’m a big fan of Sewline products, but I don’t use this one very often. When I do reach for it, it’s typically to trace applique patterns onto fabric. (And that’s usually on the wrong side of the fabric.) The lead is extremely hard and durable, and it has never broken on me.
Sewline also makes ceramic pencils in pink and yellow. I haven’t tried those colors, but here is how the black faired in my test results: As you can tell, the black ceramic pencil made a nice mark on the white fabric, but is not discernable on the others, which is to be expected.
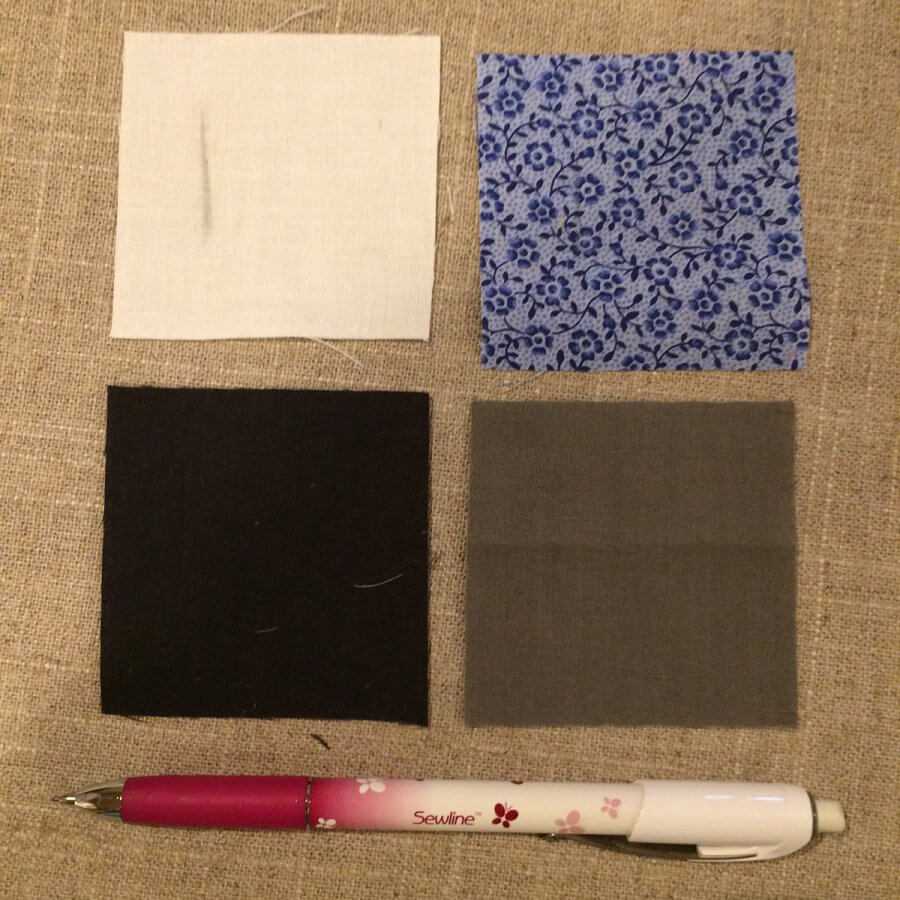
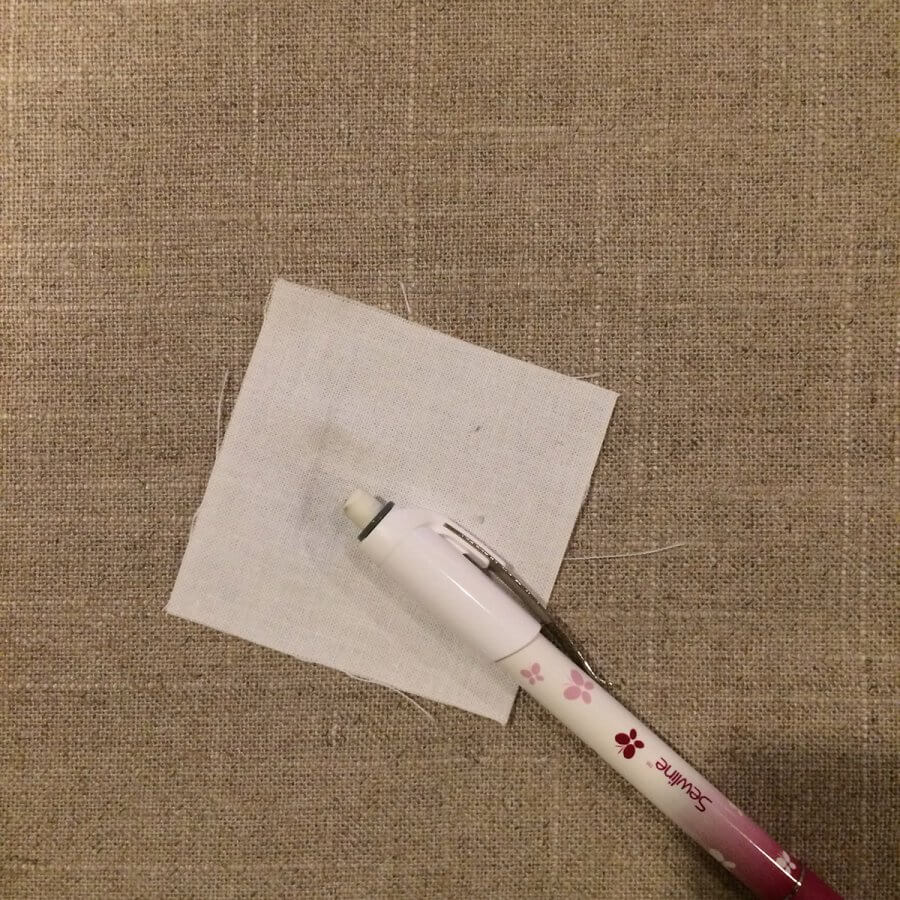
What I didn’t expect was that I had such a hard time getting the black to “erase” with the special eraser.
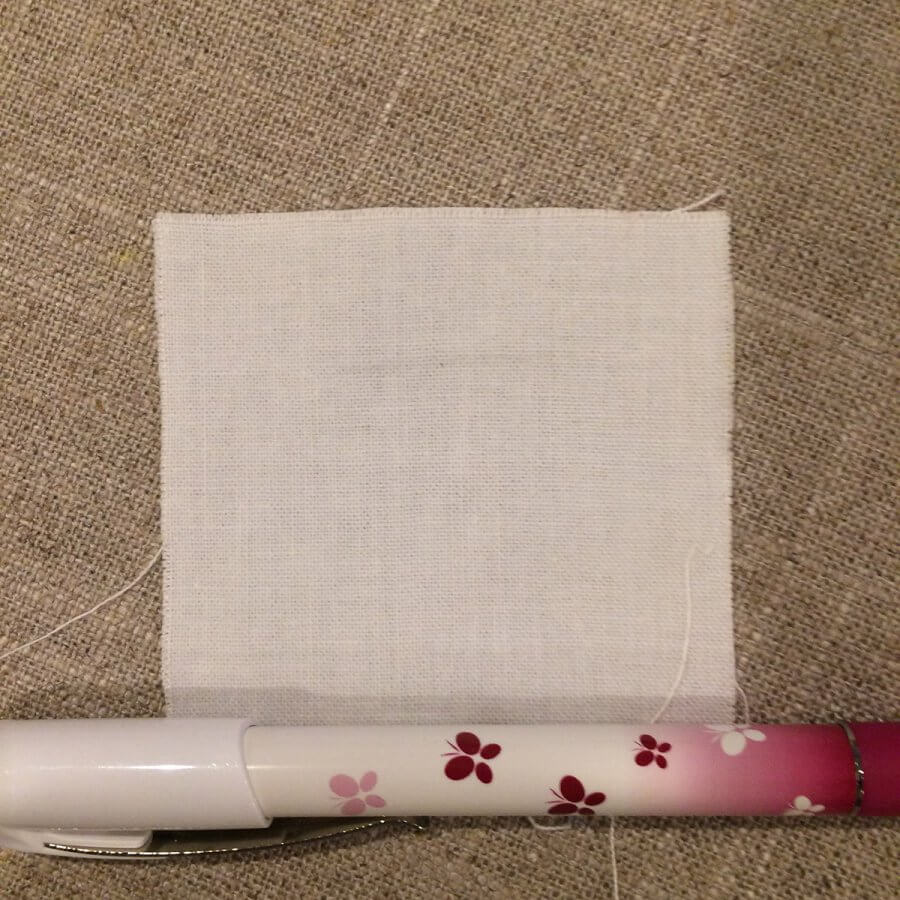
However, after washing, it was nearly gone, although if you look closely you will see it very faintly.
Bottom line: it’s an excellent pencil, but I probably won’t be using it on fabric much.
Fons & Porter White Ceramic Pencil
This is another fabric marking device that I don’t reach for very frequently. But after testing it, I think I will be using it more often. First, the lead is very hard and did not break on me.
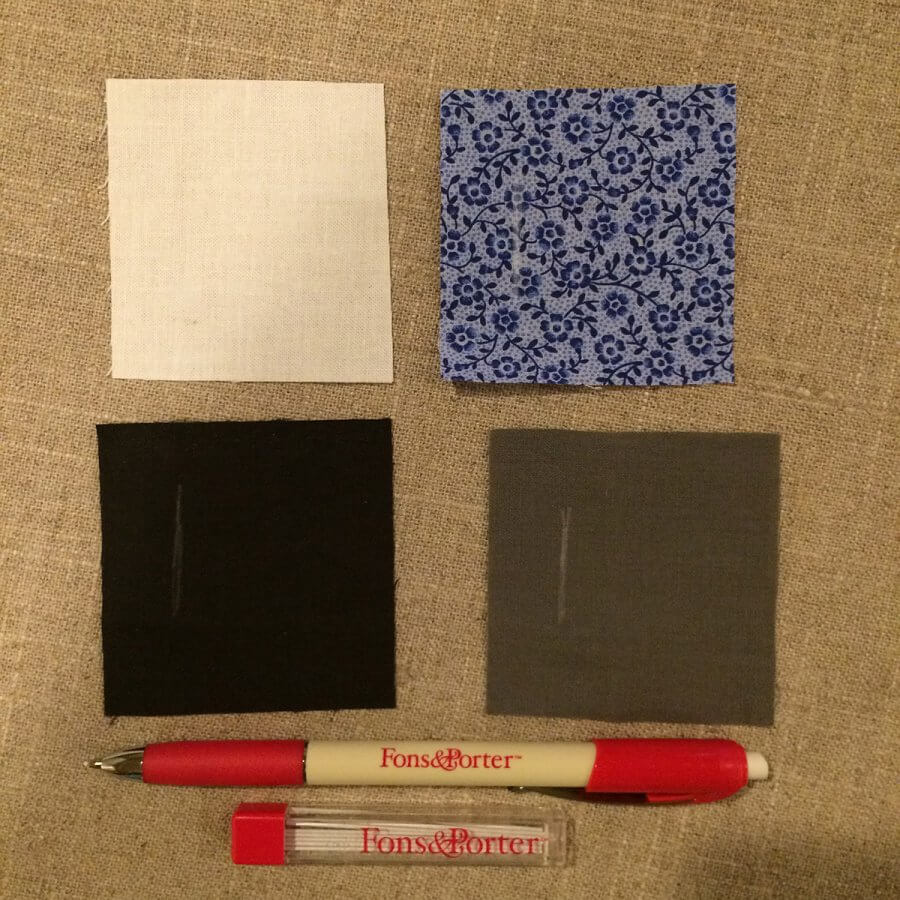
The marks disappeared fairly well using the eraser, except on the gray.
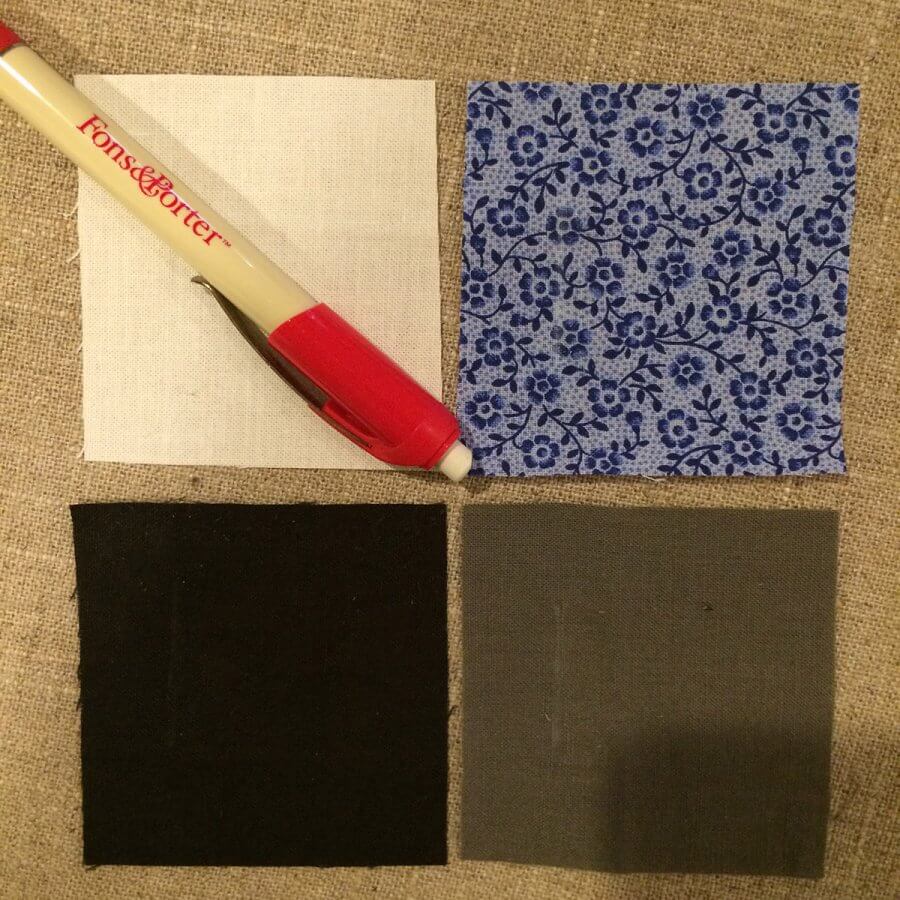
I failed to get a photo, but the marks did go away after washing.
Bottom line: works very well on dark fabrics. Nice tool to have around. I’d recommend it. (They’ve changed the exterior color, so it’s teal now.)
Soapstone fabric marker
I was very excited when I found this fabric marking device because I was sure it was going to be fabulous. Turns out, it’s merely okay.
The marks show up faintly on black and gray. I didn’t expect them to show on the white, but I had hoped to see something on the blue. Not to be.
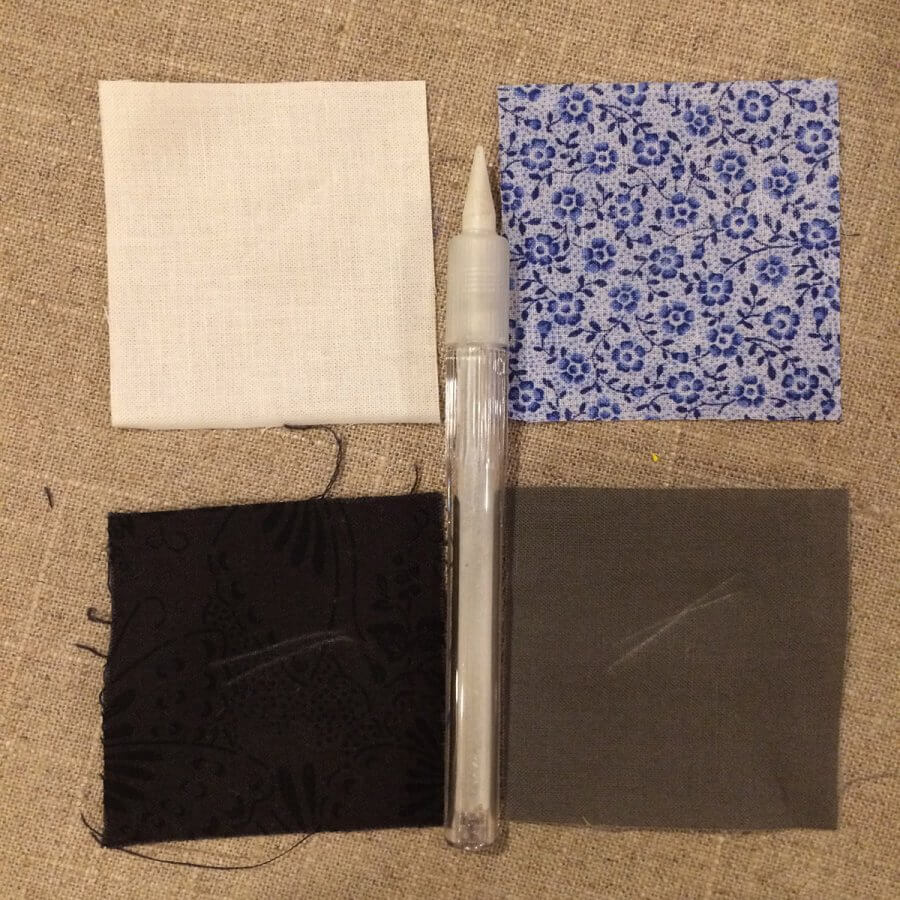
It does get excellent marks for washing right out of the fabric. And it remains visible even after some rubbing, so it does the job.
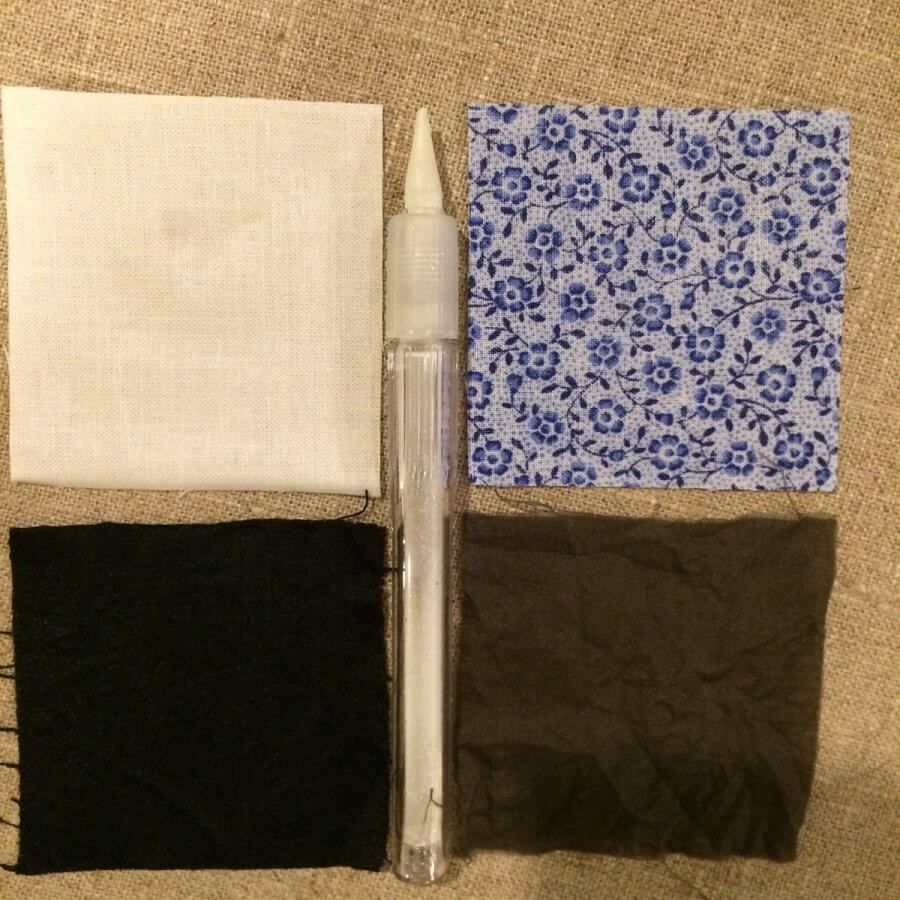
Bottom line: nice sharp point. But soapstone is not soap.
My personal favorite: soap
You’d think after trying so many different fabric marking notions that at least one of them would have stolen my heart. I’ll admit that I’m partial to my clover Chaco liners, the Sewline tailer’s pencil, and the Fons and Porter White pencil. But my goto favorite is an old favorite. Many a quilter has sworn by using leftover bits of soap to mark on their precious quilts, and I’m no exception.
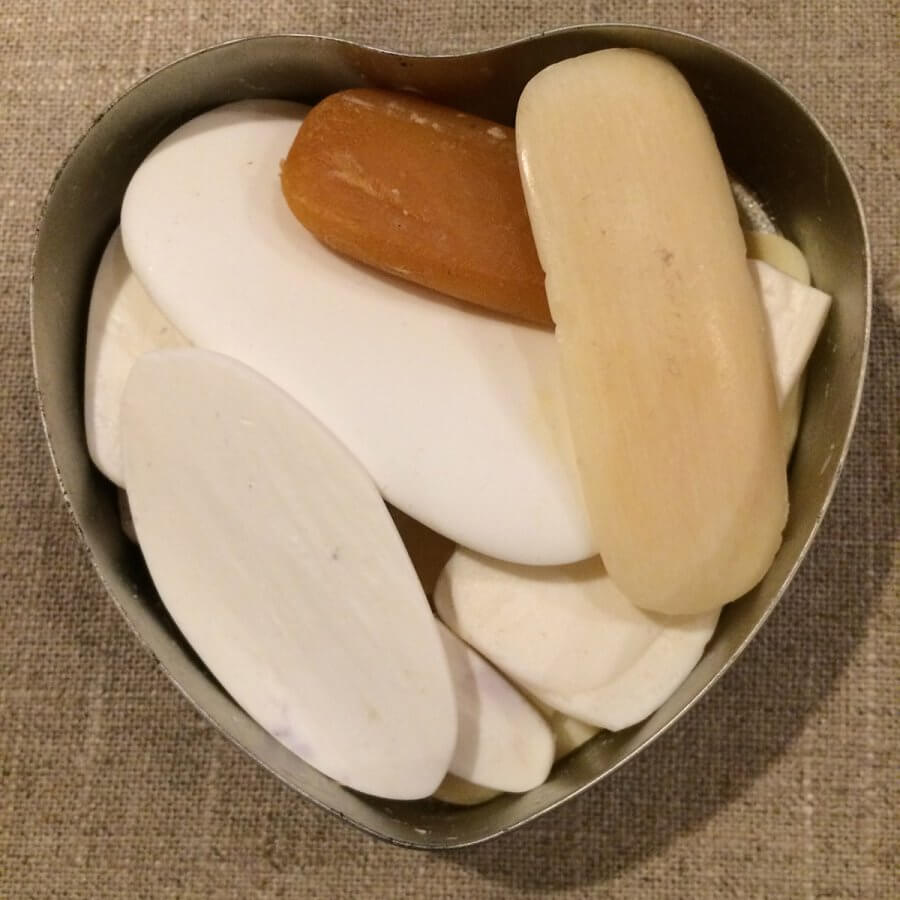
The trickiest part about using soap is when you need to mark on light fabrics because white soap isn’t going to show up very well. I have two tricks up my sleeve for that hurdle.
First, dial soap is a slight golden color and sometimes it will show up.
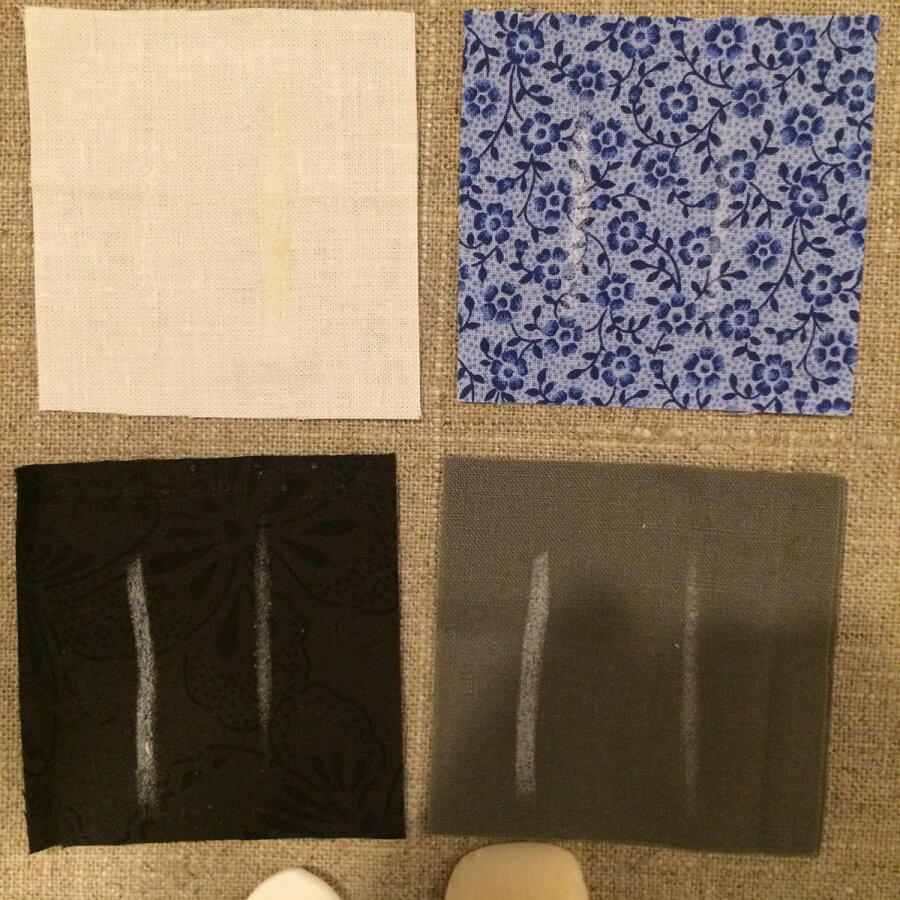
If that doesn’t work, here is my other trick: First I will make a mark on the light fabric using white soap. Then I will go back over the soap line with a blue chalk. (Usually my blue Sewline pencil). The mark goes down over the soap, which grabs the chalk keeping it in place. But the nice thing is that the soap makes a barrier so that the chalk doesn’t get embedded in the fibers of the fabric. It comes out every time.
At least for me. But don’t forget: Always test first on your own fabric!
Until next time —

