
A Quilt Binding Primer (Part 4): How to Attach Binding to a Quilt
Estimated reading time: 14 minutes
Hello, and welcome back to the Quilt Binding Primer Series! In today’s post we finally tackle how to attach binding to a quilt. Wow! It’s been a long road. When I started this series, I thought it would take 2-3 posts. Now it’s looking more like 6! But we will get there, I promise!
All about the Quilt Binding Series
In case you are just now finding this blog, here are some things we’ve covered already:
Part 1 of the Primer – This post is an overview of quilt binding. We examine what is quilt binding, what does it do and some design considerations.
Part 2 of the Primer – This post teaches you how to make your quilt binding strips. You’ll learn how to calculate fabric requirements and how to cut binding strips. Then we tackle how to sew the strips together to create “French fold” binding.
Part 3 of the Primer – This post will show you how to trim your quilt before you attach the binding.
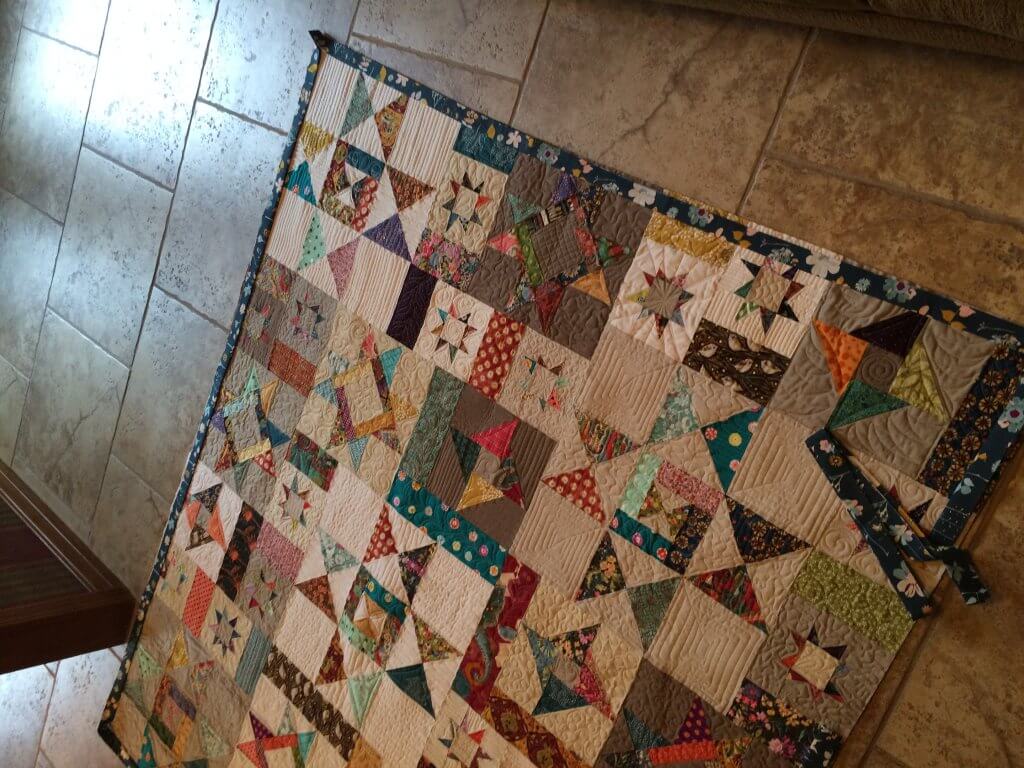
The quilt in the photos is my version of “Starfall,” a pattern by Fresh Lemons. I think it’s one of the most fun quilt patterns I’ve made all year. I think you can still find this is her Etsy shop. The lovely custom quilting was stitched by the very talented Mary Covey.
The Traditional method to attach the binding
The technique I demonstrate in this post is considered the traditional method to attach binding. I tackle other methods in another posts, but this method is considered the best way for most quilts. It is certainly the most attractive method. This is the method you should use if you hope to submit your quilt to a quilt show for judging.
Traditional binding is sewn to the front of the quilt by machine. It is then pressed out, folded over towards the back, and then hand stitched to the back side.
Prep your machine and table area
- If you have a walking foot, you may want to use it. I find that it does help all the bulk stay together a little better than just using a regular foot. I am using a machine that has a built-in dual feed system (IDT), so a walking foot is not necessary.
- Put in a new needle – it’s going to go through a lot of layers and needs to be super sharp.
- Thread your machine with thread to contrast with your binding (I will tell you why later).
- Attach a 1/4″ presser foot if you have one. (If you don’t own one, it’s a great investment that will greatly improve your quilting.)
- If you don’t have a big sewing table, it’s helpful to set up some tables around your sewing machine. This will help hold up the weight of the quilt and prevent drag. I usually lower my ironing board and set it beside my table. Drag is one of the biggest reasons a quilter’s binding isn’t sewn on straight.
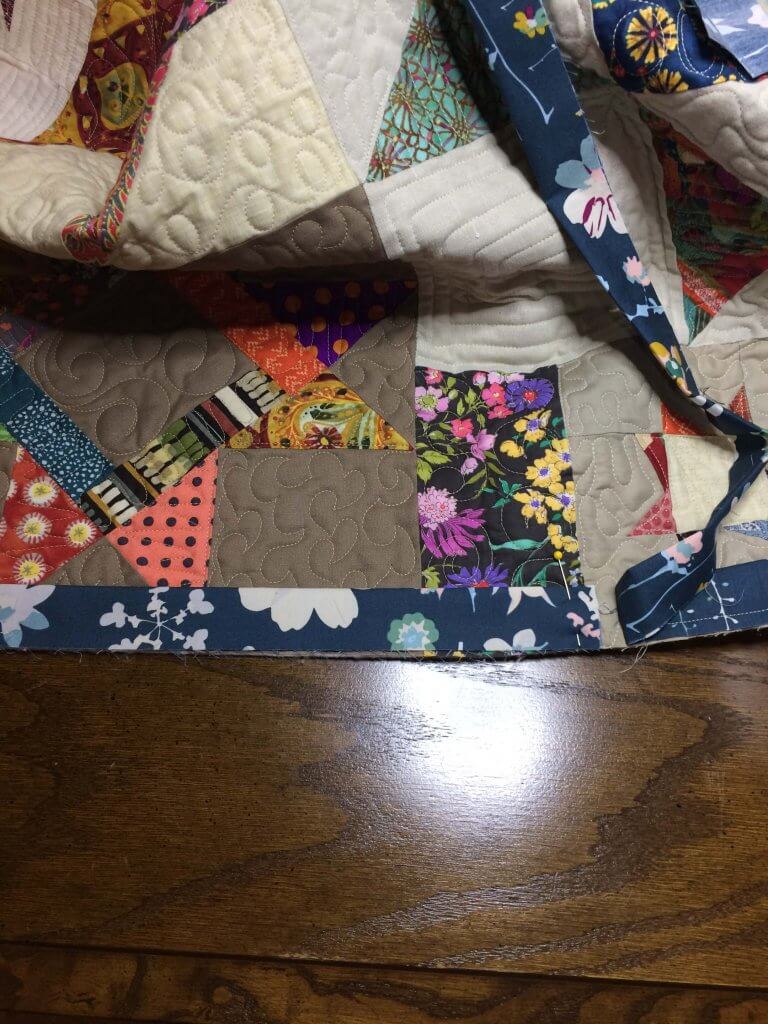
Find your starting spot
It’s a good idea to evaluate where you should actually start the stitching. Spread your trimmed quilt out on the floor. (The floor usually works best, but a table will do if it’s a smaller quilt.) Now, take your prepared binding, and begin laying it along the sides of the quilt.
I usually start my binding about 1/3rd of the way up on the lower right side of my quilt. As you lay the binding along the edges, notice where the seams in your binding fall. You want to make sure that none of the seams in your binding are going to land on a corner. It’s okay for the seams to land a few inches out from the corner. We just want to make sure none of those seams will hit the actual corner. When you miter the corner you do not want any excess bulk in there.
Mark your starting point
Once you are happy with how your binding seams will land, we mark the starting point. I use two pins to do this. (See photo below.)
I find that pinning the entire binding to the quilt is a huge annoyance. As I’m sewing, the pins just seem to attack me, so I opt to only use two pins. If you’re a pinner, by all means go ahead and pin the binding all the way around the quilt. I find it easier to align the binding to the edge a few inches at a time as I’m sewing.
Here is my two pin method: The first pin is inserted where my binding strip will start. The second pin is about 12″ down where I will start sewing.
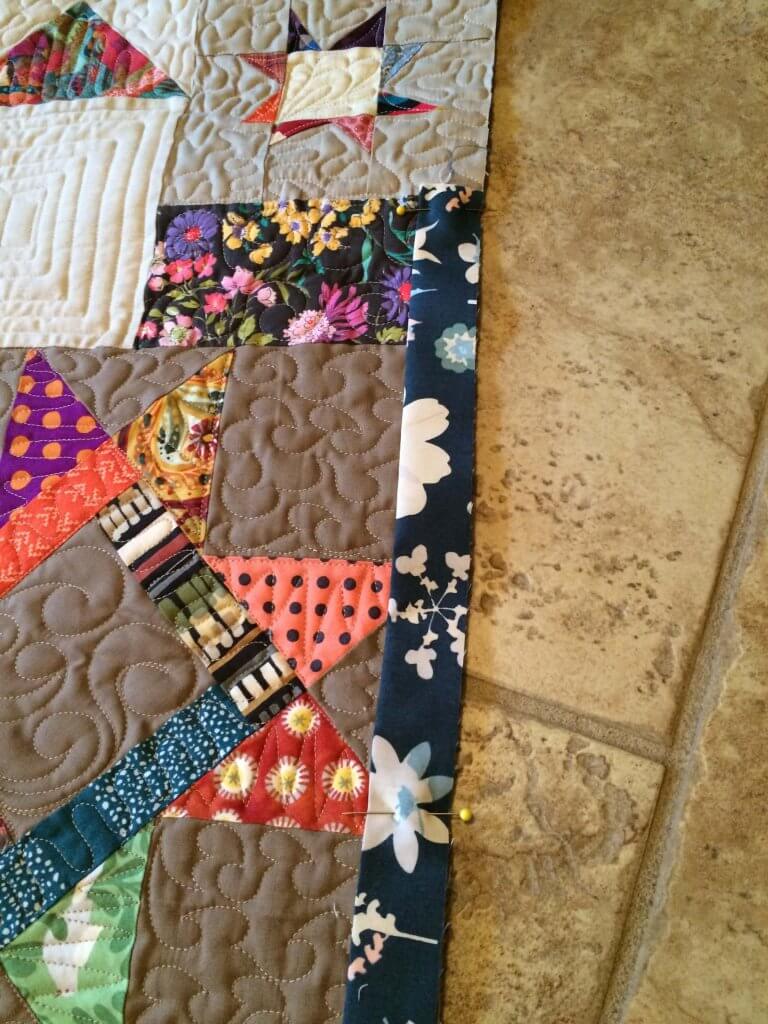
Hopefully you can see the first pin (I should have inserted it the other way).
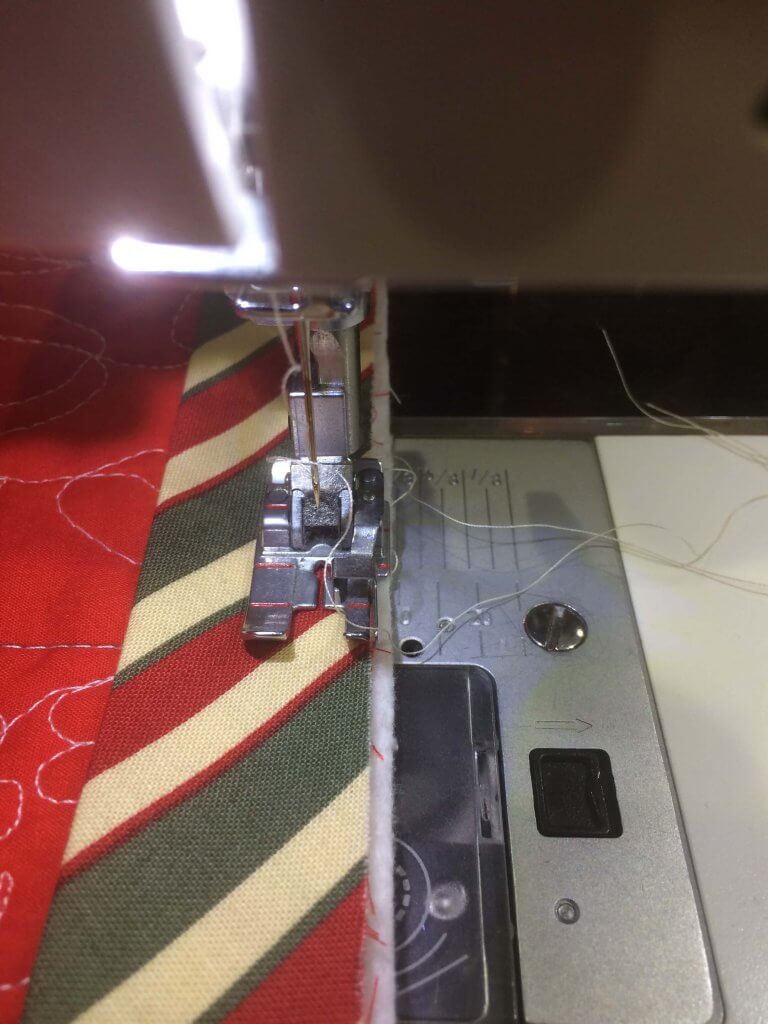
Attach the binding with your machine
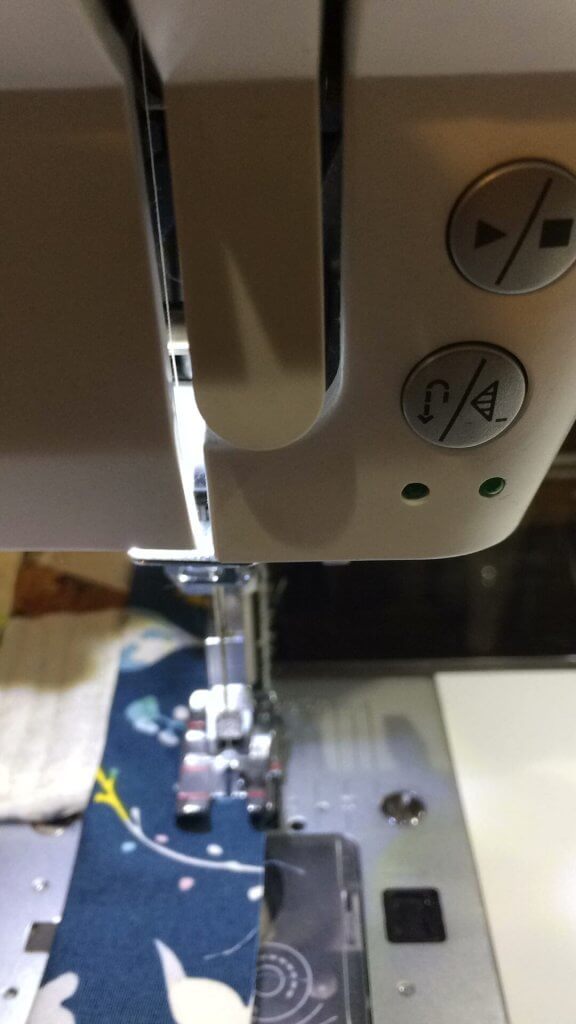
Now you’re ready to take it to the machine. Leave the first pin in the quilt. This will serve as your stopping point after you’ve sewn the binding all the way around the quilt. Begin sewing your binding at the SECOND PIN. Set your stitch length to 2 mm, and make sure your machine is set to the “needle down” position. (if your machine has that feature.)
Make a securing stitch, then sew along the edge with a 1/4″ seam.
A Side note:
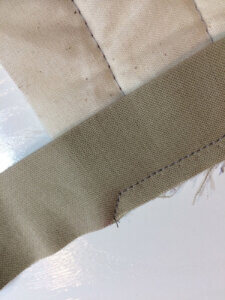
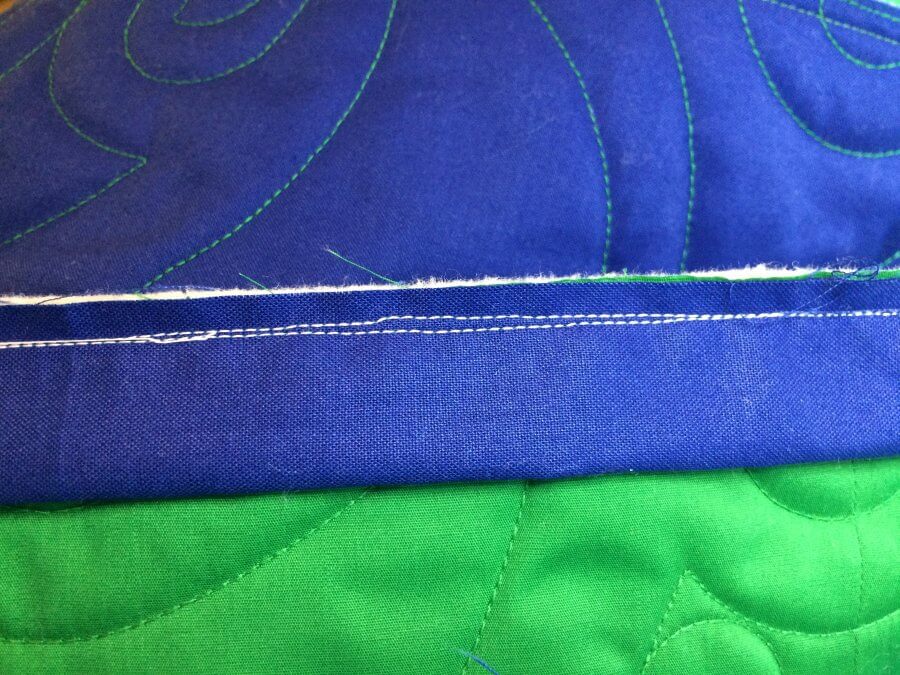
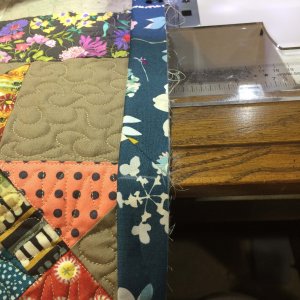
(Note: In the last post I mentioned that I like to trim 1/8″ to the right of the top edge. If you were able to do that, do not line up your binding with the batting/backing edge of the quilt. Instead, line your presser foot edge up with the pieced top edge so you have 1/8″ extended out to the right of your presser foot. For simplicity sake, I am not demonstrating that technique throughout this lesson, but below is a photo of how that would look.
Continue sewing until you get 1/4″ away from the edge of the corner. My presser foot, has a red line that is 1/4″ in front of the needle which tells me where to stop. If you have that feature, use it to your advantage. So, when you are 1/4″ away from the edge, stop, turn the quilt slightly 45 degrees, then sew off into the corner of the quilt.
Check your stitching line
At the beginning of the post I suggested you use a contrasting thread. When you get to a corner, take a look back at your stitching line. It is really important that the line be consistently straight all the way down. But If you have a little crookedness to your line, it’s an easy fix. Just put it back on the machine (no need to unsew) and make the correction.
Mitering your corners
Now, we make the miter for the corner. To do this, first fold the binding up using a 45 degree angle fold. Then fold it back down, making sure the top fold is even with the edge of the quilt. If it hangs over the edge or is too much inside the edge, it will mess up the miter.
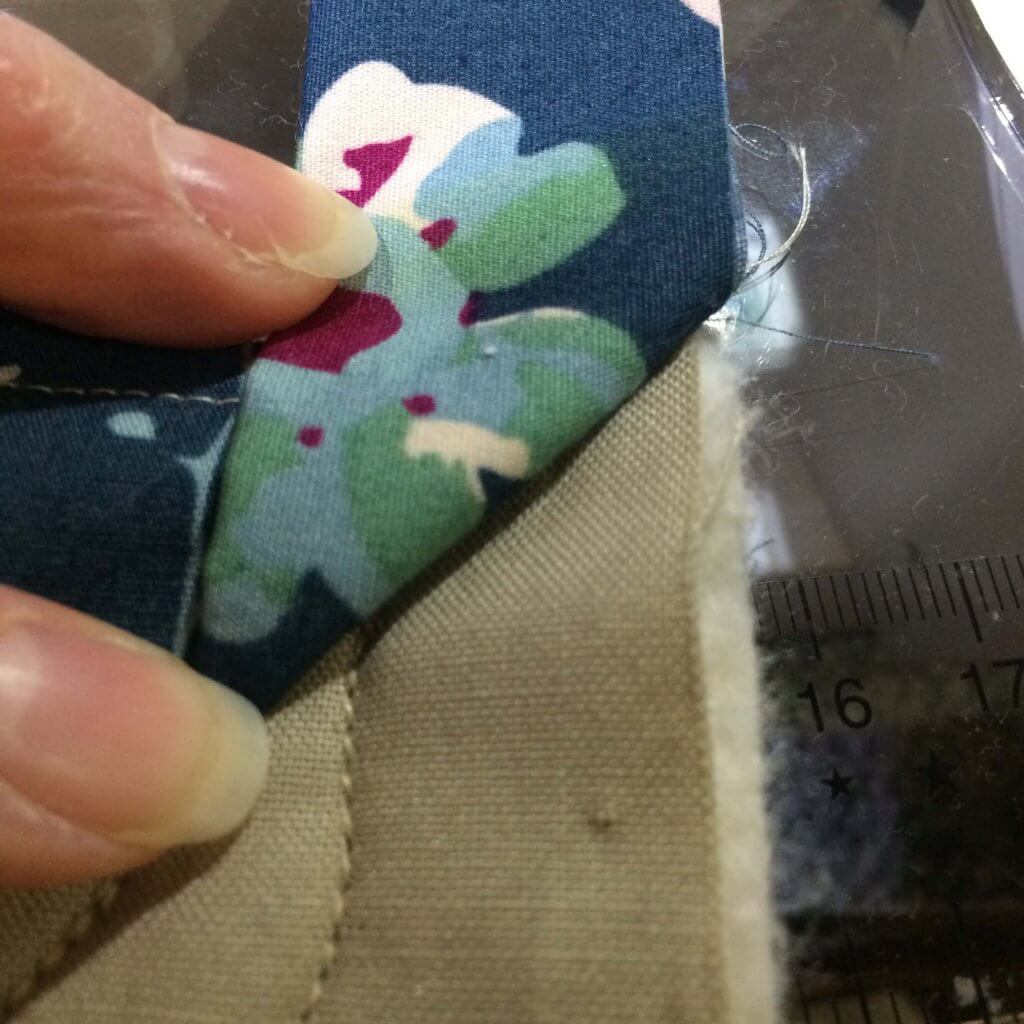
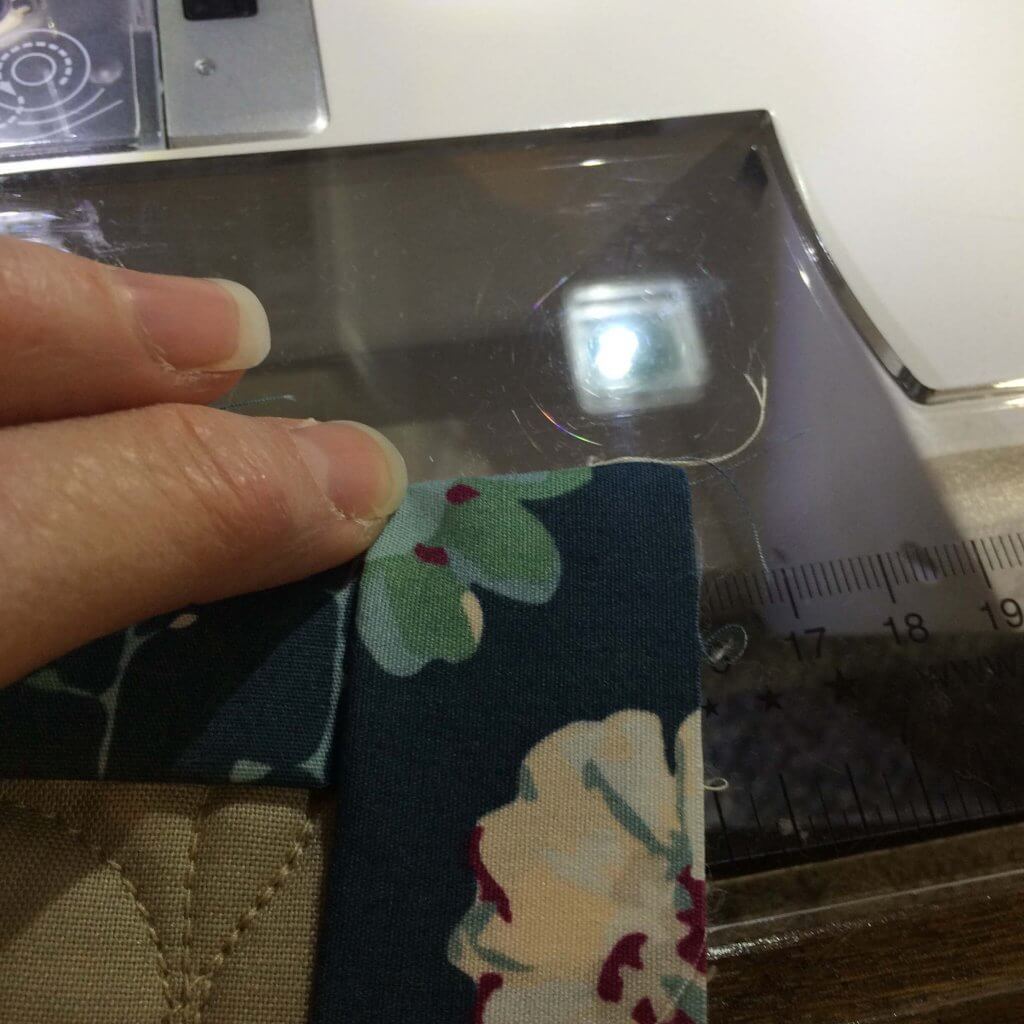
Folding in this way will create a beautiful mitered corner.
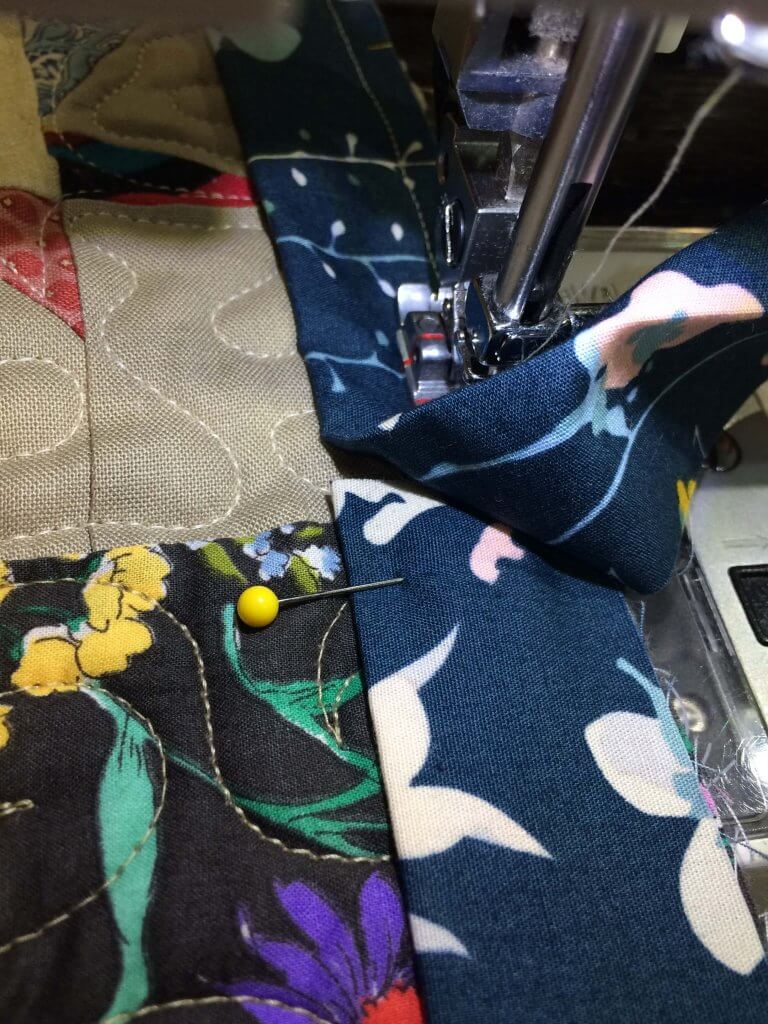
Take the quilt back to the machine. Beginning at the top edge of the fold, stitch down until you get to the next corner.
Repeat
Repeat the above steps for all corners and sides of the quilt. After you get all the way around your quilt, you will eventually get to that first pin you put in at the start. When you get to that first pin, stop, pivot and stitch off the quilt.
How to hide your starting point when you attach binding
Yay! You made it all the way around the quilt. Now we just need to sew these two “tails” together, and we are going to do it so no one can tell where you stopped or started.
So, take your quilt off the machine if you haven’t already. Position it so that the bulk of the quilt is away from you, and the two “tails” should be closest to you. Like this:
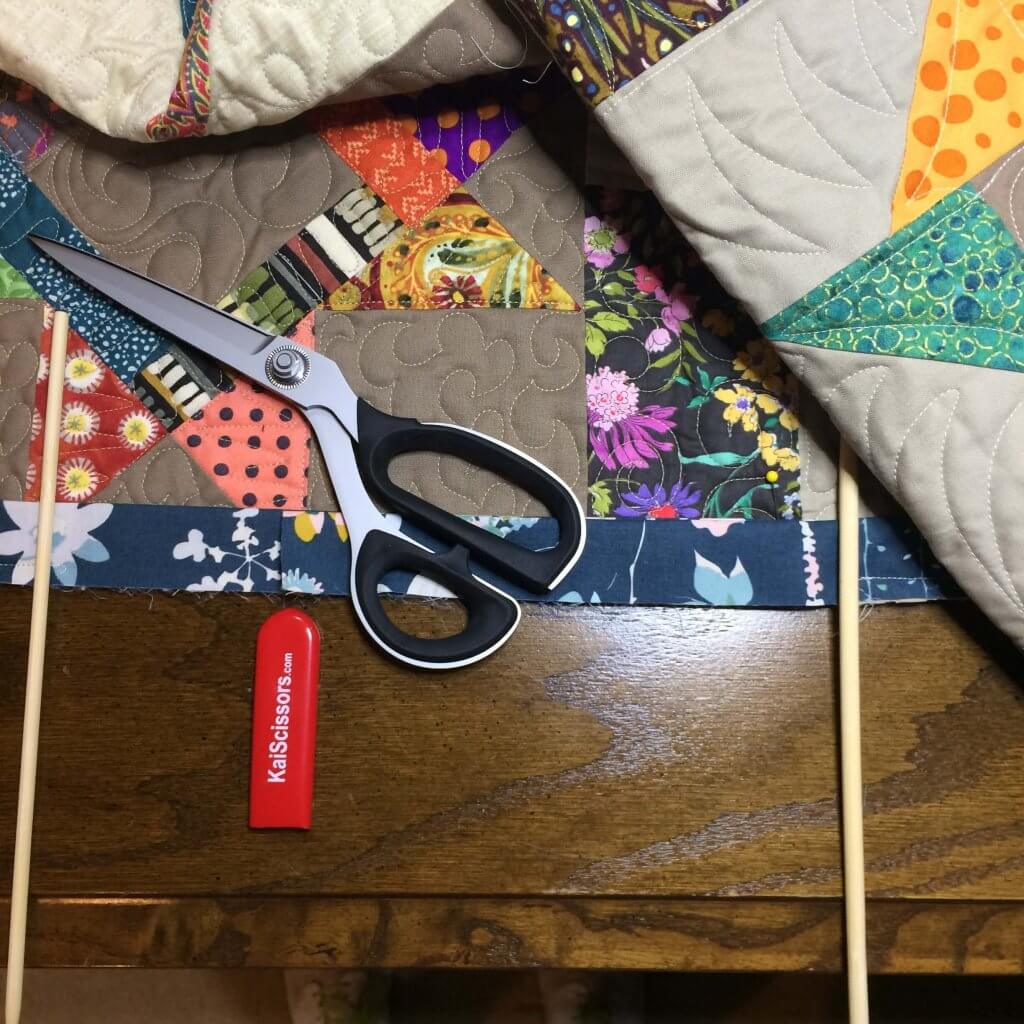
Closing (and Hiding) the Tails
Keep the beginning tail flat, and lay the “ending” tail over it. (If you’ve positioned your quilt correctly, the ending tail will fold from the right to the left.) In the photo below, I’ve placed some markers to help you see the points I want to point out. The two chopsticks are the start and end points of your stitching. Everything in between has not been stitched yet. Take your scissors and clip the ending tail (the one on top) about 1/3rd of the way to the right of where you started stitching. Save the little piece you have cut off. It’s hard to see in the photo because my binding tails blend together pretty good, but I have clipped it right where my red Kai scissors sheaf is positioned.
Determine where to cut
Use a fabric marker to mark a line on your beginning (bottom) tail that is just to the left of the clipped ending (top) tail. Next, take your piece of clipped tail and open it up.
Now we use the width of your binding to measure exactly one binding width to the right of the marked line. Make another mark here. (You could also use a ruler if you prefer, but I find that using this piece works just as well.)
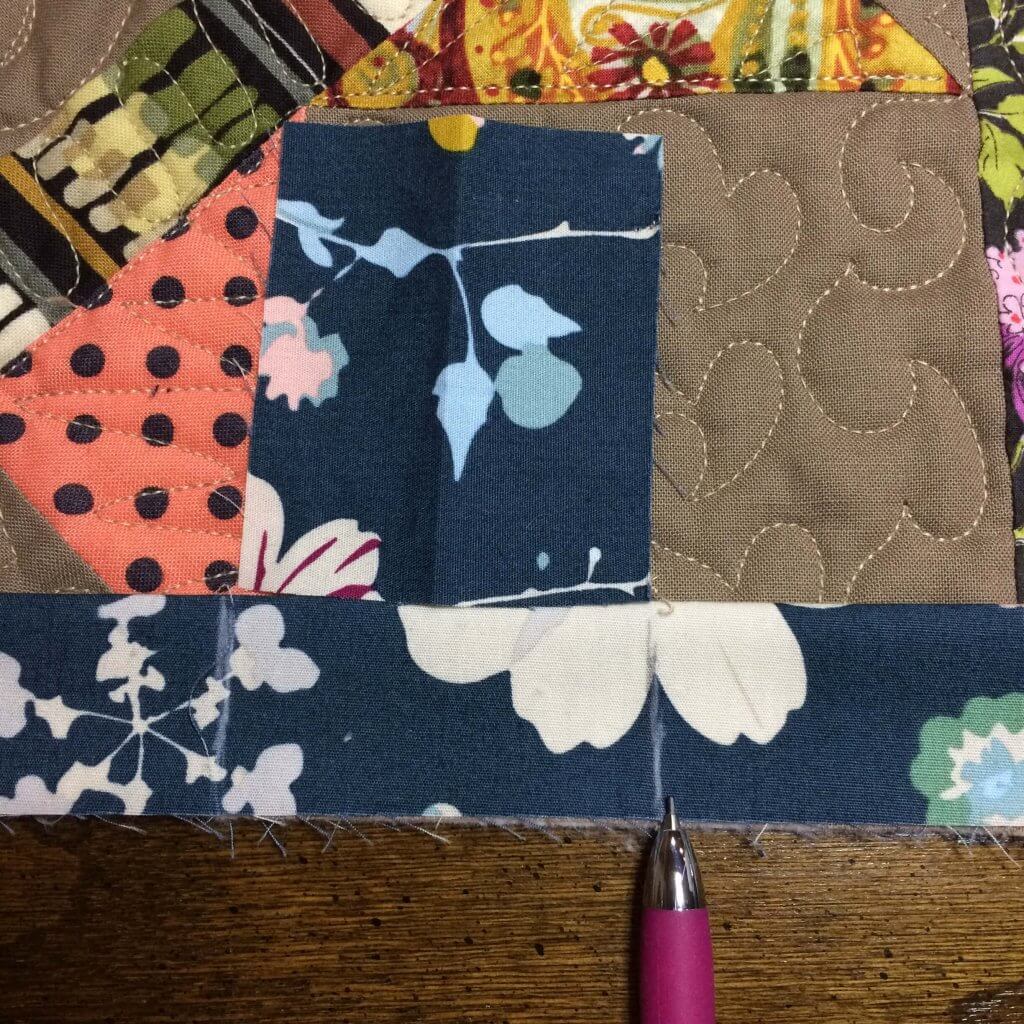
Cut the bottom tail on the second marked line. In the picture above, my marking pencil is marking the spot. Now, remove your pin from the beginning tail. Gather up a few inches of the quilt between the two tails and pin it together. This makes it easier to work with the two tails, and prevents the binding from stretching.
Pull the beginning tail down and open it up, so that the right side of the fabric is facing up. Take the ending tail (the one on the right), turn it down and open it up so that the right side of fabric is facing down. Align the ends of the two tails so that they are right sides together and perpendicular to each other. Draw a line on the diagonal where the two tails meet. Pin together on each side of the marked line.
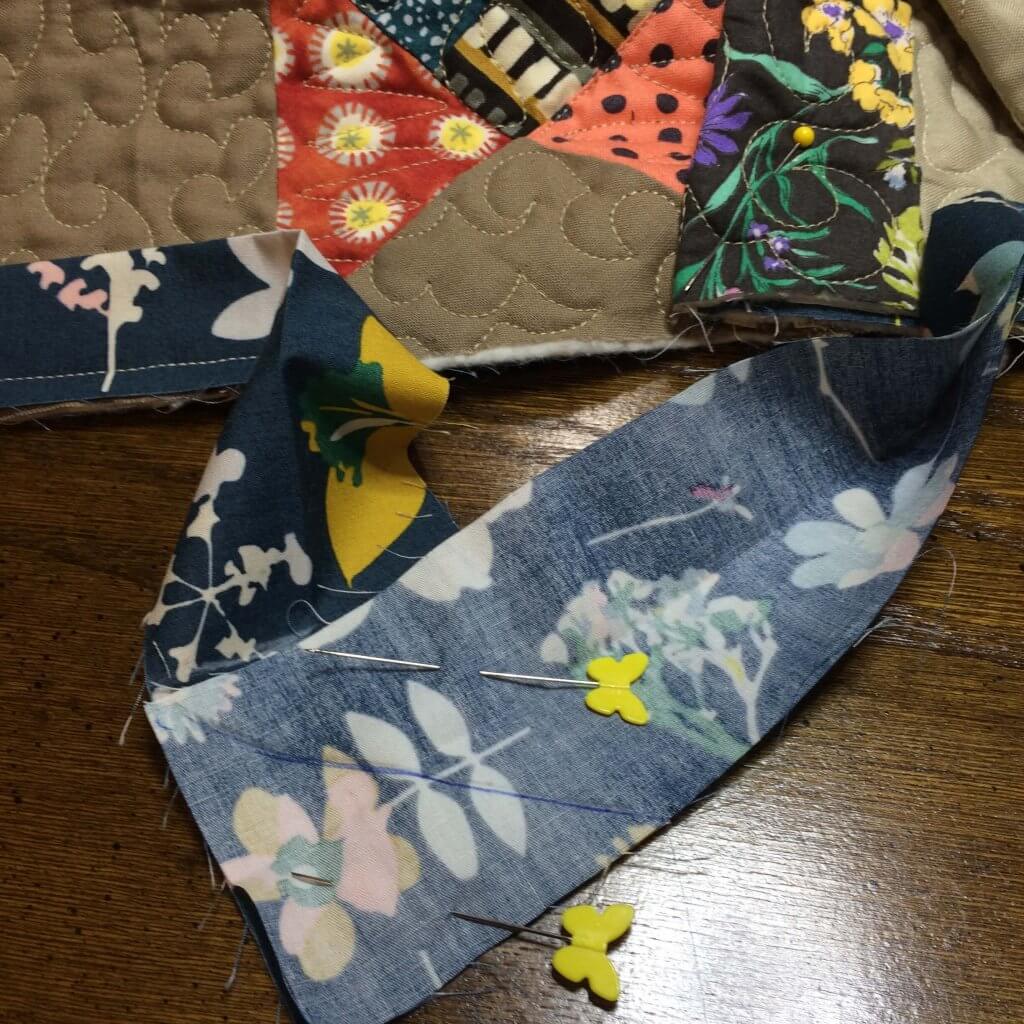
Sew and check
Sew the two tails together on the marked line. Remove pins and make sure the tails “fit” along the side of your quilt. It’s also a good idea to make sure you didn’t twist the binding the wrong way. (I’ve done this a few times!) If all looks good, then trim the seam and press open.
Now you can return to the machine and stitch the joined binding tails in place, and no one will ever be able to figure out where you started or where you stopped.
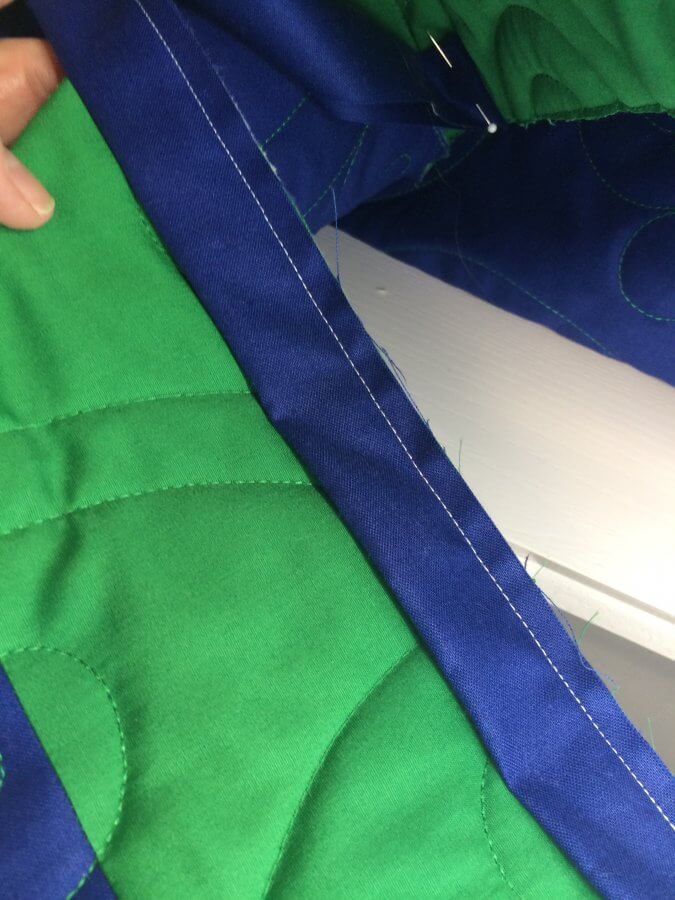
The front is done, now for the back!
Once you attach binding to the front a few times, you will realize that you can do this pretty quickly. And you’ll get a little better and a little faster every time. But this is just part one.
Next, you will need to hand sew the binding to the back. And the is my favorite part.
I love the hand sewing part of quilt binding, and usually save this for evenings when I’m a bit tired. I can turn on Netflix, hit play and mindlessly sew while I listen and watch.
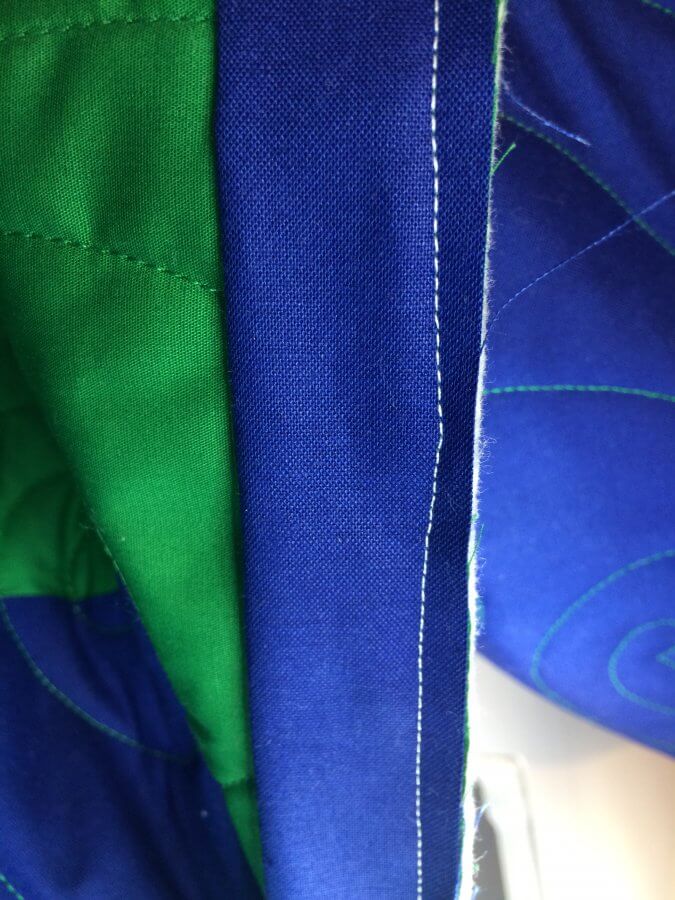
To prep the quilt for hand sewing the back, simply press the binding out from the front side of the quilt. At this point, a lot of people like to turn the binding over the sides and hold it down with little clips. Many of my quilting buddies do this, but I feel the same way about binding clips as I do about pins. They get in my way. I prefer to simply fold over a 2 inch section at a time, making sure it is aligned straight, then I hold it down with one clip and proceed to stitch it down.
In my next post, I’ll show you how to do this hand stitching in a very detailed way.
Until next time,

