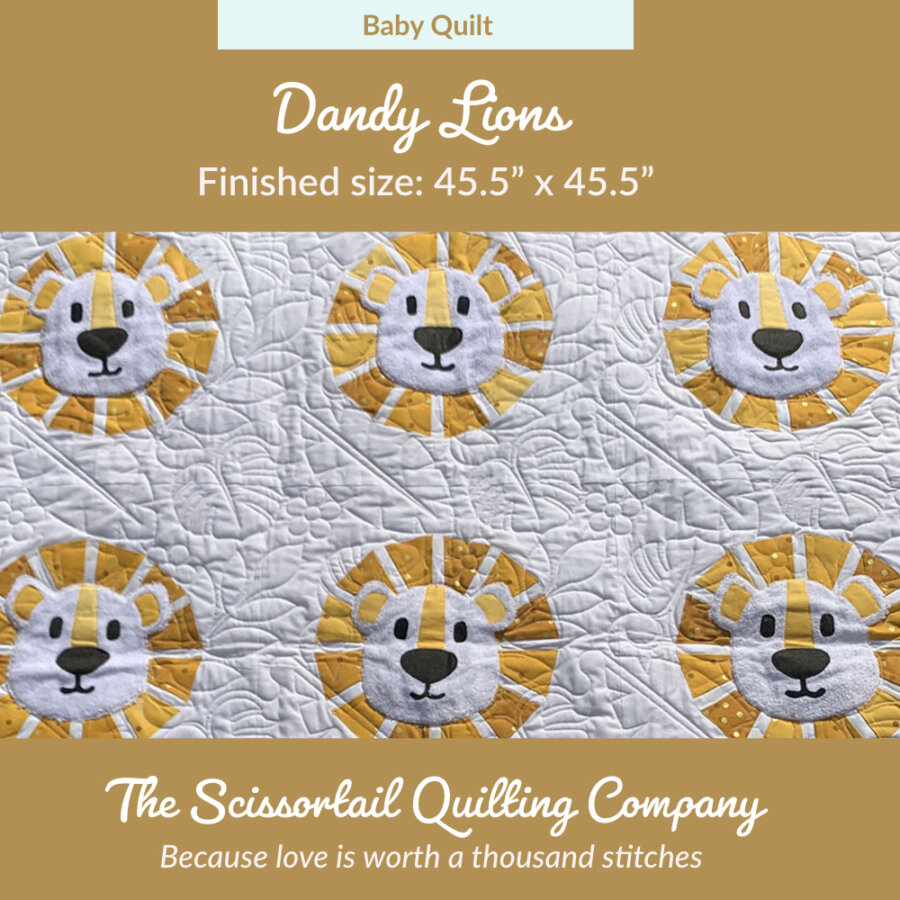
Dandy Lions Baby Quilt Pattern Information and Tips
Hello, there! The Dandy Lions Baby Quilt pattern is now available in my Etsy Shop. I’ve been working on this pattern for about a month, but the pattern had been swirling in my brain for about four years. It feels good to have this come to life and I’m hoping the Dandy Lions Baby Quilt will bring much joy to some little ones out there.
This blog post will explain a little about the development of the pattern and why I made some of the design choices I made. Later, I provide some useful tips you can use in bringing your own Dandy Lions Baby Quilt to life. Even if you don’t purchase the pattern the tips may prove useful in other areas of quilting.
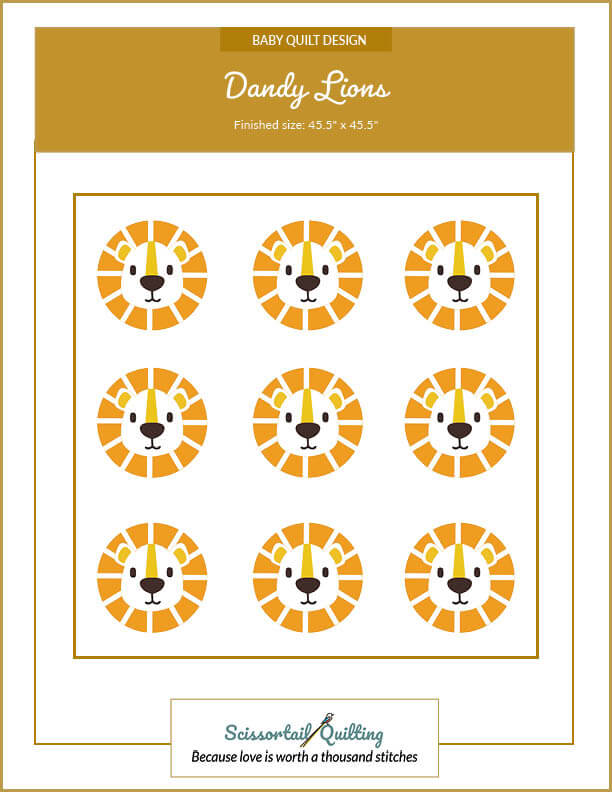
You can purchase the pattern by clicking the pattern image below.
Dandy Lions Baby Quilt Pattern Description
The Dandy Lions Baby Quilt is a small quilt measuring about 45″ square. It uses some easy patchwork and simple raw edge appliqué. Admittedly, I don’t consider appliqué to be in my wheelhouse, although I greatly admire the skill – especially when it comes to those of you who have perfected the needle-turned variety! I can get the job done, but often I am not satisfied with my results.
Some designs just lend themselves to appliqué and this is one of them. I knew that creating this pattern was going to stretch me, so I made the decision early on to try to keep the appliqué as simple as possible.
One of my frustrations with appliqué is the whole reversing the design thing. So, for starters, I drew most of the pieces so that they are fairly symmetrical, and the ones that aren’t symmetrical will not be affected too much whether you reverse them or not. This means that neither you nor I need to worry about reversing the design when printed or traced.
A few challenges along the way
In my last post I explained how I wasn’t happy with my first lion face, so I won’t bore you with that again. In that first prototype I used a beige fabric for the face, and I had thought I would like it better if the face was white. Unfortunately, using white quilting fabric for the face wasn’t the best choice. Can you see why?
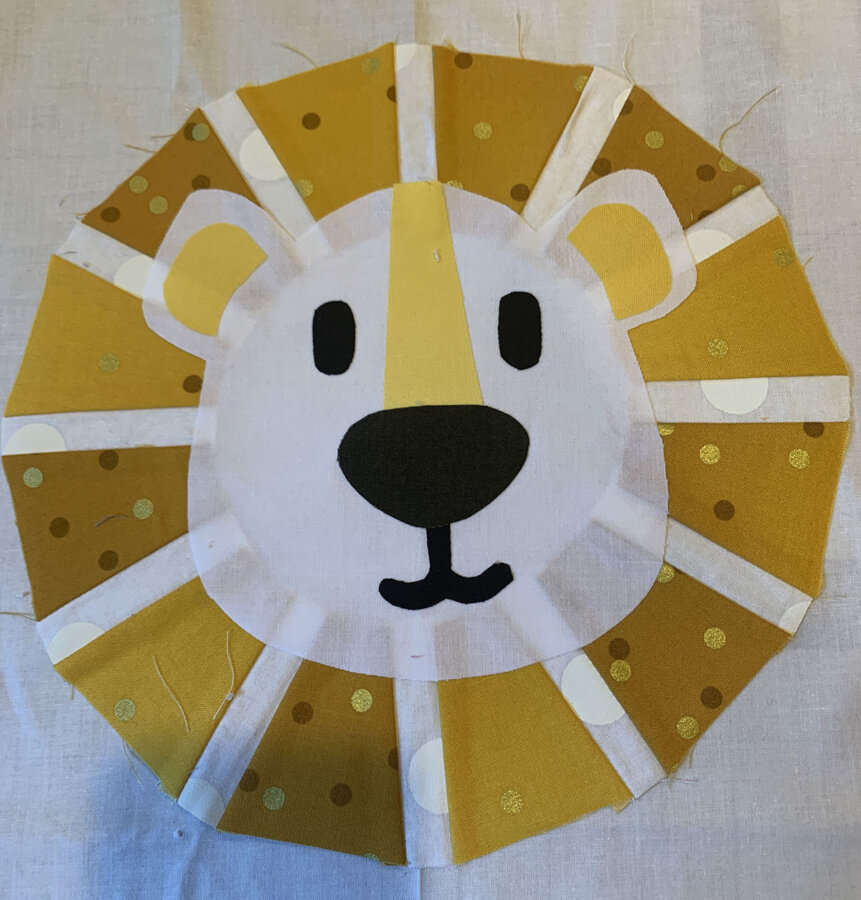
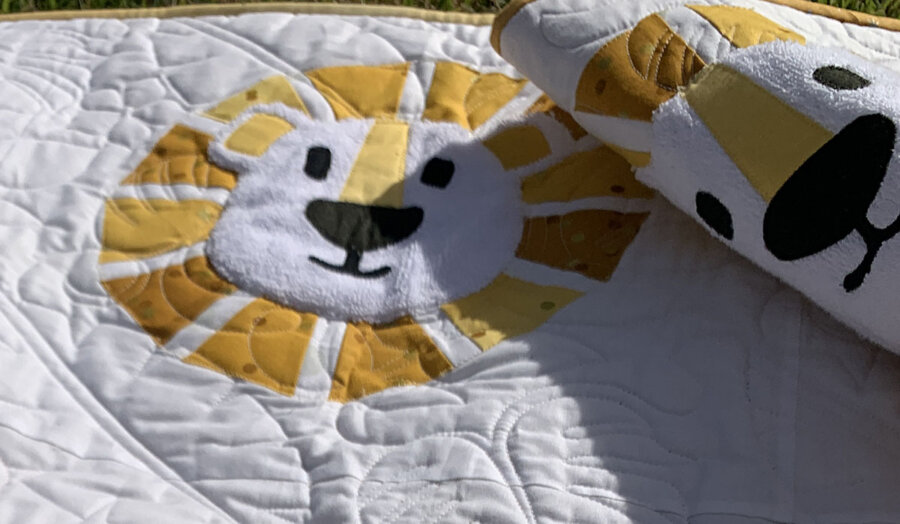
It really frustrated me that you could see the fabrics behind the face. And I REALLY wanted a white face. I know real lions do not have white faces, but I felt like a white face would make the overall design come off much cleaner. I considered using minky or fleece fabrics for the face but knew they would not hold up to the hot iron when fusing the little face pieces in place. I was about to head to the quilt store to purchase some flannel, and then I remembered that I had a stash of white and gray terry cloth that I keep around for making burp cloths (shower gifts – I no longer need burp cloths personally. I simply cover my mouth as my mother taught me, LOL).
I felt like this was a winner.
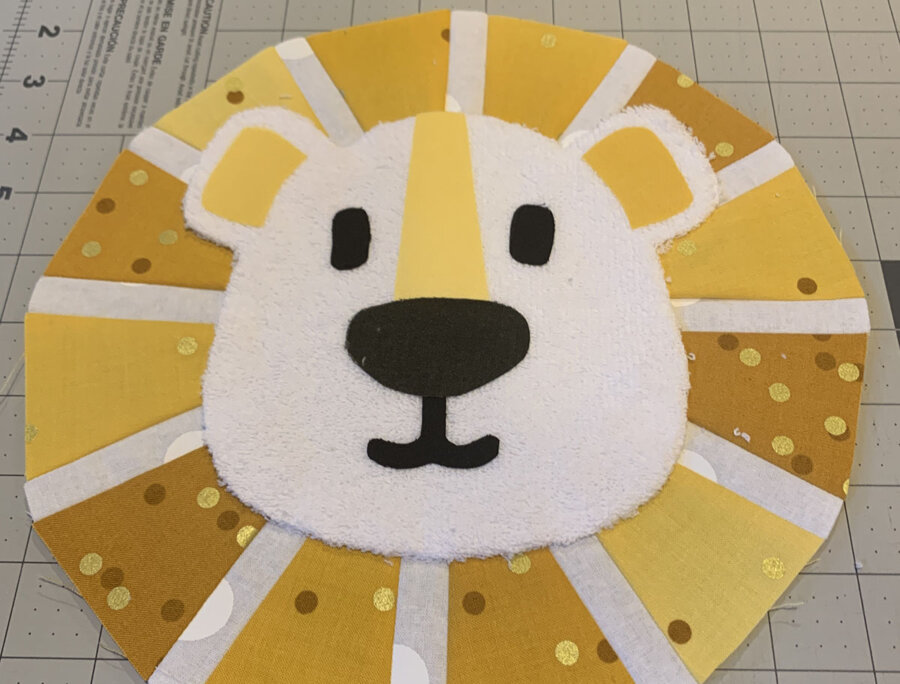
In the end I was really happy with the texture, too. It’s really nice to have this touch of softness on a baby quilt. Terry cloth is 100% cotton, and it will get softer over time. Win. Win.
So, now you know why I recommend terry cloth in the pattern. I do believe a heavy flannel would work, too. Full disclosure: I did test out a few fleece samples, but I glued the shapes instead of fusing them. So, that WILL work if you want to go to the trouble.
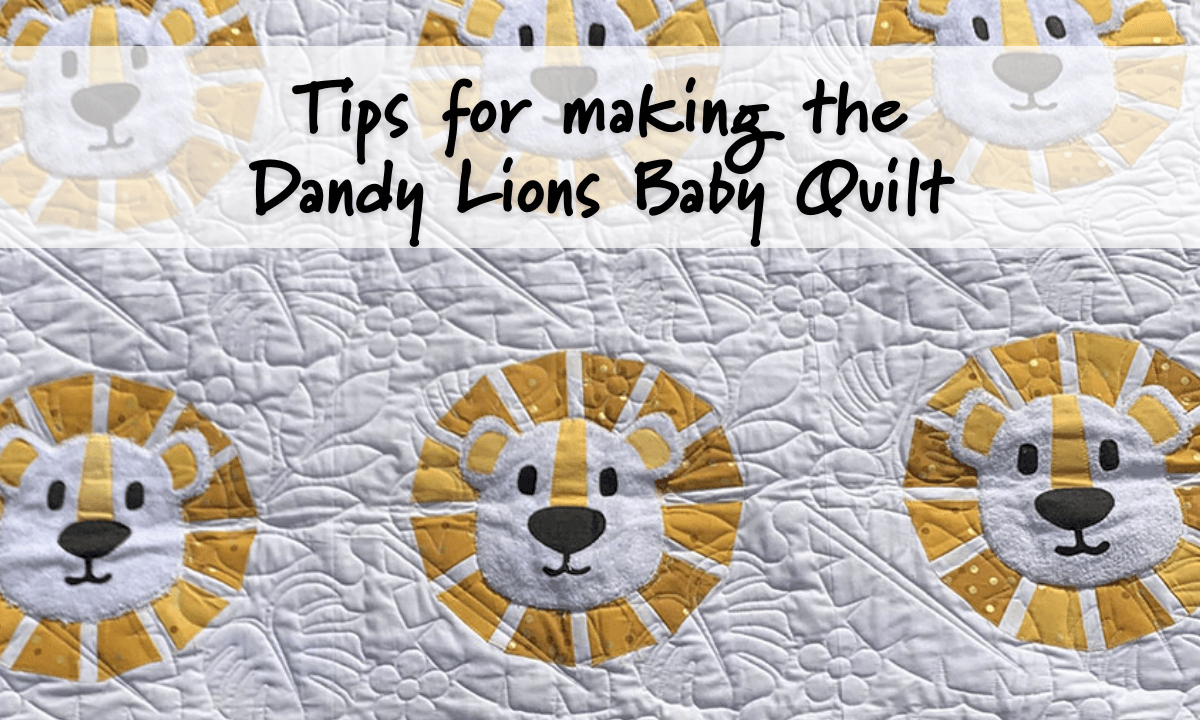
Tips for Sewing the Dandy Lions Baby Quilt
Part 1: Sewing the Dresden Lion Manes
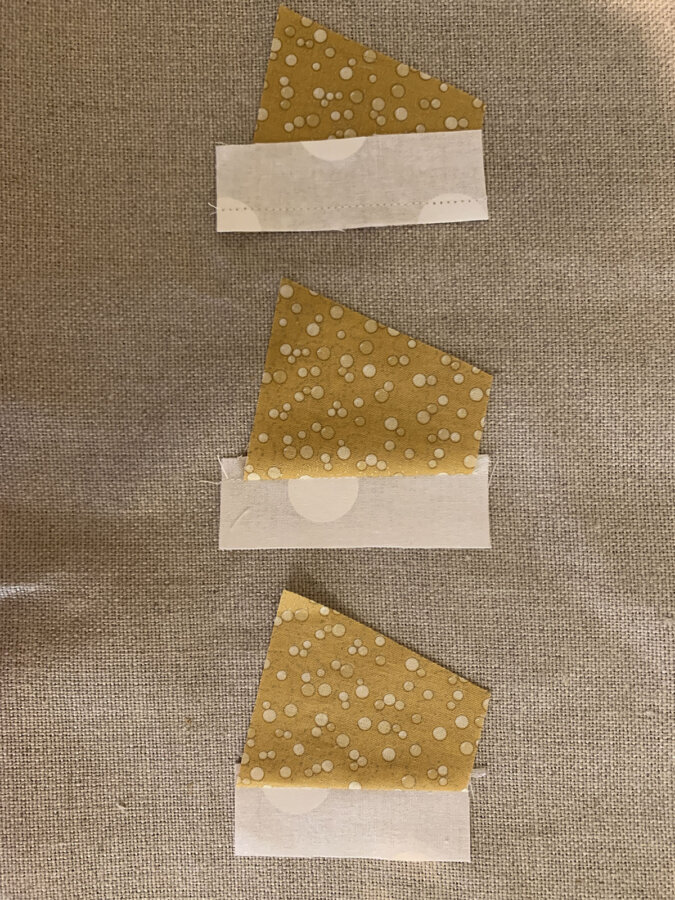
The Dresden Lion Manes sew together in a jiffy. First cut your tumblers and strips. I used Ombre Confetti in Honey by V and Co for Moda Fabrics for my lion manes. I’m not sure how much longer this fabric line will be on the market, but I know you can still find it on Etsy. The newer fairy dust ombre may be easier to find. I used a Honey colored ombre for the bridge and ears.
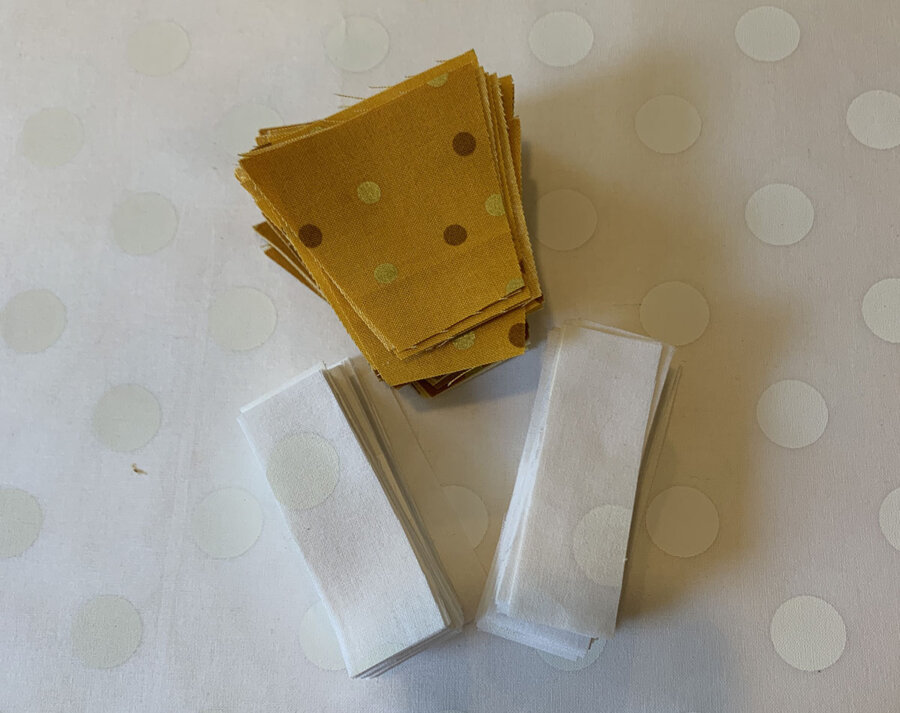
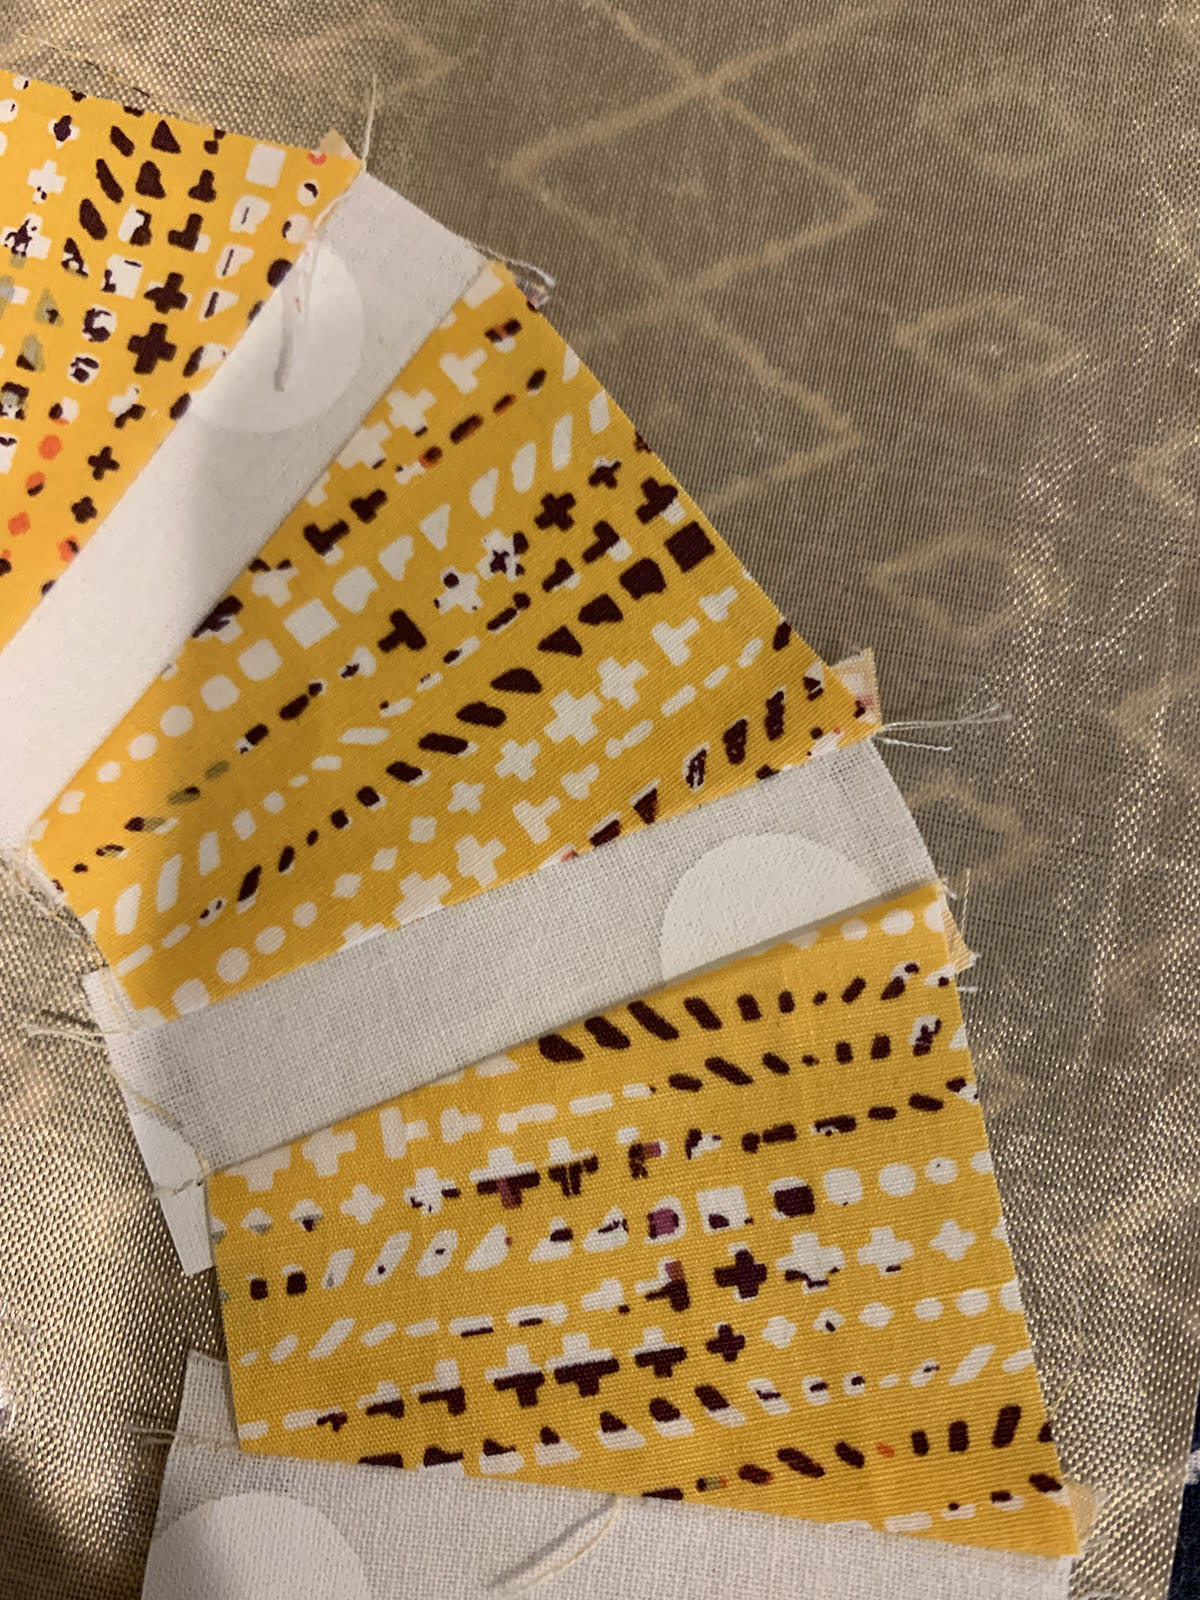
Below are a few photos showing proper placement of your white strips. The pattern instructs you cut these a little oversized to help with alignment. You will sew, and then trim everything down a bit.
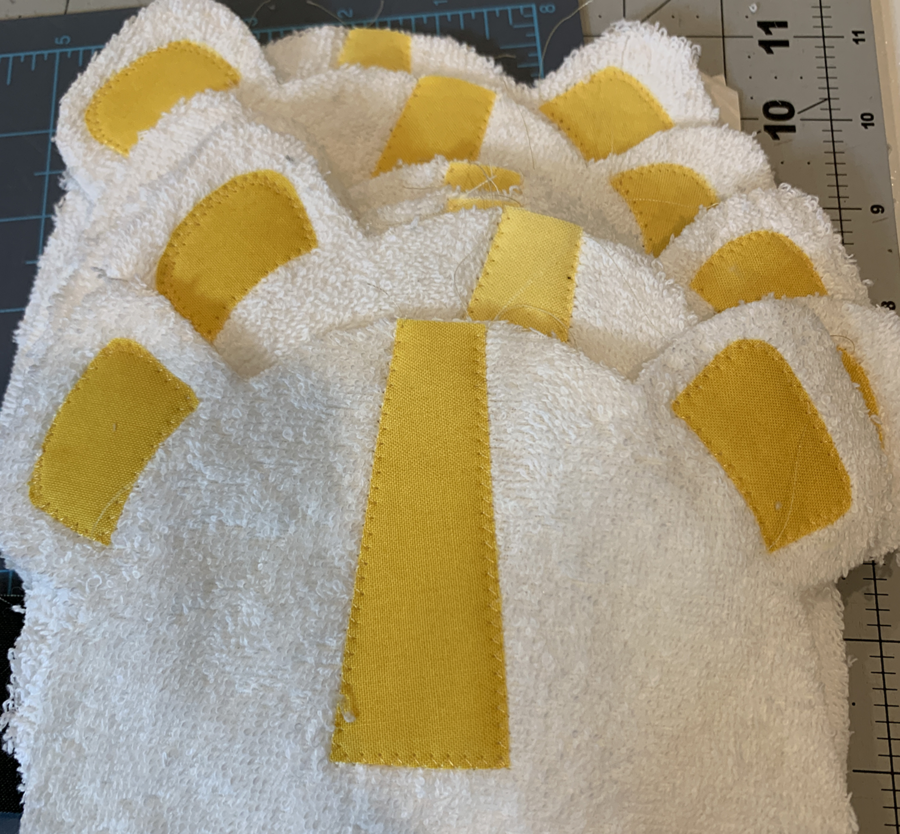
Then you sew 12 together in a circle, like so:
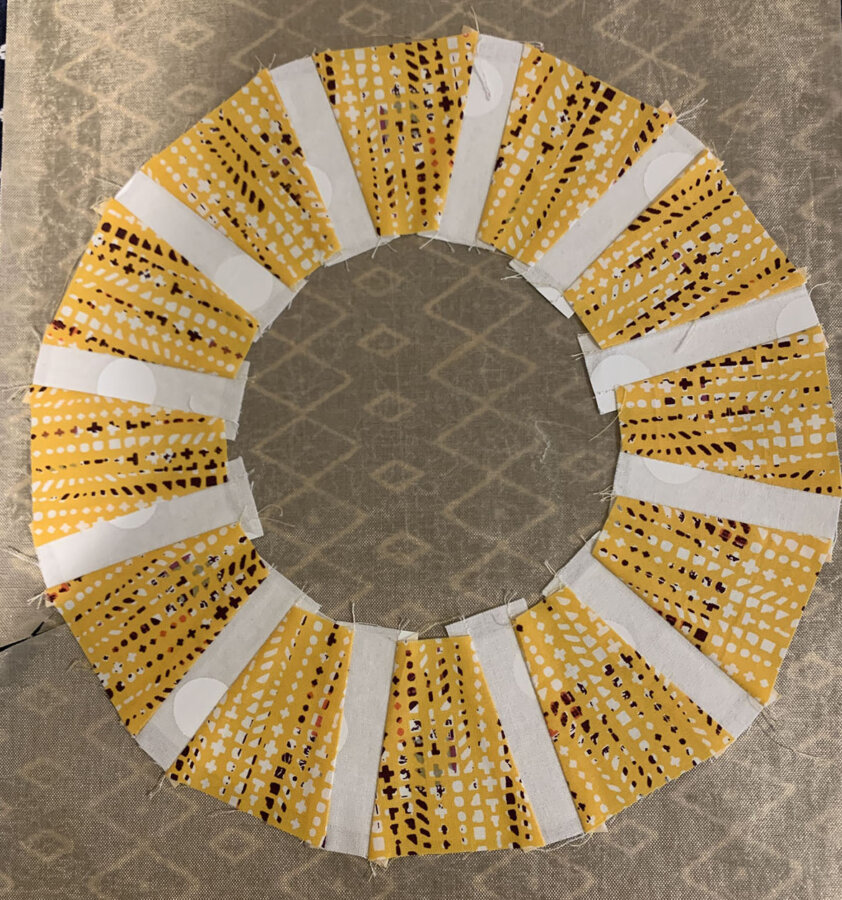
It will lay better if you press everything toward your tumbler pieces. This way, they will pop a bit when quilted.
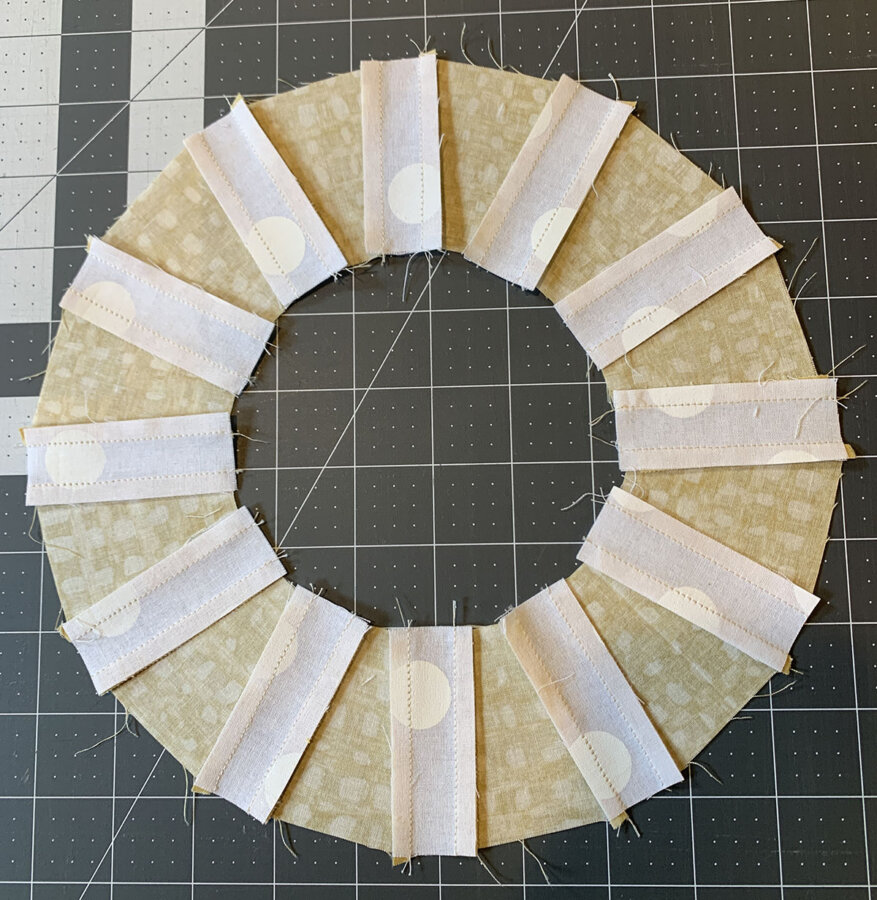
You will notice that you have some dog ears that are hanging over. Take some scissors and neatly trim those away.
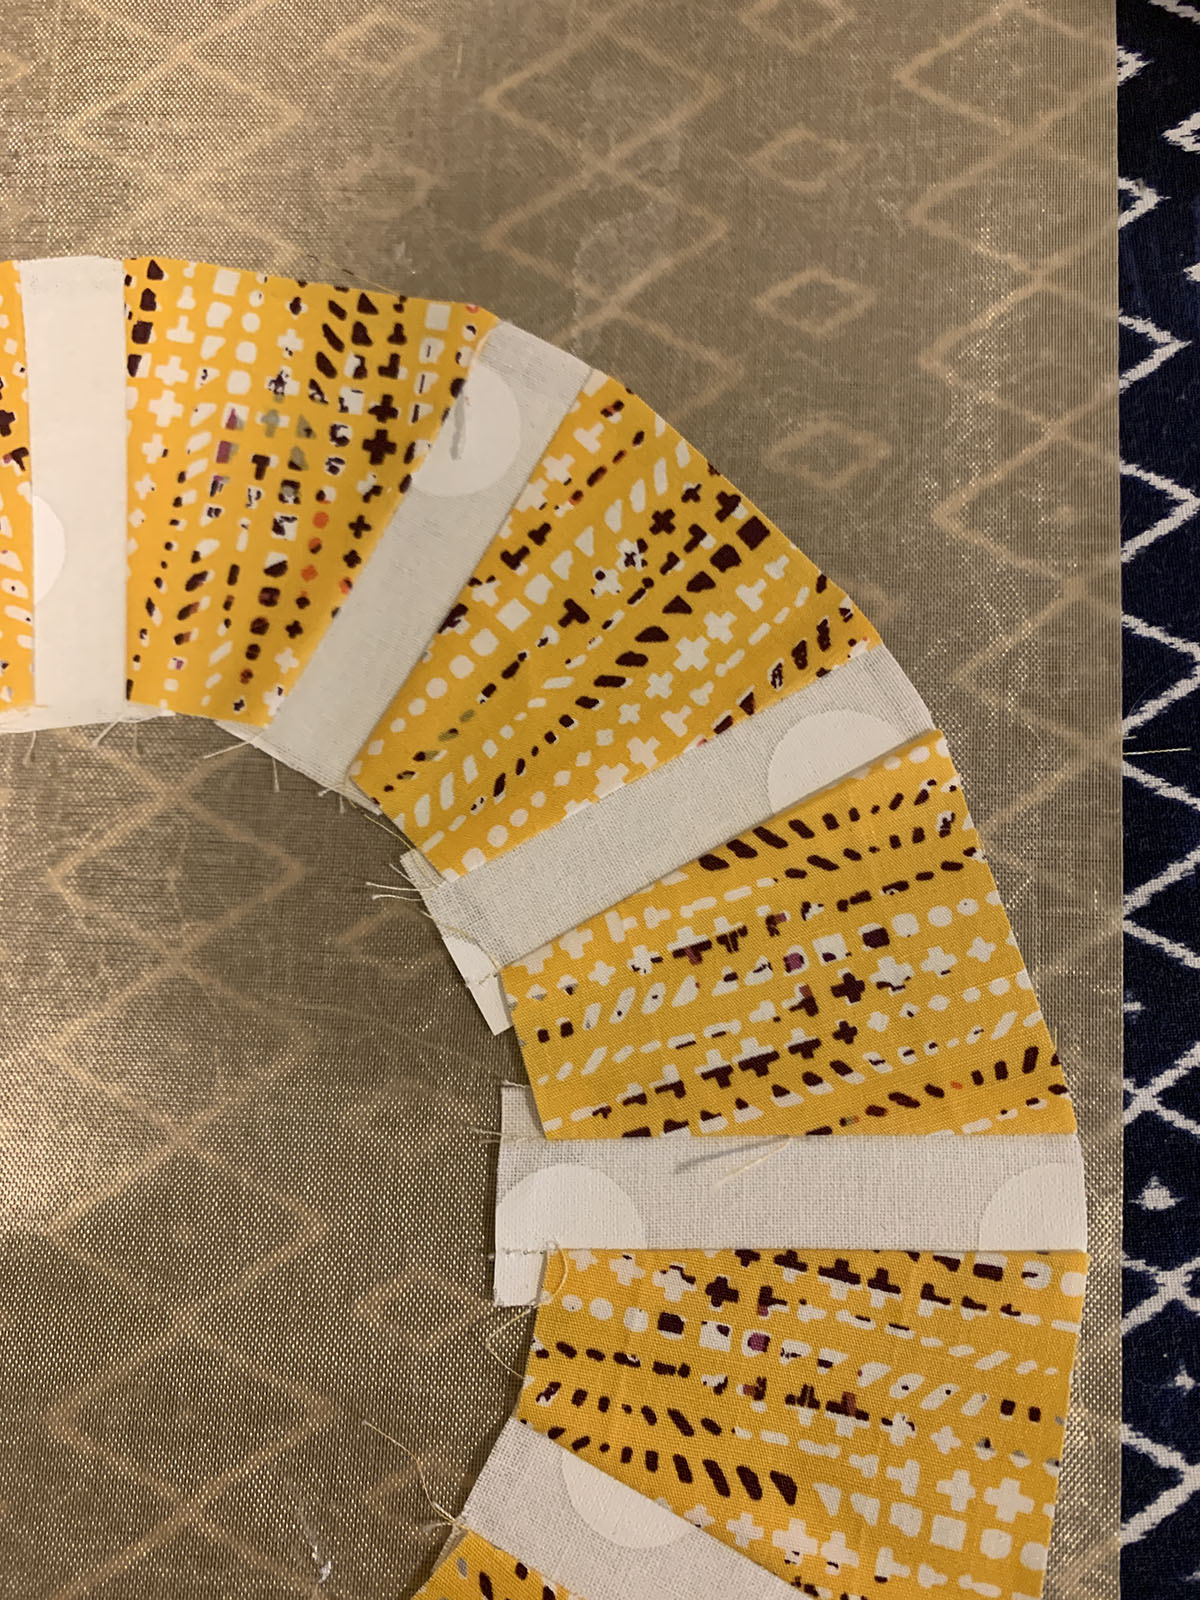
I haven’t shown in a photo, but you should also trim up the inside of the circle, too, making all those oversized pieces line up with the tumbler units as best you can. This isn’t super critical since the Terry Cloth isn’t see through, but makes things a bit neater.
Note that this Dresden plate design is not a true circle. The flat edges of the tumbler units prevent this from being a true circle. So when you make yours, don’t try trimming it to be more circular. This is by design because I felt that the little straight edges on the ends of the tumbler units make the lion design a bit cuter than a true circle would be. Plus, you don’t have to be quite so fussy with it. 😉
Applique Tips:
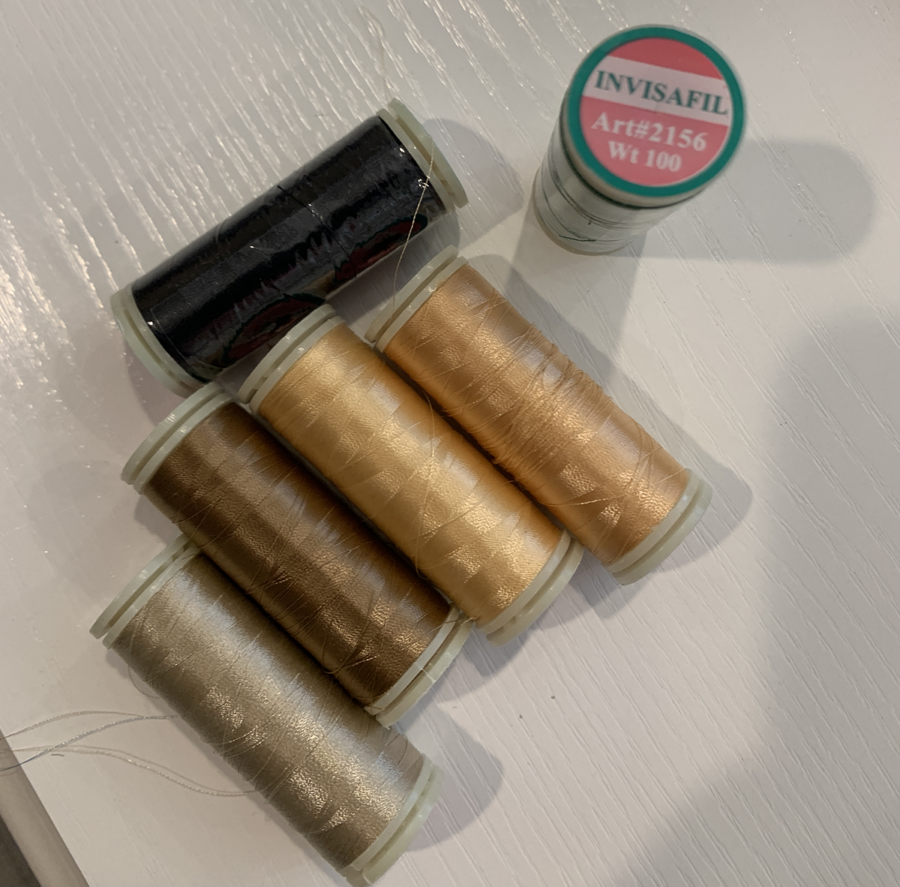
One of the best applique tips I know has to do with thread. Several years ago I discovered INVISIFIL thread by Wonderfil. This stuff is magic. And Forgiving. It blends in so nicely even if the colors are not exact matches. Lot of quilt shops carry it or you can order it online though my Amazon affiliate link below:
The link below is an affiliate link, which means that if you click the link and choose to make a purchase, I will earn a commission. This commission comes at no additional cost to you. Please know that I only link to items which I personally use and feel that I can confidently endorse. Your support by using these links is greatly appreciated.
You may prefer to NOT match your thread color. Some folks like to use a contrasting thread to “outline” a piece. This is where you can get creative and do what looks good to you.
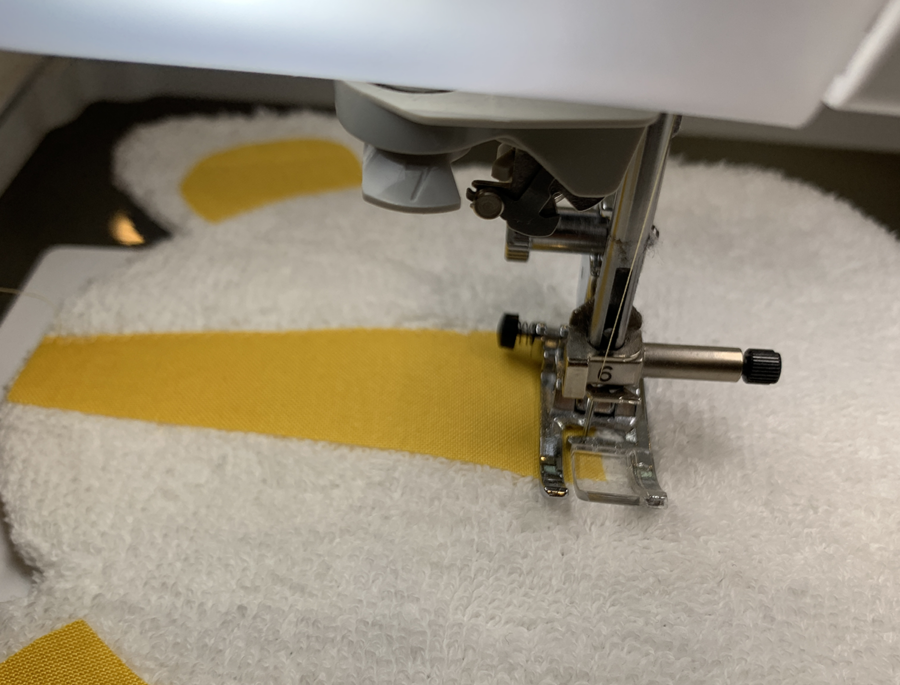
Another tip is to use a zig-zag stitch instead of a blanket stitch. Blanket stitches are fussy about how you turn and where you end up on a corner. Zig-zags not so much. Again, very forgiving.
Position your needle so that it falls just beside the outside edge of the fabric. The idea is that the stitch will take just a small “bite” into the edge of the fabric. You will want to experiment with the length and width of your zig-zag to get the look you want. So, first practice on some scraps. I prefer the stitching to be as minimal as possible, so I set my zig-zag stitch to 2.0 mm width and 1.6 mm length.
Don’t forget to “secure” your stitch at the start and stop of each bit of stitching. As quilters, it is easy to get out of this habit, since it isn’t necessary for patchwork. But it is important for appliqué. You want those pieces to stay secure long after the glues have dissolved after multiple washings.
Fusing the face
When I made my first practice block for this quilt, I cut the fusible for the face the exact size of the face. I quickly realized that this was a bit wasteful. Realistically, you only need enough to hold down the edges of the face until you have it stitched in place.
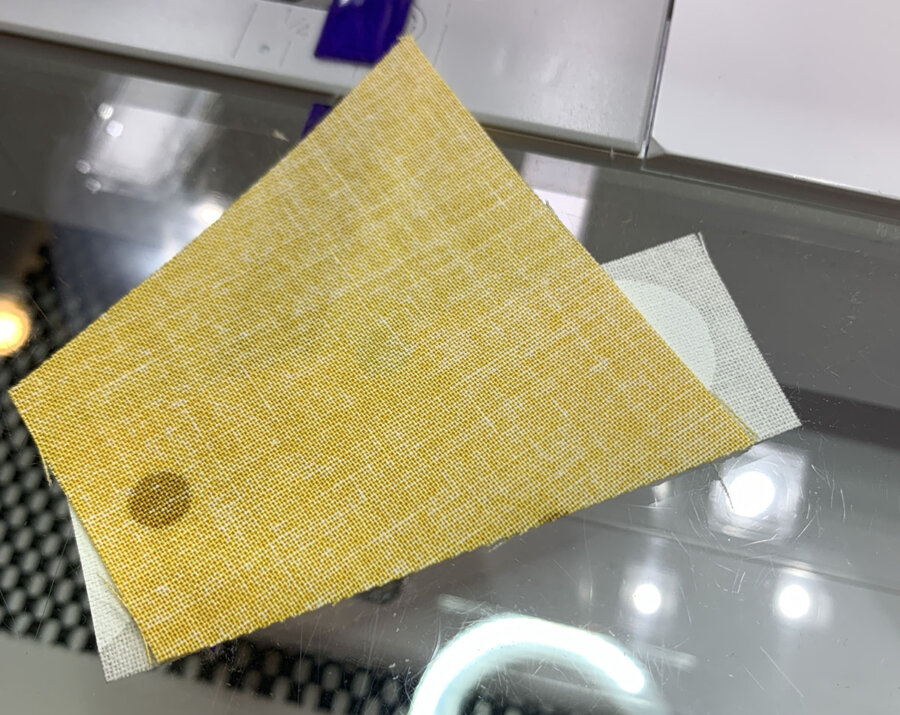
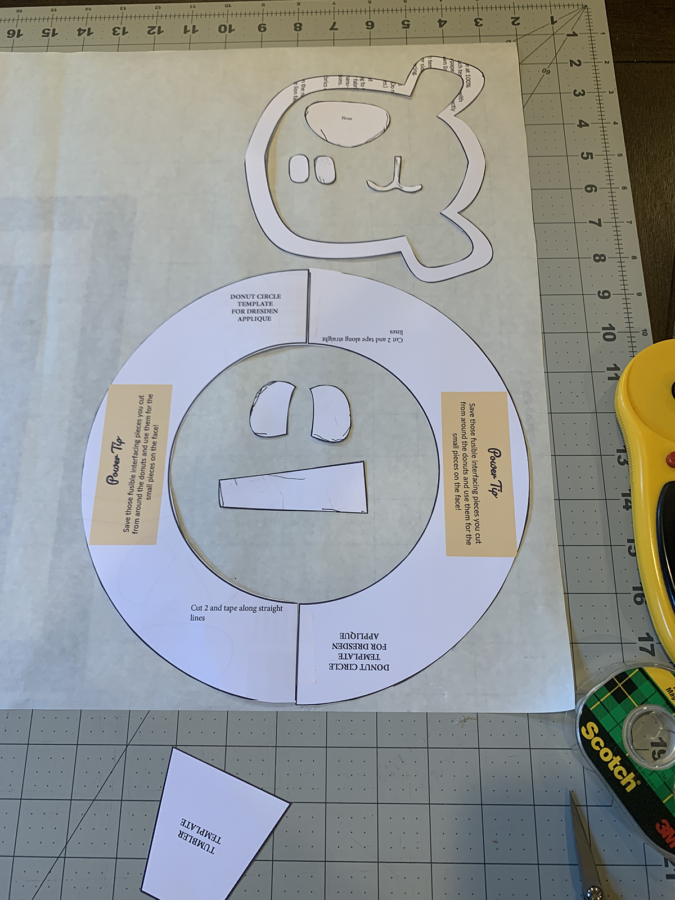
On my next block, I cut about a 1/2″ outline of the face template and traced that onto my fusible interfacing (see photo below). NOTE ALSO: you can maximize your usage of the interfacing by cutting the smaller pieces from the “insides” of your larger pieces.
This also eliminated the fusible on the face from behind the eyes, nose, and mouth, making it much easier to stitch those pieces. However, the fusible was still behind my ear pieces and I found that difficult to work with, because I was either stitching thru the paper backing of the fusible (which I should have removed!) or I had that fusible sticking to the throat of my machine as I stitched.
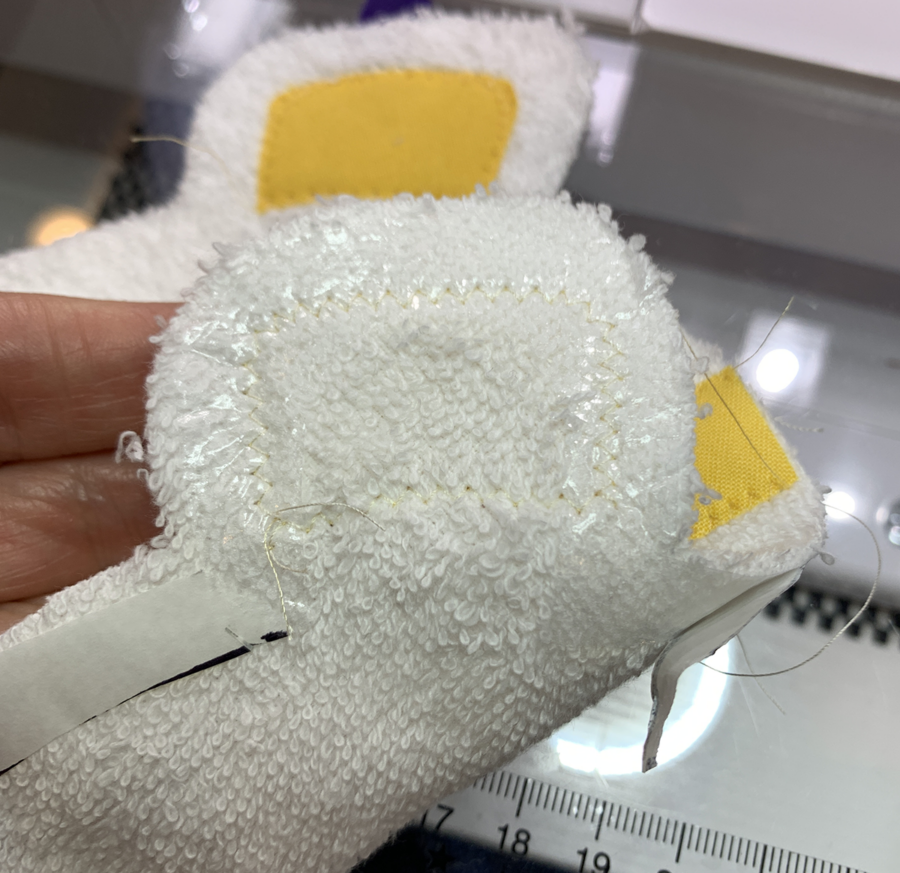
There are two work arounds. One is that you can cut the face, appliqué the pieces to the top, then fuse the interfacing to the back of the face after the other pieces are in place. What I ended up doing was not using fusible interfacing at all for my face. I simply put a little glue around the edges, and then heat set it with my iron. Once I knew the glue was dry, I appliquéd the face to the top of the Dresden.
The Case for Glue
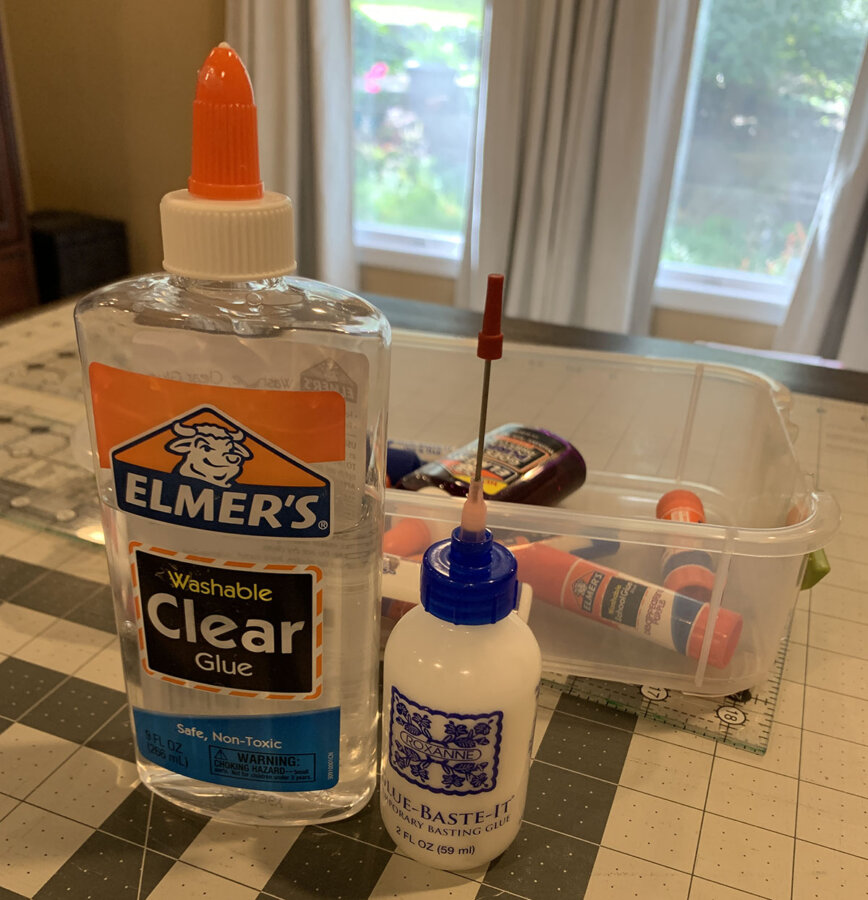
In case you are freaking out from me suggesting that you put glue on your fabric, let me put your mind at ease. The glue I use is fabric safe and washable. Elmer’s is super cheap, but if it makes you feel better you can use the Roxanne Glue Baste. It is expensive but the little needle applicator is handy.
The first time I heard someone recommend using glue on a quilt I was a little surprised. But this tip came from a world-renowned art quilter during a class at the Houston International Quilt Festival. I have since learned It is a common trick. Many award-winning quilters use it as their secret weapon to get bindings perfectly straight.
I would also just add (as someone who is becoming more and more concerned about the chemicals that permeate the world around us) that using glue for the entire project is doable. It might be the safer option for a little baby, exposing them to fewer chemicals if you used the glue instead of the fusible.
Final Tips and Quilting Options
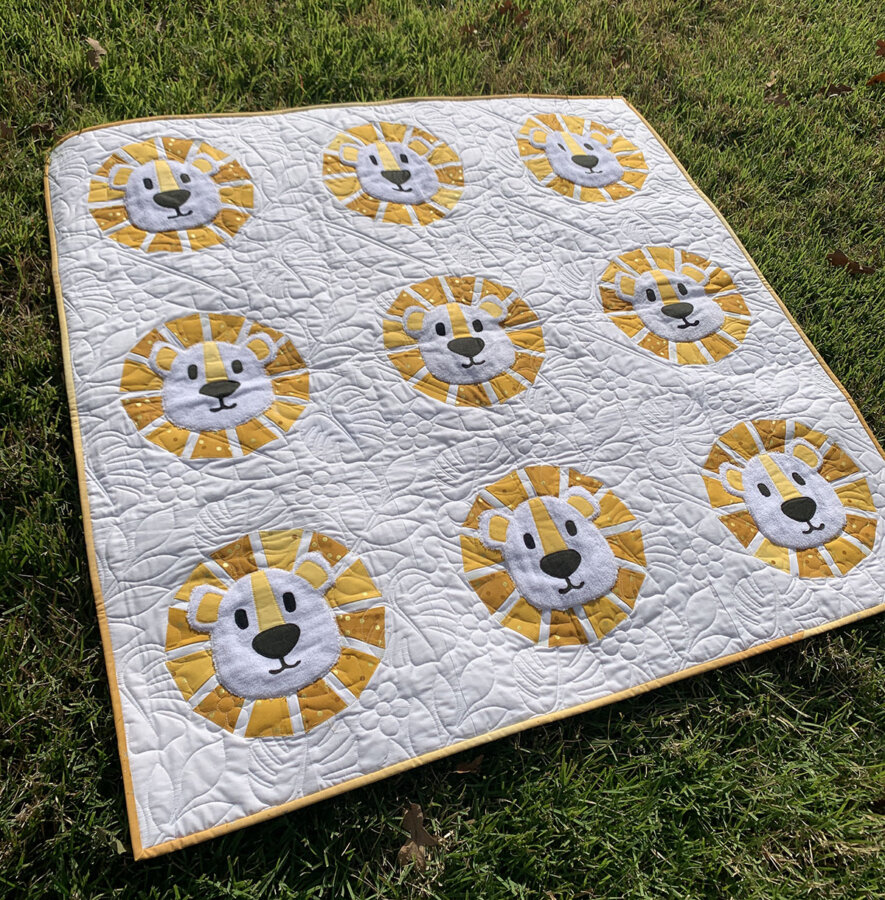
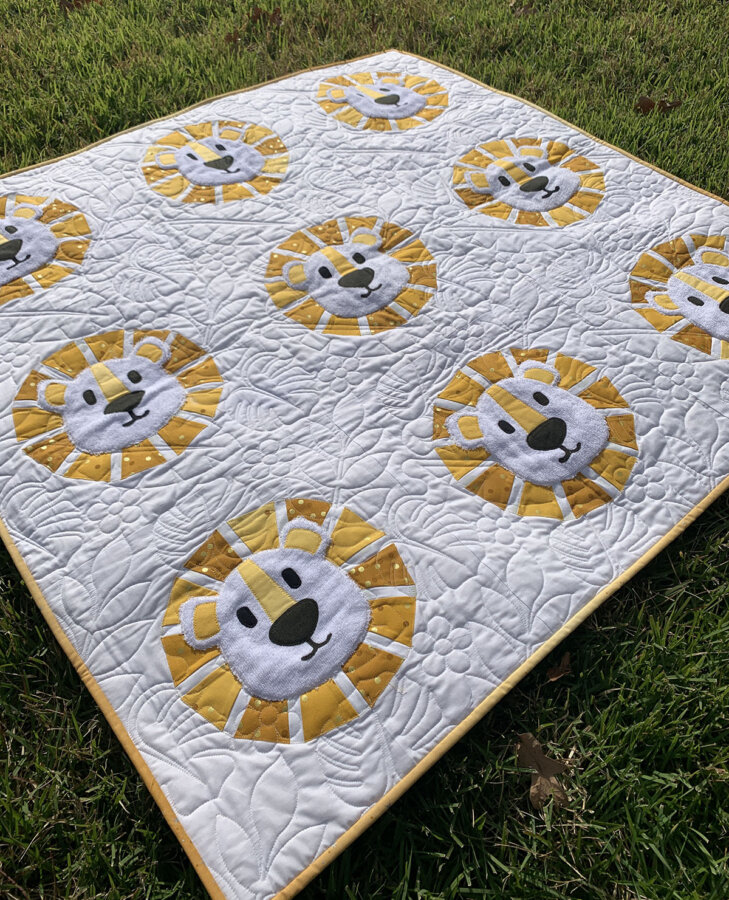
The pattern gives you a few simple ideas for how to quilt this baby quilt on your domestic machine. I was in a hurry so I opted to have my friend Janet quilt it. She used a “jungle flowers” pantograph, opting to not quilt over the faces.
I used a cuddle fleece fabric for the back. It’s a sweet choice for a baby quilt, adding that extra touch of softness.
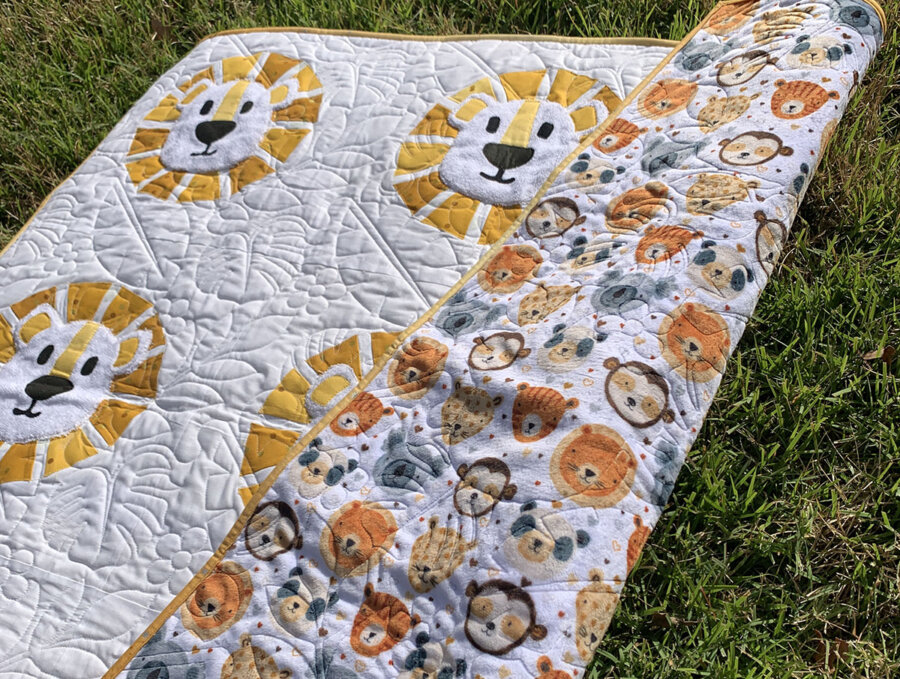
I will warn you that one of the drawbacks to using cuddle or minky on the back of a quilt is that sometimes the fibers form the cuddle fabric can pull through during the quilting process. If your front and back fabrics are similar in color this will not be noticeable, but if your front is white and your backing has colors (like mine) occasionally you will notice little spots where the fibers from the back have pulled up through the batting to the front. We experimented with several types of needles and this happened every time. But I would still choose this backing even knowing that cuddle can be a little more difficult to work with.
I hope these tips are helpful and that you have a fun time making the quilt if you’ve purchased the pattern. Please remember to post a picture of your completed quilt to an Etsy review or post on social media using the hashtag #DandyLionBabyQuiltand tag @scissortailquilting!