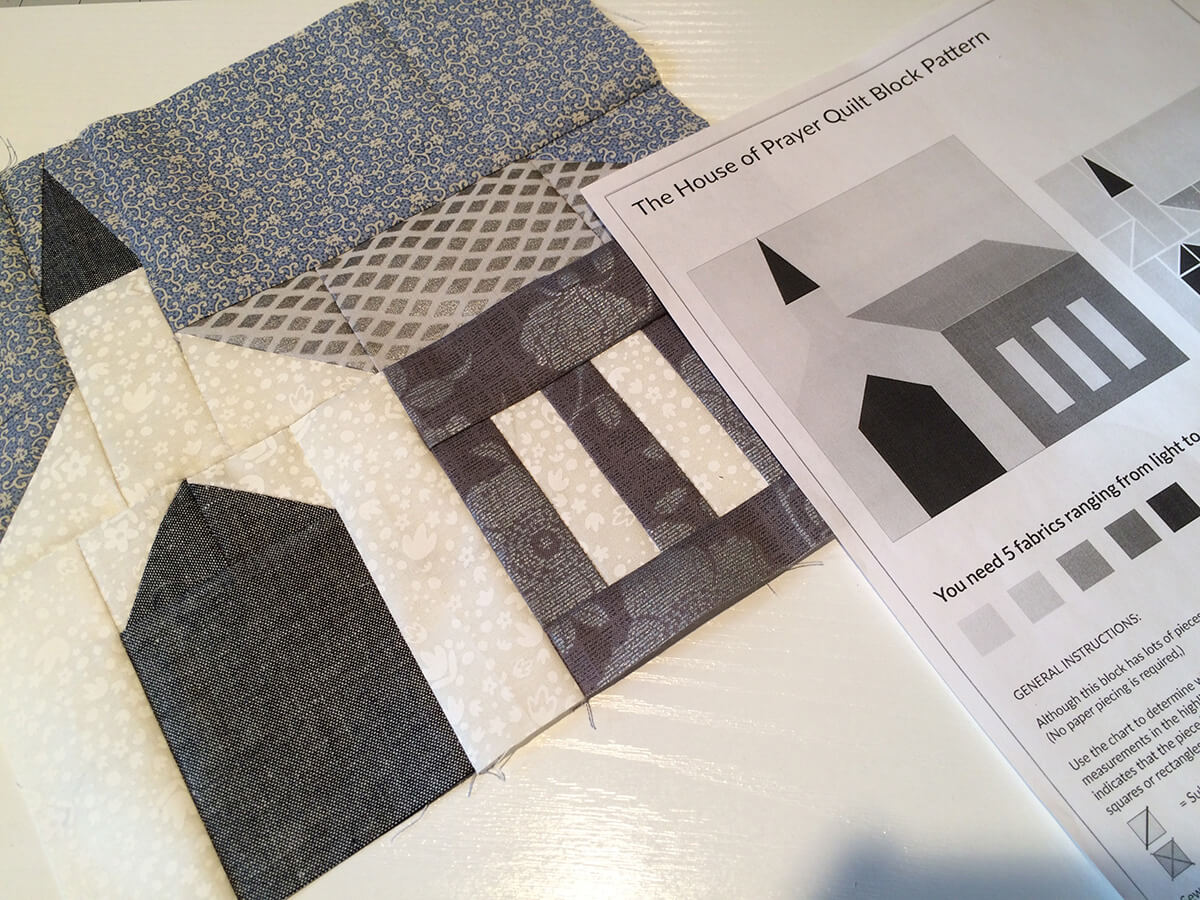
House of Prayer Quilt Block Tutorial
Estimated reading time: 6 minutes
Hello everyone! A few years back I designed a quilt block of a church building for a visitor to my website, and we called it the “House of Prayer” block. You can download the pattern for free over in the Quilt Block Library. It goes together pretty easily and was mostly patchwork — no paper piecing — except I recently revised the pattern to make the steeple unit using a foundation piecing technique.
The steeple unit is really the only part of the block that is a bit tricky, so I decided to alter the instructions to make this part a bit easier. Sewing the steeple to a foundation will take some of the guesswork out of positioning the side pieces and should greatly increase your accuracy, although as you will see you might still have to play with it a bit. Keep that seam ripper handy, just in case!
Steeple Unit Tutorial
The steeple unit is made using the L and M pieces in the pattern.
First, cut the M piece exactly as stated in the pattern. For the 16″ version of the block I have cut an M piece that is 2.5″ x 4.5″. Then, cut two L pieces. For the 16″ block I recommend cutting them at 3″ x 5″. These are a bit oversized so you can cut the unit down after you sew them to piece M. (You’ll see what I mean later in this tutorial.)
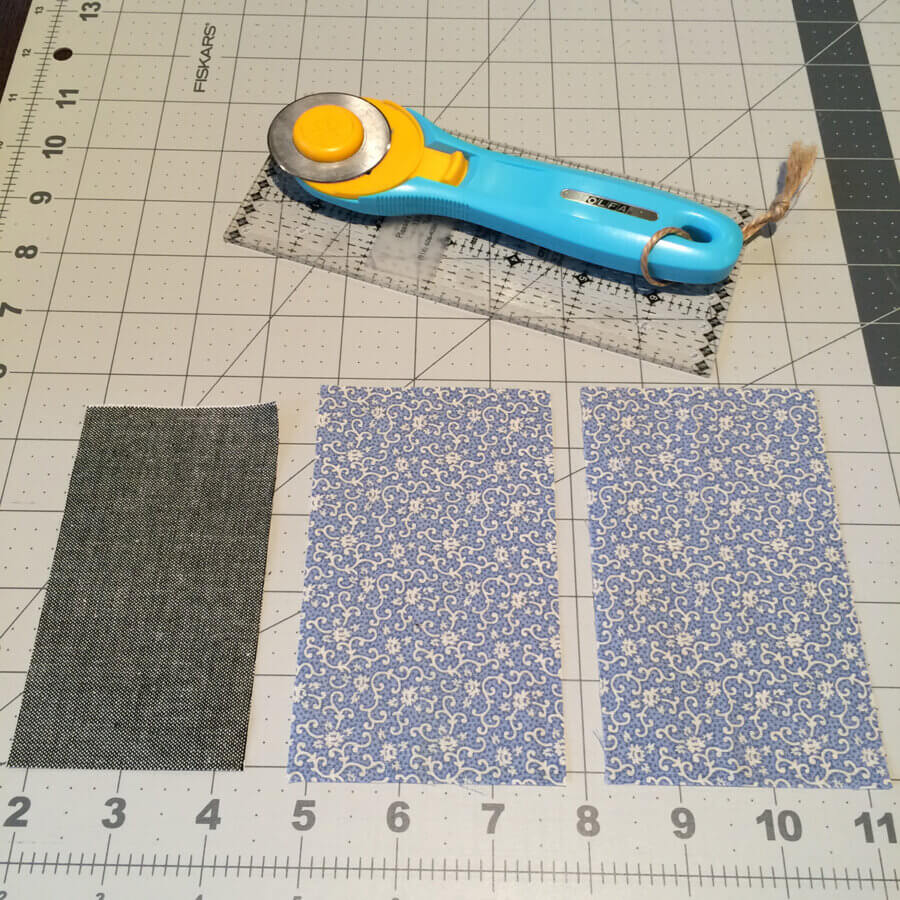
Prep the M Piece
Fold piece M in half vertically and press. On the WRONG side of piece M, draw a line in this center mark. Next draw a diagonal line that goes from the top center to the bottom left corner and draw another diagonal line that goes from the top center to the bottom right corner.
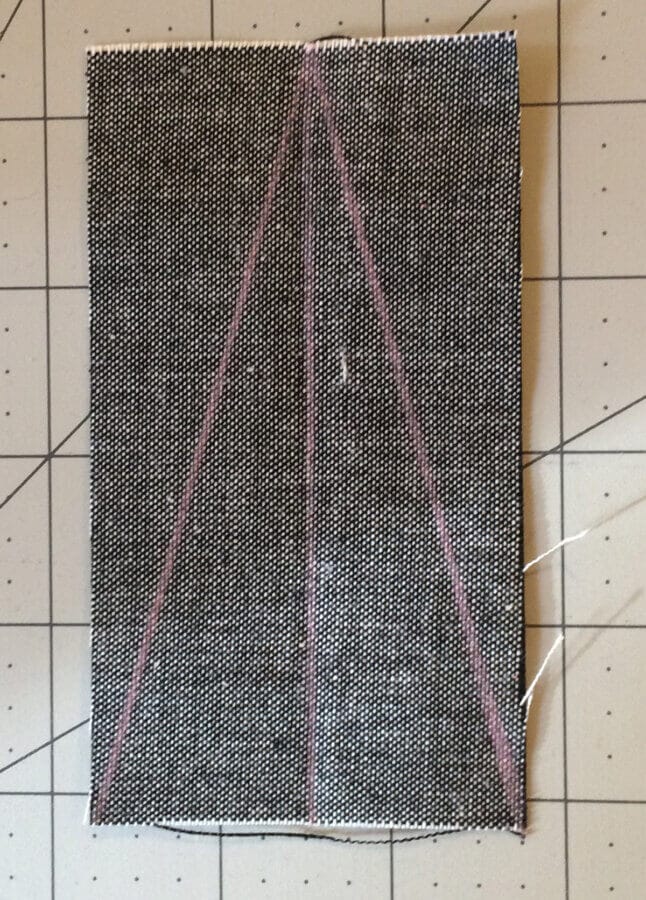
Now piece M has become a fabric foundation and the two diagonal lines are going to be the seam lines. When we sew piece L to piece M, we will sew with the wrong side of M facing up so we see those drawn lines and sew right on top of them.
Prep the L Pieces
Cut the L pieces in half along the diagonal. You can either do them individually as shown in the pattern, or to save time, place them right sides together and cut diagonally. Either way, you are going to discard one set. But you have to do it this way to get “mirror images” of the pieces.
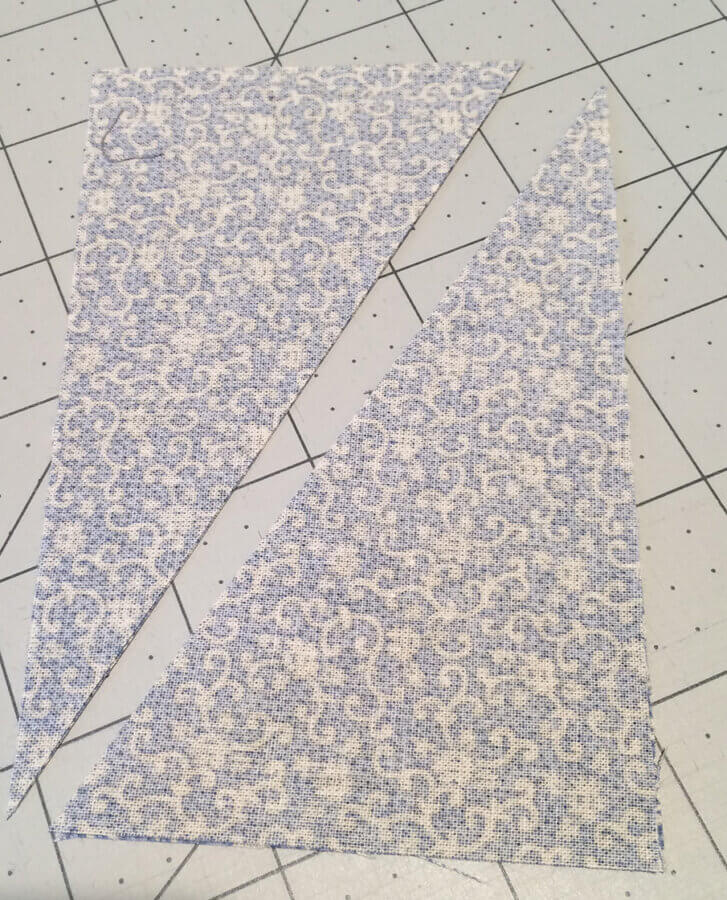
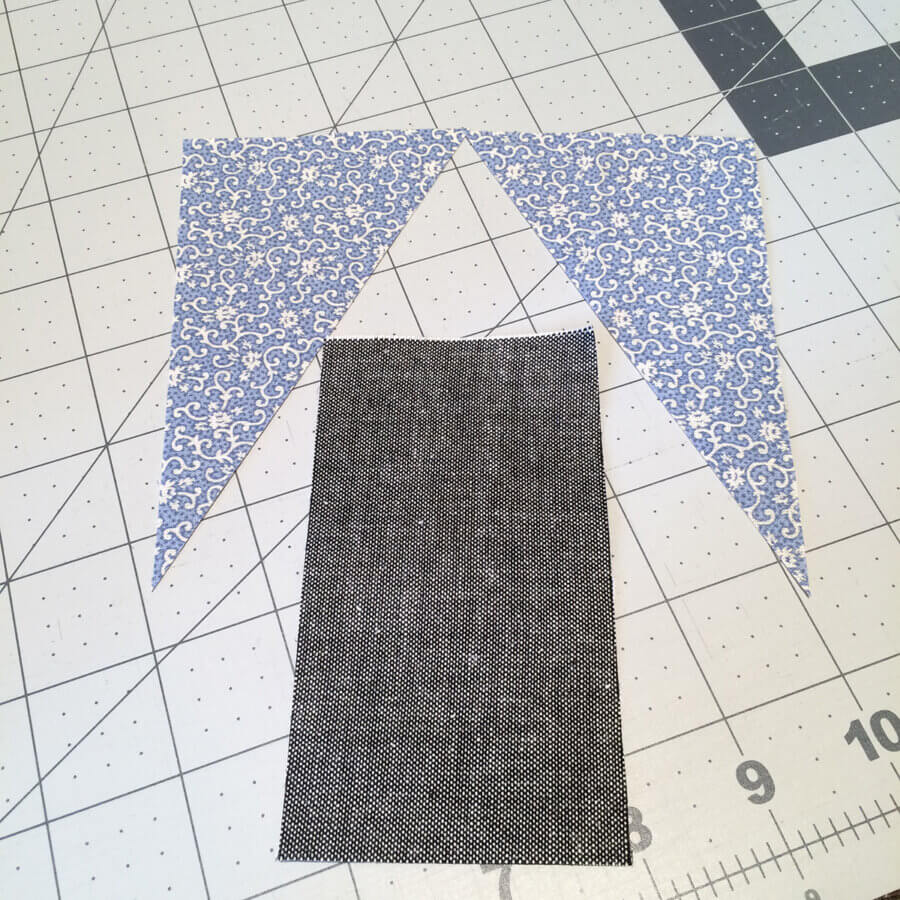
Sew L to M
Positioning is the trick here. Place your L1 (left corner) piece right sides together with piece M as shown below. You want to make sure the diagonal edge is extending beyond the drawn line on the other side of M. Piece L is oversized, so you should have plenty of fudge room to do this.
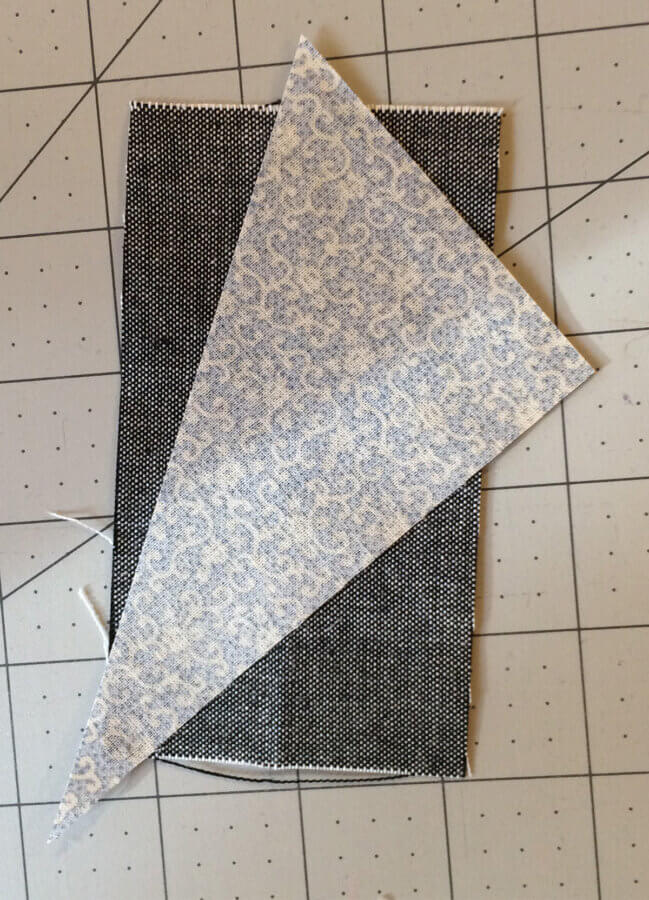
Pin in place, turn it over and go to your sewing machine and sew on the drawn line. Press it open, making sure that piece L covers the entire left corner of piece M. Ideally it should extend beyond and you can trim those down to match the M edges. If it doesn’t do this, then unsew and try again.
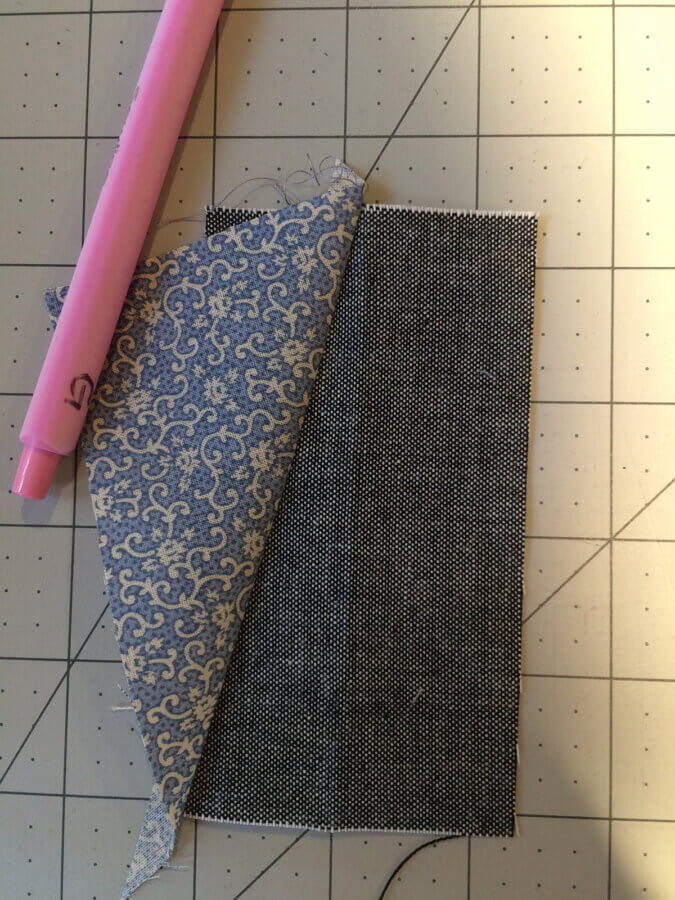
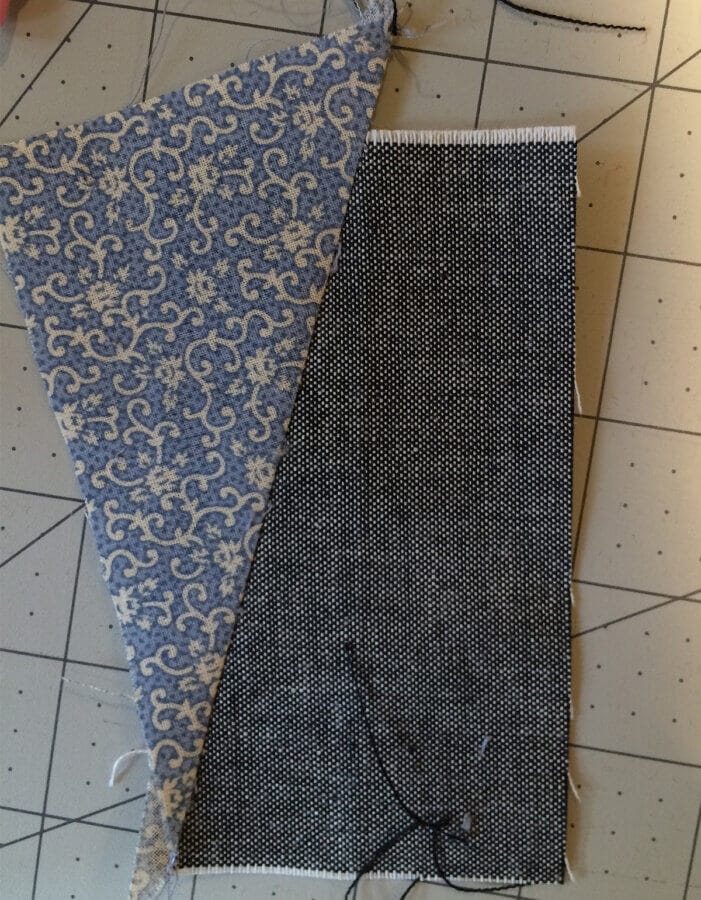
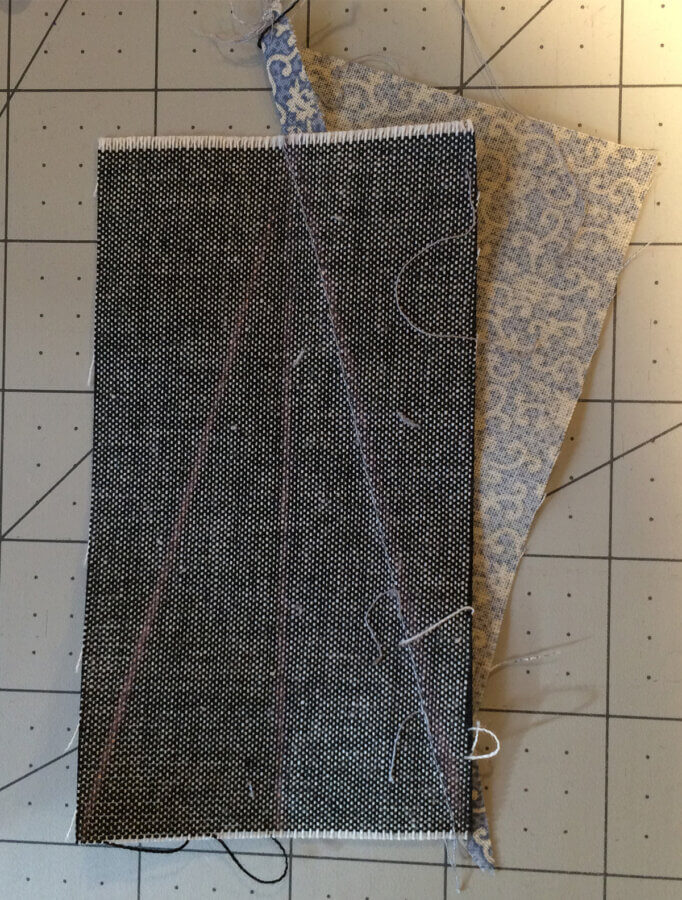
Now repeat the process with the other L piece on the other corner.
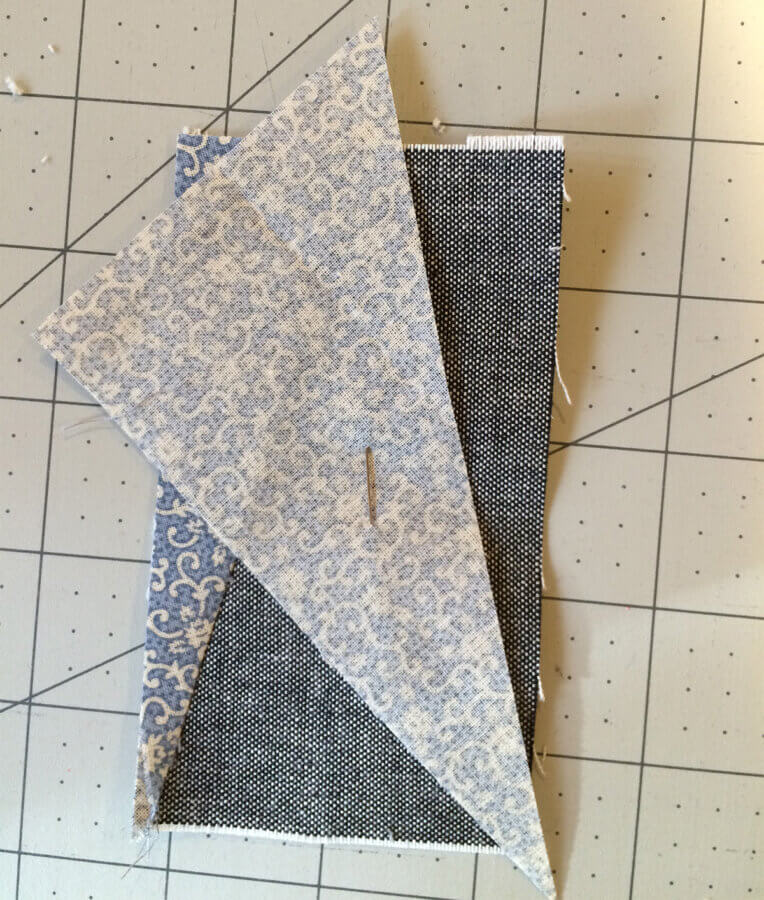
Trim it down to the size of your M piece.
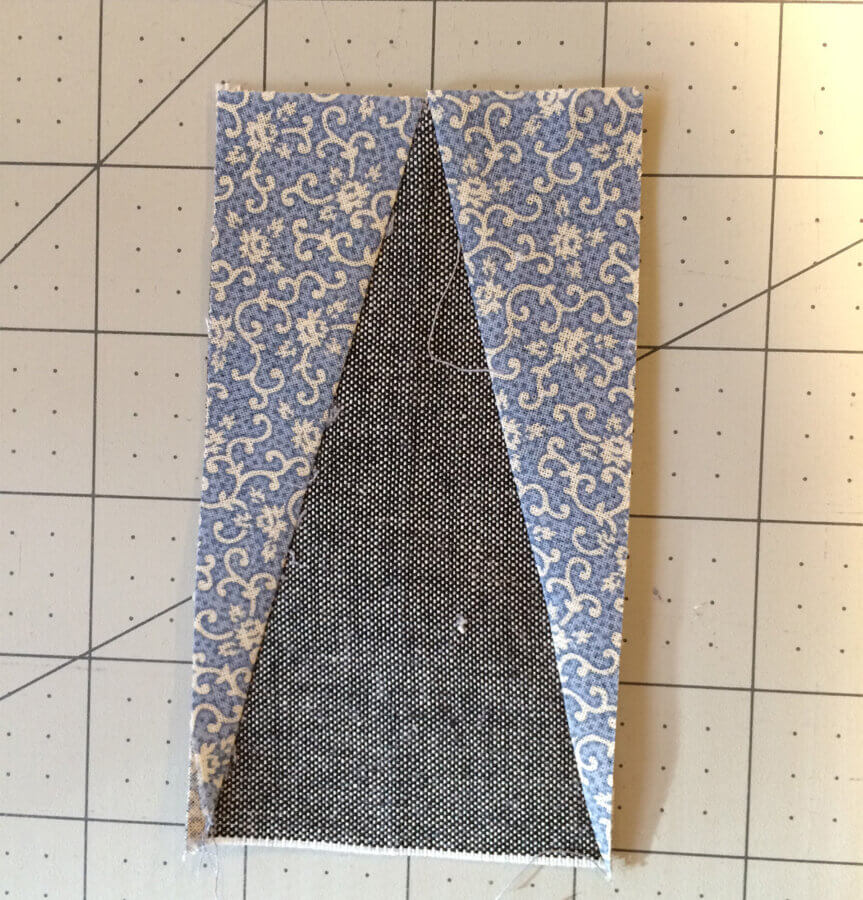
Wallah! You are done (with the steeple, at least!) The rest of the block goes together in a snap.
Enjoy and let me know if you have any questions.

