
A Quilt Binding Primer (Part 5): How to Hand-sew Binding on a quilt
Estimated reading time: 9 minutes
Today I’m going to show some examples for how to hand sew binding on a quilt. This is my favorite part of making a quilt, and I thoroughly enjoy the process. Not everyone agrees. Some people want to pay other quilters to do this, and I love doing this part so much, I would eagerly take on any quilt binding projects you want to send me, LOL!
If you are new here, and want to learn how to bind a quilt from the very beginning, check out the HOW TO BIND A QUILT PAGE which has access to all the links to this series of posts and the downloads in one spot.
Preparation is key
The first thing you need to do in order to insure good binding results before you start to hand-sew binding on a quilt is to make sure you have attached the binding correctly to the front with a consistent and STRAIGHT 1/4″ seam.
(See Part 4 post of the Quilt Binding Primer Series for more detailed information.)
If you didn’t put it on with a really good straight seam then it’s going to fold over towards the back in a wonky way.
Give it a good press
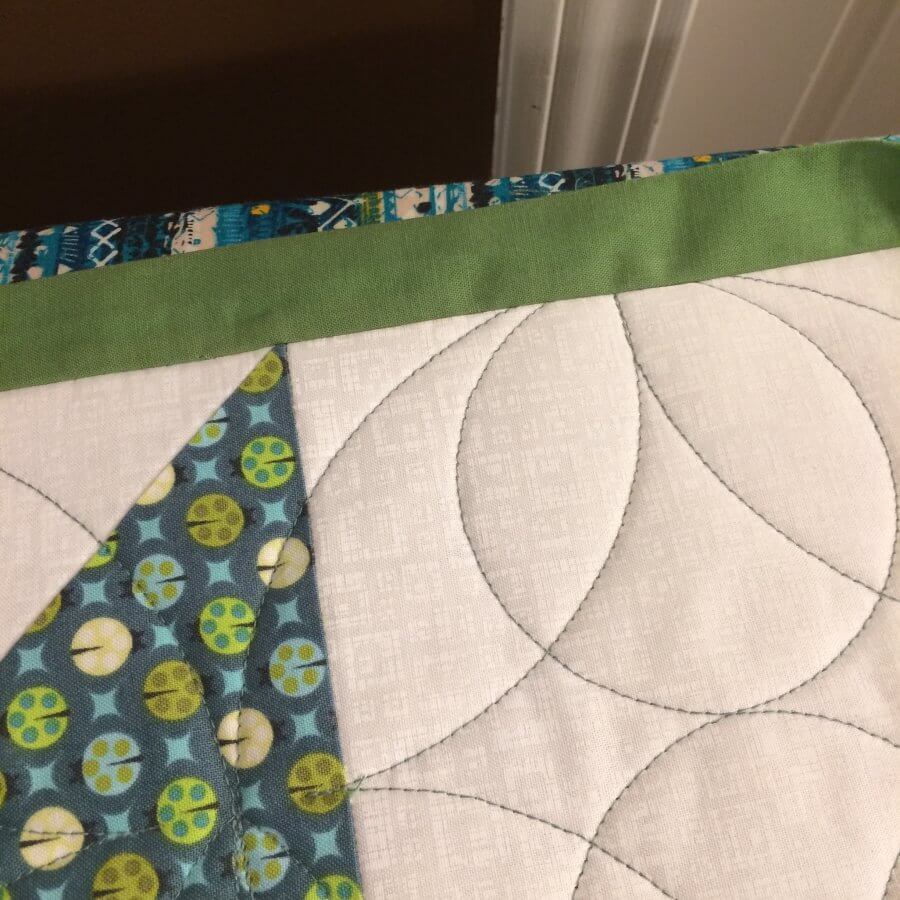
Take that quilt with the binding attached and from the front side, press the binding out and away from your quilt, all the way around.
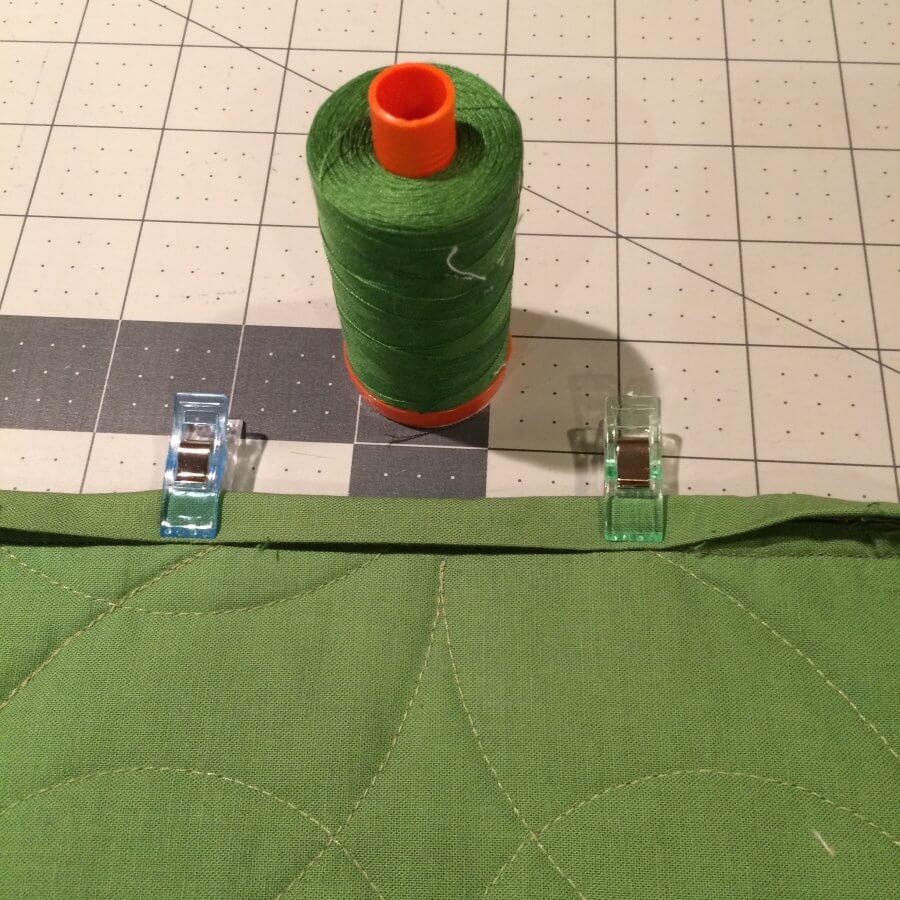
Choose a quality thread and a thread color that matches your BINDING.
First, make sure the thread isn’t prone to breakage. Test by trying to tear it apart with a good pull. I generally use Auriful thread, but you can use any 100% cotton 50 weight thread. To prevent twisting and tangling, you may want to run your thread over a product called THREAD HEAVEN.
Most of your stitches will not show when you use the stitch I show you, but the ones that do show are going to appear on the edge of the binding, so you want the thread to match your binding fabric.
Load up 4-5 needles with thread
I find that it saves me time (and I have less frustration) if I load up a bunch of needles first. (Threading a needle is my least-liked sewing task — mainly because my eyes are old.) Common wisdom is that you shouldn’t use more than an 18″ length of thread in a needle at a time, but if you’ve coated the thread you can make this as long as you feel comfortable using. I generally use lengths of about 30″. I realize this makes me a rule breaker, but I have never had any issues with it.
Tie the end of your thread with a quilter’s knot. You can choose to knot a double strand or a single strand. Totally your choice here. I usually use a double strand, mainly because I get really annoyed if the thread comes out of my needle (due to those old eyes.)
Now find a comfy spot and let’s start stitching!
Now that you are armed with a bunch of loaded needles and your quilt binding is attached and pressed out, we are ready to start stitching. At this point, find a comfy chair and load up something good to watch on Netflix or some relaxing music.
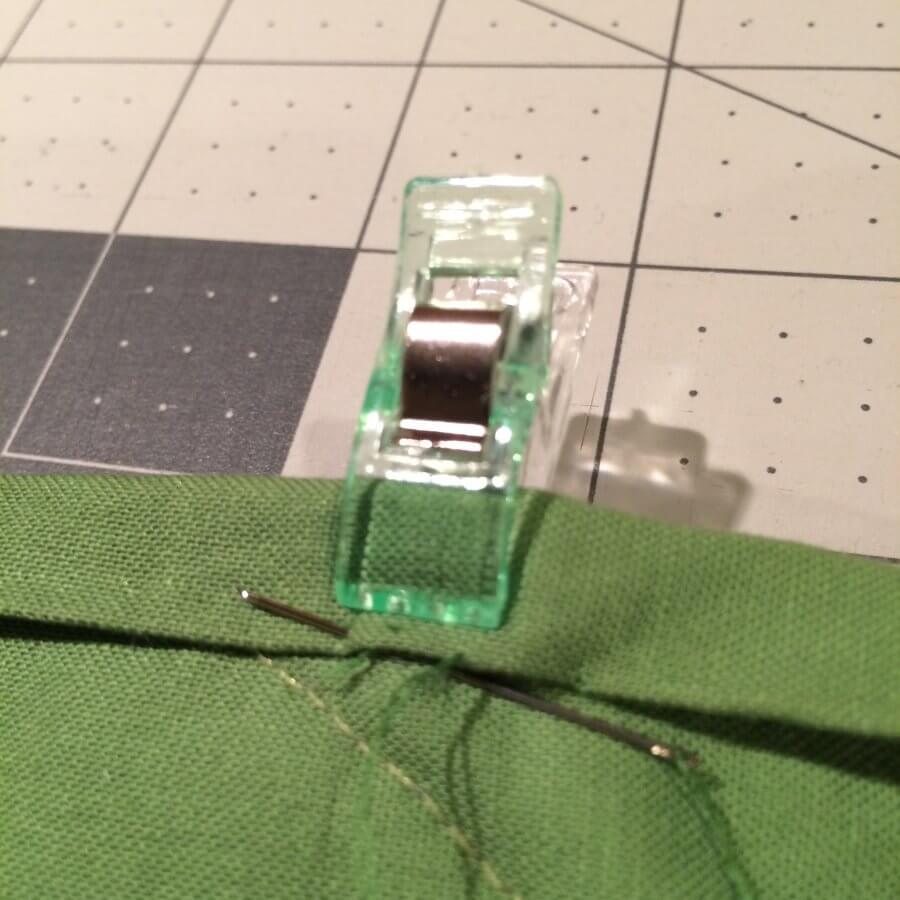
Place the quilt in your lap with the back side of the quilt facing you. It doesn’t matter which side you start on, but I usually start at the top (no idea why I do this.) Fold over the binding so that it just covers the stitching line where the binding was attached to the front. Place a couple of clips over the edges of the binding in about a 10″ section where you will begin working, making sure that the binding is laying straight and makes a straight line that covers the stitch line.
Insert your needle into the seam allowance where the binding was attached, so that when the thread is pulled through the knot will land up under the binding. Loop it through again and make another knot in the seam allowance.
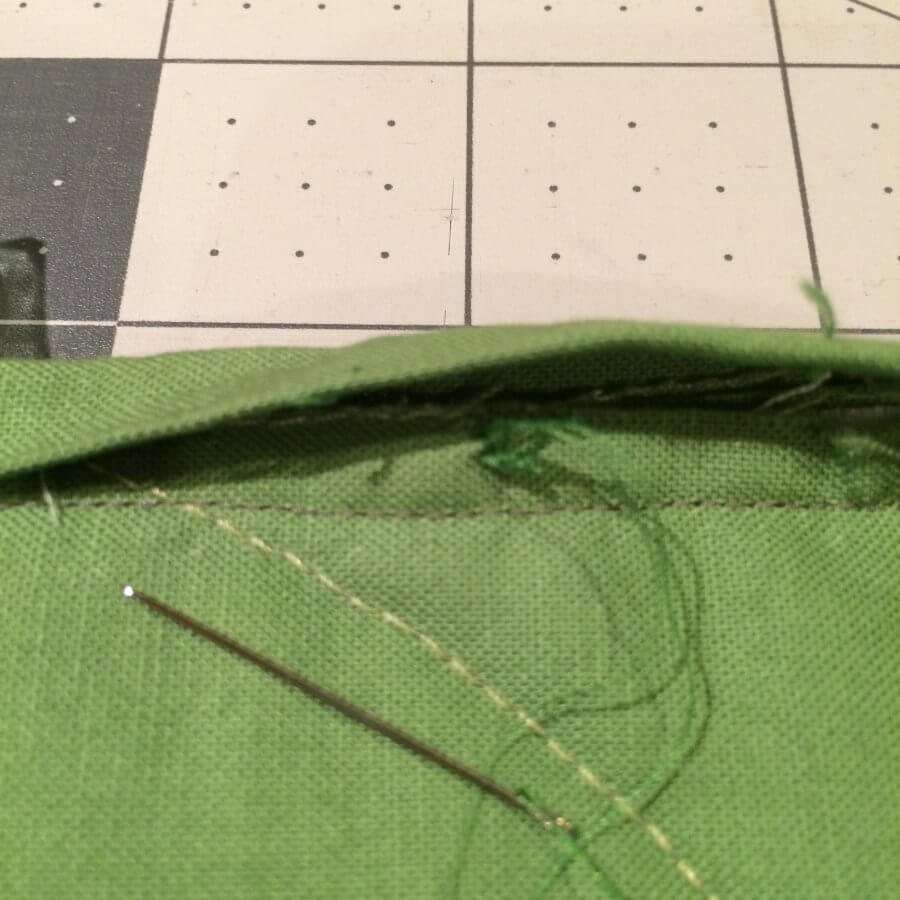
Next place the needle directly under the binding edge, up slightly through the seam allowance and exit catching the very edge of of the binding. Aim for about 1/5″ from the place your needle entered to the place it exits the fold (or about 5 stitches per inch). Pull your thread all the way through. For your next stitch, place your needle directly under where your last stitch exited the binding, and repeat the process.
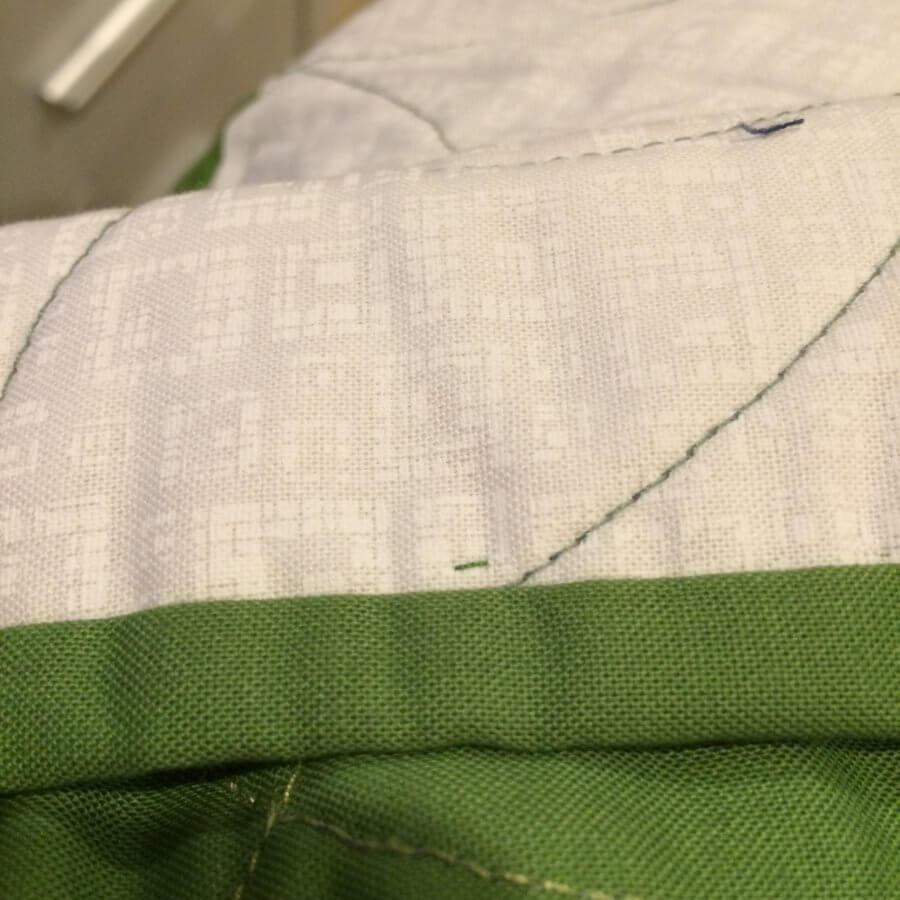
Watch for Peek-a-boos
Peek-a boos happen when your thread goes all the way through the quilt so that a little stitch appears on the front side of the quilt. You don’t want your stitches to show there. Ideally, your stitches should always go up into the seam allowance, making them less likely to show on the front.
It’s a good idea to stop every 4-5 stitches and examine the front side to make sure no peekaboos are happening. That way, it’s an easy fix to tear out a few stitches to fix. As you are learning to do binding, don’t beat yourself up if you miss a few of these. They do not affect the durability of the quilt binding.
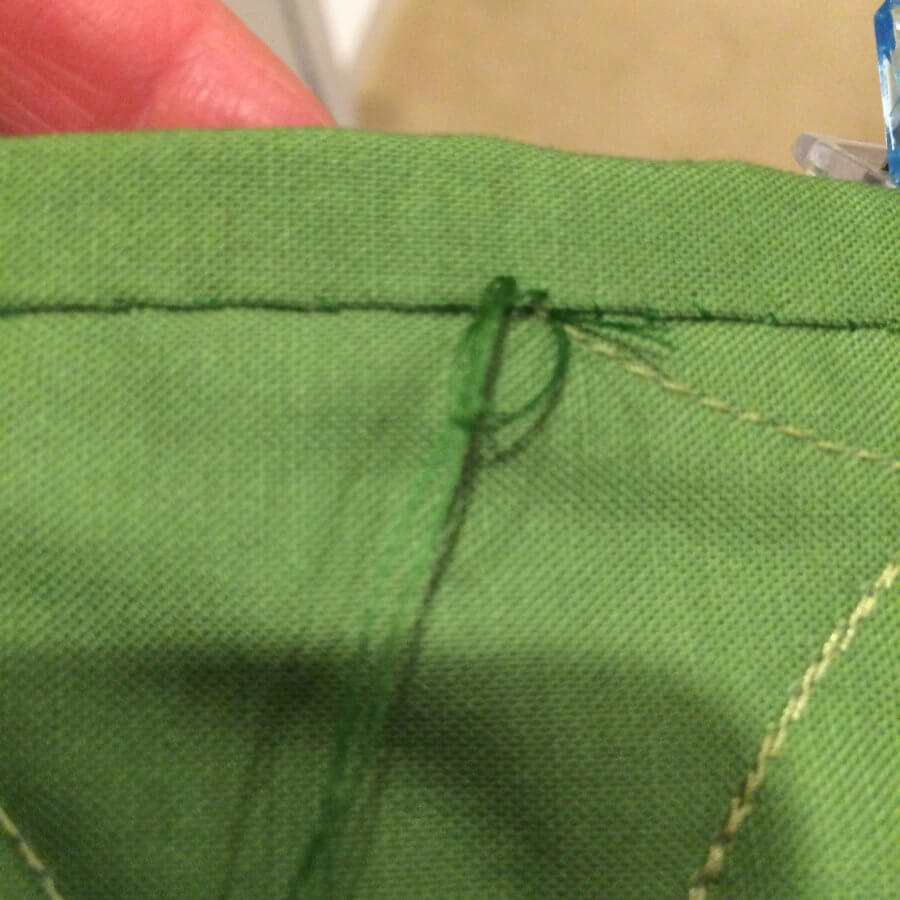
Watch for Loopies
Loopies happen when your thread doesn’t get pulled all the way through when you make a stitch, leaving a little loop of thread. These have the potential to cause a problem later on in the life of your quilt, so it’s pretty important to avoid them and correct them when they happen. Loopies can get caught on things, which could cause the thread to snap, which could cause the binding to later unravel.
(Insert photo)
Watch for these as you sew. If one happens, carefully pull the thread back and try to untangle it. Often a small knot has formed. Sometimes you can gently work out the knot. If not, you will need to pull back enough stitches to be able to tie off that section of thread, then pickup when you ended with a fresh needle and thread.
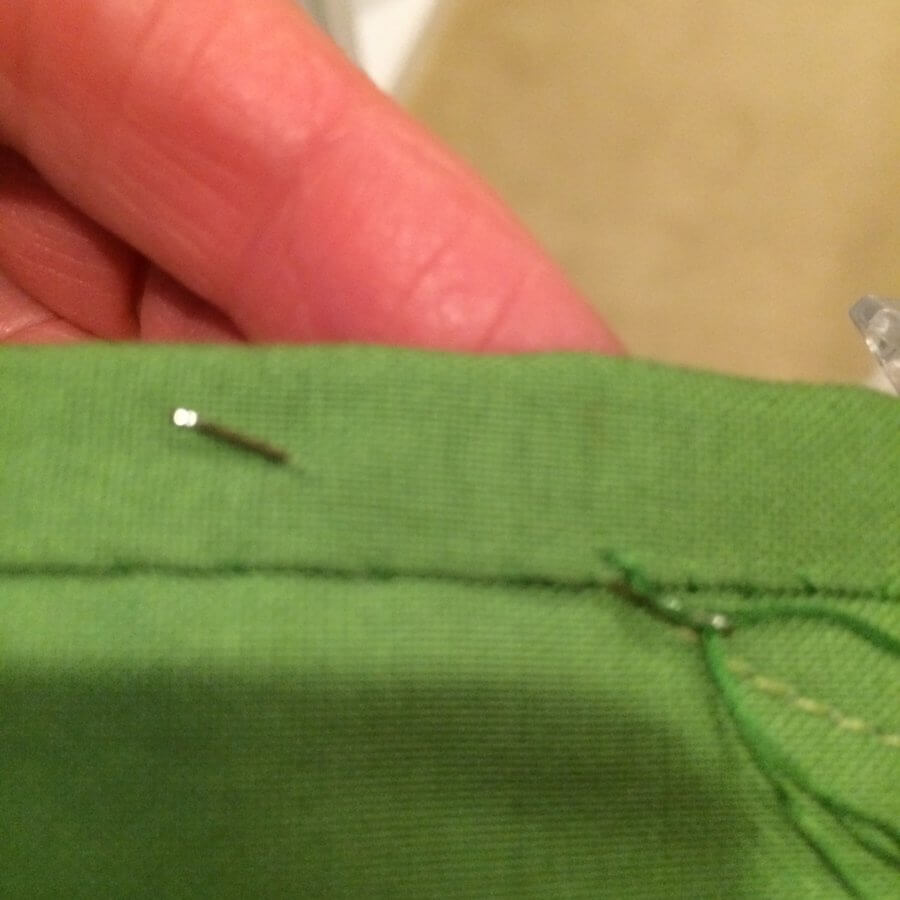
How to tie off a section.
When you get close to the end of your thread you will need to tie off the section. You might find a better way, but here is how I do it: I insert my needle again right under when the last stitch exited the fold, but this time I come back up in as close to the same place as the last stitch as possible. As the thread is pulled through, it will make a loop. Insert the thread in to the loop to made a knot.
Next, push your needle up through the seam allowance to the left. I knot it again and then clip it. Then I start the whole process over again, picking up where I left off with a new loaded needle.
Now after you’ve gone all the way around your quilt, your binding will be secured and to tie off your thread you will knot it the same way, and then come up through the binding as shown below. Trim with snips as close the fabric as possible.
How to sew the mitered corner
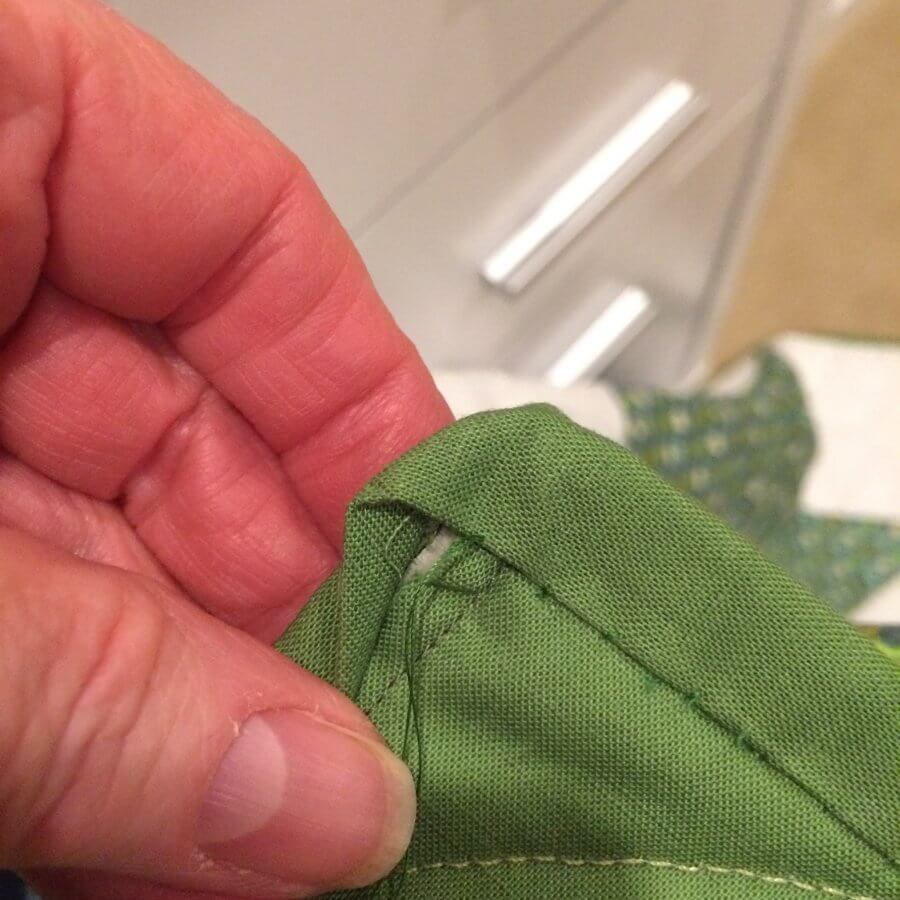
One last thing to explain is how to stitch the mitered corner. When you get to the corner, stitch all the way up to the outside edge of the seam allowance (See below)
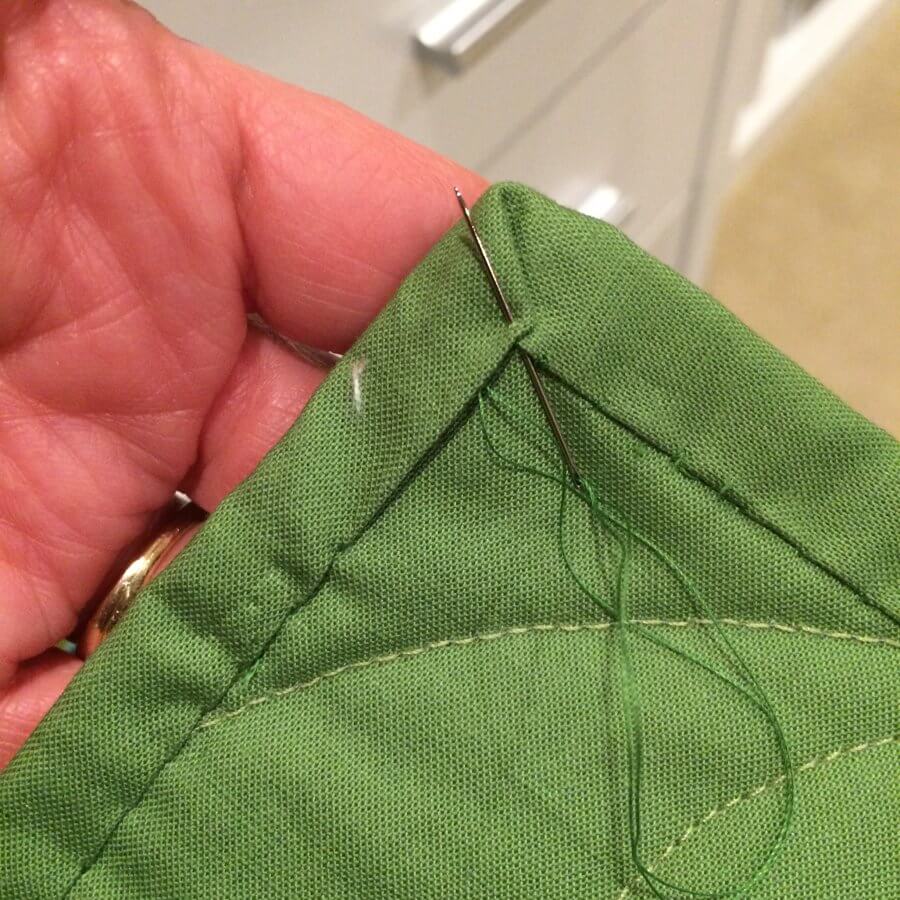
Now fold the corner over in a 45 degree angle. You want the two corners of the fold to line up as closely as possible in a 45 degree angle. Then insert your needle so that it catches both side of the corner.
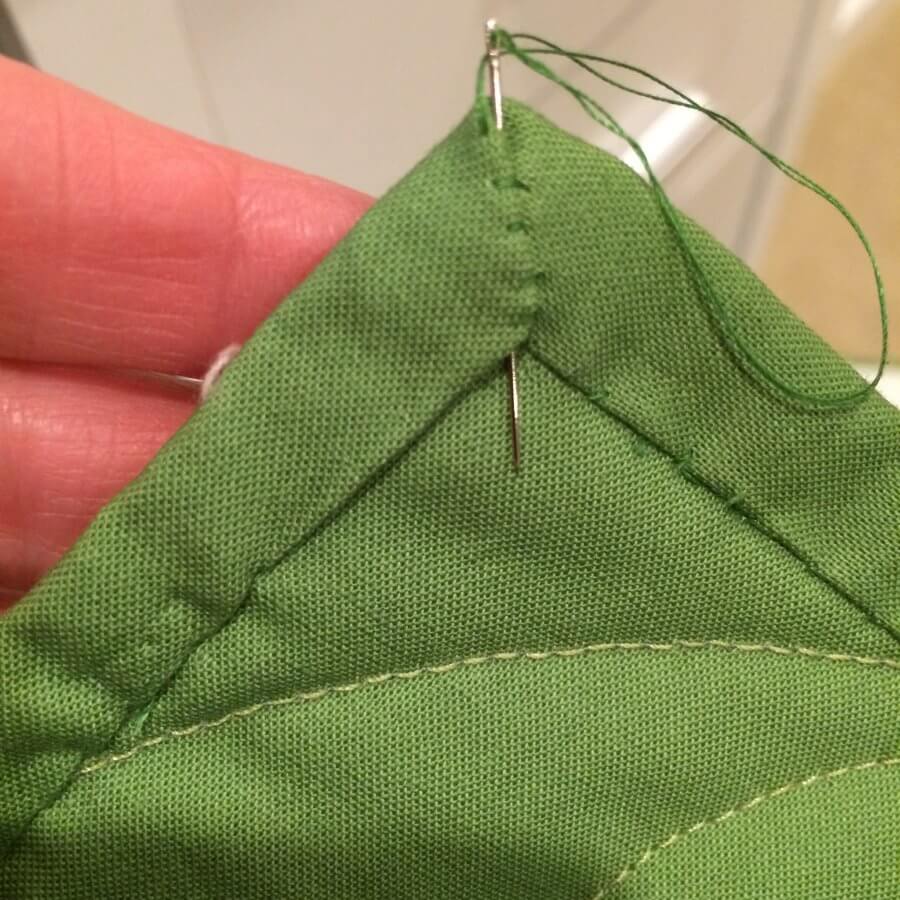
Next make 3-4 whip stitches up the corner, then insert your needle into the top of the corner and have it exit out the bottom of the miter.
And That’s a wrap for now!
That’s about all I know to tell you on how to hand-sew binding to a quilt. Now it’s up to you to practice. And I can confidently tell you that you will get very good, very fast at this simple-to-learn skill


