
How to improve your patchwork skills: Some easy exercises to improve accuracy and perfect your quarter-inch seam.
Estimated reading time: 7 minutes
It’s the holy grail of every quilter: attain sewing accuracy so that you nail that quarter-inch seam, improve your patchwork skills, and always have perfect points. Ripping out seams and do-overs is a fact of life when quilting, but most of us prefer to avoid the pain whenever we can. This won’t be a long post, but below I’m going to share a few quick tips that will help you move towards perfect patchwork within a matter of a few days (if not hours).
Full discloser – this is not anything really new or novel. This is just a tried and true quilting basic that many of us forget about after we’ve quilted for a while, but I do add a twist to it that (at least for me) makes the medicine a bit easier to swallow.
A quilting basic: The Quilting Seam Test
A few weeks ago a friend and I went to a quilting class offered by our local quilt guild. The teacher, Donna Lynn Thomas, was fabulous. But when she told us we had to pass a quarter-inch seam patchwork test before we could move on to the part of the block that required a 1/4″ seam, I have to admit I sort of rolled my eyes. I mean, I did a lot of those when I first started quilting and sort of thought that I had moved past that need.
I was quickly humbled. I flunked the first test.
In my defense, I was sewing on my “travel” machine which I had not used in nearly two months. I soon realized that if I had moved forward in the project without testing my accuracy on that machine, I would have soon had a mess on my hands. Donna encouraged us to do this test every time we sit down at the machine. And I, too, have become a believer. I think this is one of the best ways you can improve your patchwork skills
Overcoming my resistance
If you’re like me, sewing time is precious, and I’m eager to get productive. Sewing the test block just seemed like a bother. Here are a few points to help you (and me!) remember that it is totally worth the time:
- It only takes 5 minutes (and even less if you follow my process below!)
- It can potentially save you hours of rework.
- You can use this test block later in a quilt (more about this below)
Test block prep:
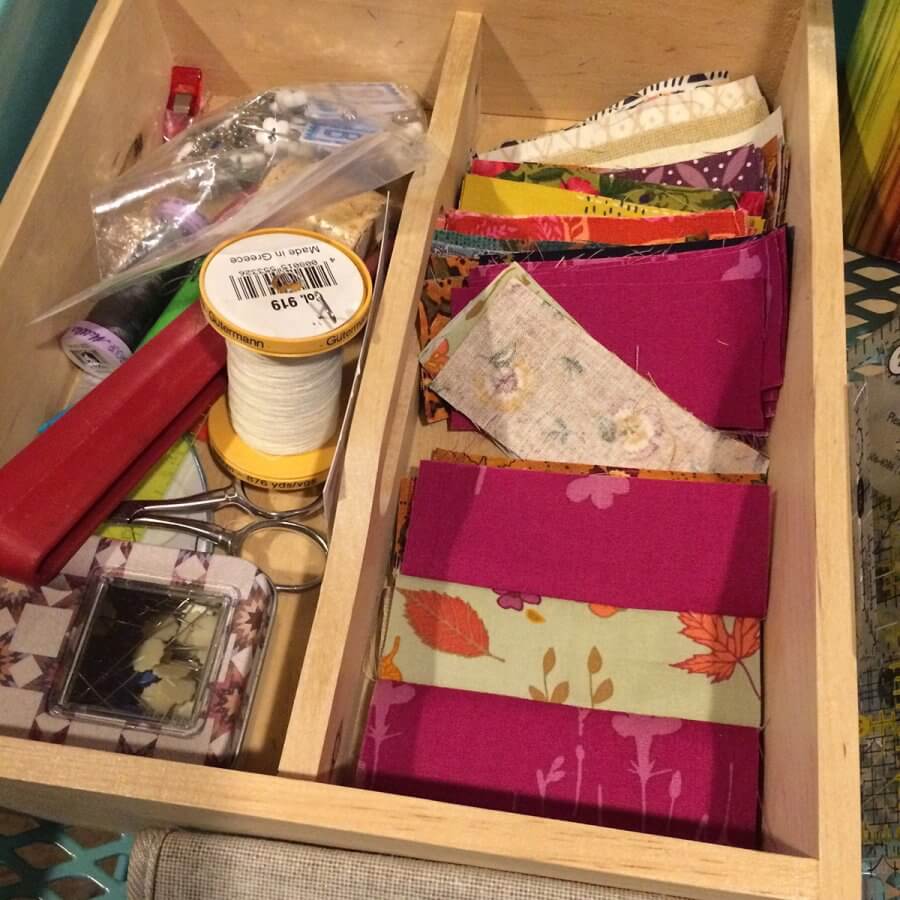
To save time, I precut a BUNCH of scraps into 1.5″ wide strips, and then sub-cut them so they are exactly 3.5″ long. It is very important to cut these when you are mentally fresh and can be very accurate with your cutting.
I keep this pile of strips on a tray beside my machine. My new rule is that every time I sit down to sew I first make a test block. With these pieces pre-cut and at the ready beside my machine I am more likely to make it. All I have to do is sit down and start sewing!
How to make the test block:
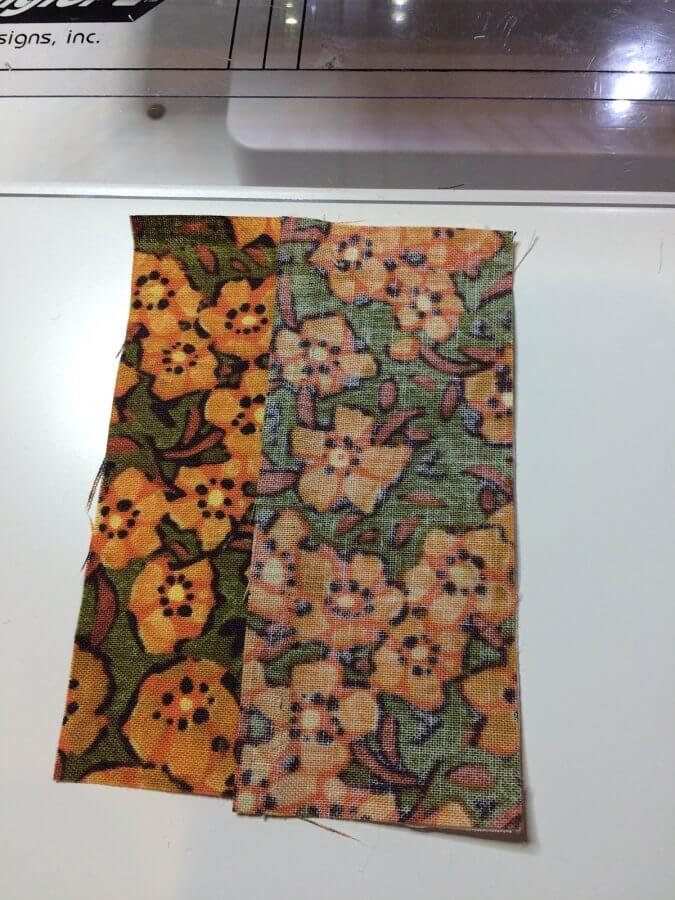
You will need a 1″ wide ruler and three of those 1.5″ x 3.5″ strips to make your test block. Making sure raw edges are perfectly aligned, sew two strips together along the long edge using a quarter-inch seam. Finger press those open.
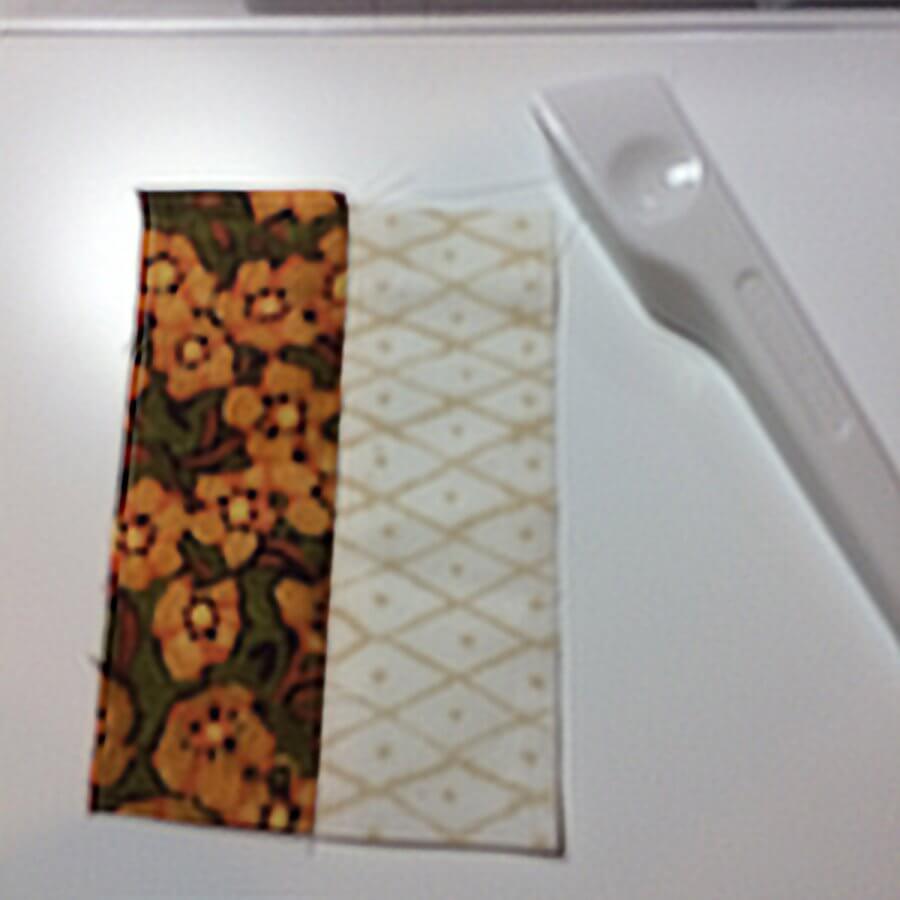
Align another strip along the raw edge of one of these strips and sew again with a quarter-inch seam.
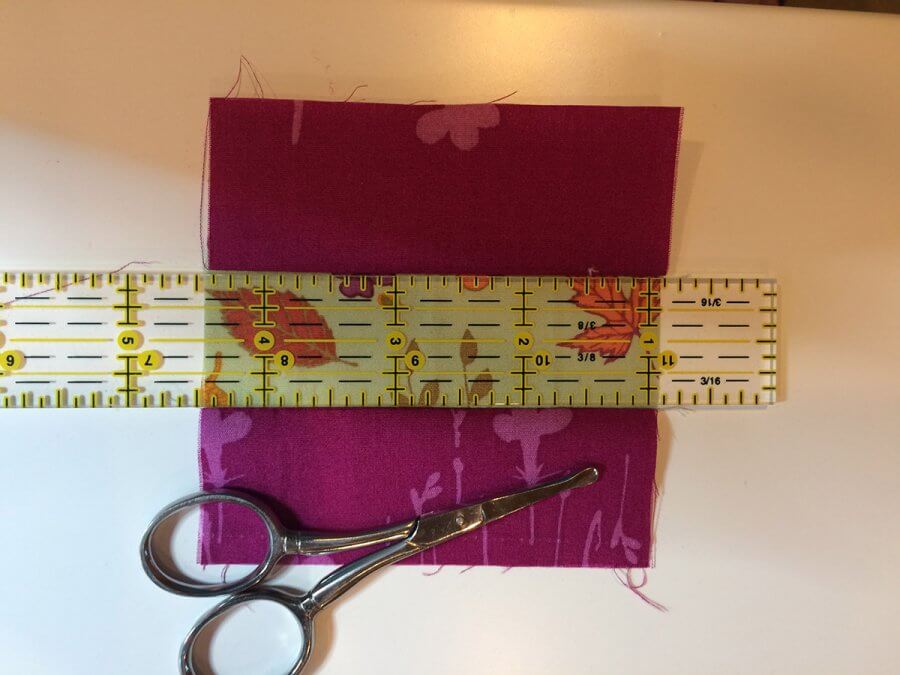
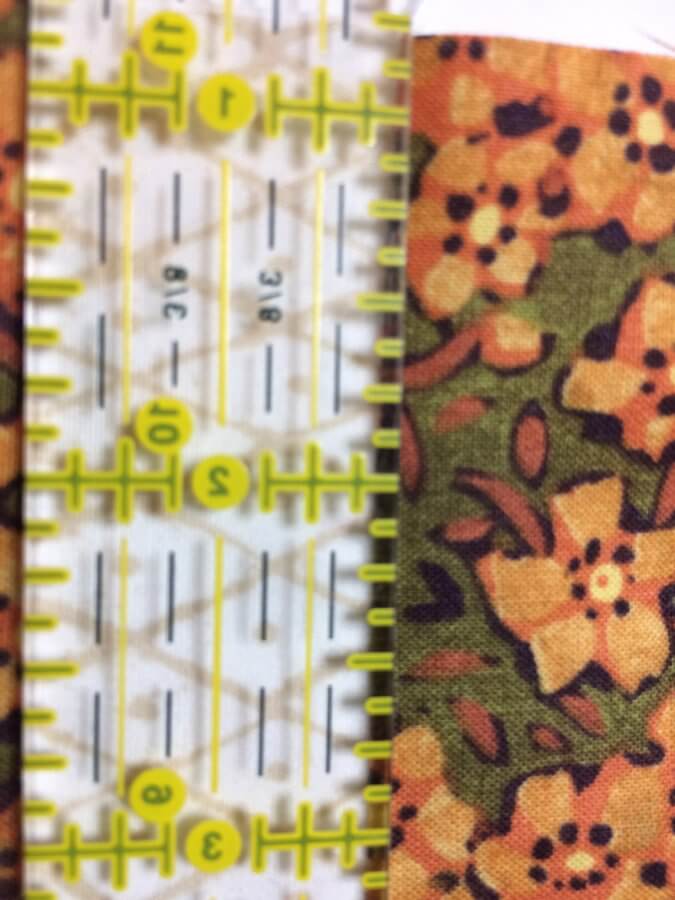
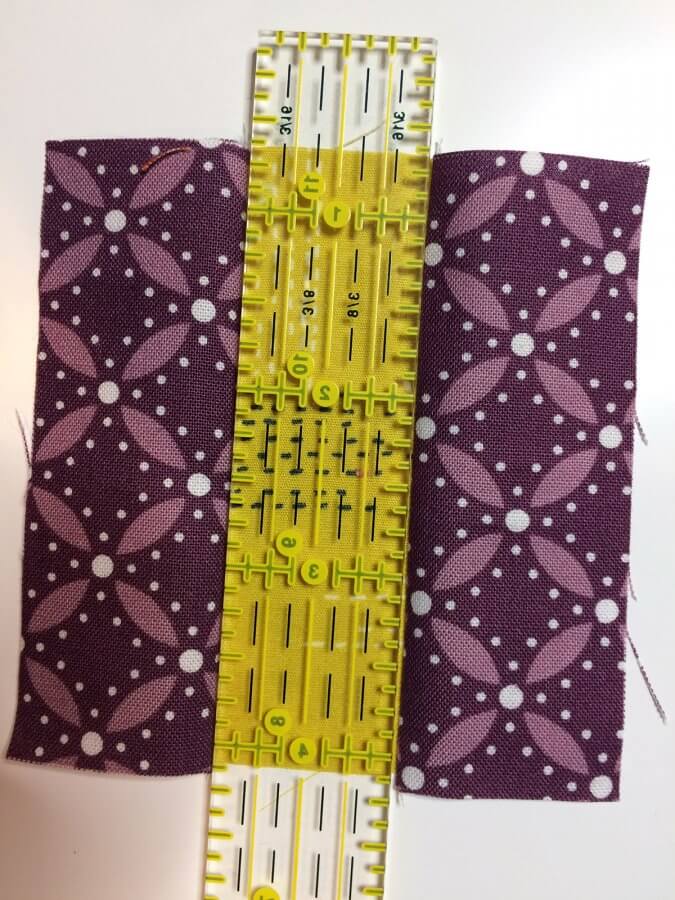
Take your time and sew slowly. Be mindful of where your fabric is lining up with your presser foot. When you’re finished, press the seam open, then take a 1″ wide ruler, and lay it over the middle strip.
If your block is perfect, it should nest down between the strips on each side perfectly, with no wiggle room. Notice in the photo below that my test seams are a little too small. My ruler is not quite able to nest down in between the seams.
If it’s not perfect, try again, making note of whether your quarter-inch seam was too wide or too narrow. Make adjustments before you sew again: either move your needle slightly or adjust how you align your fabric to the presser foot.
As your patchwork skills improve, also try to make sure that your strips line up perfectly at the top and bottom of your block.
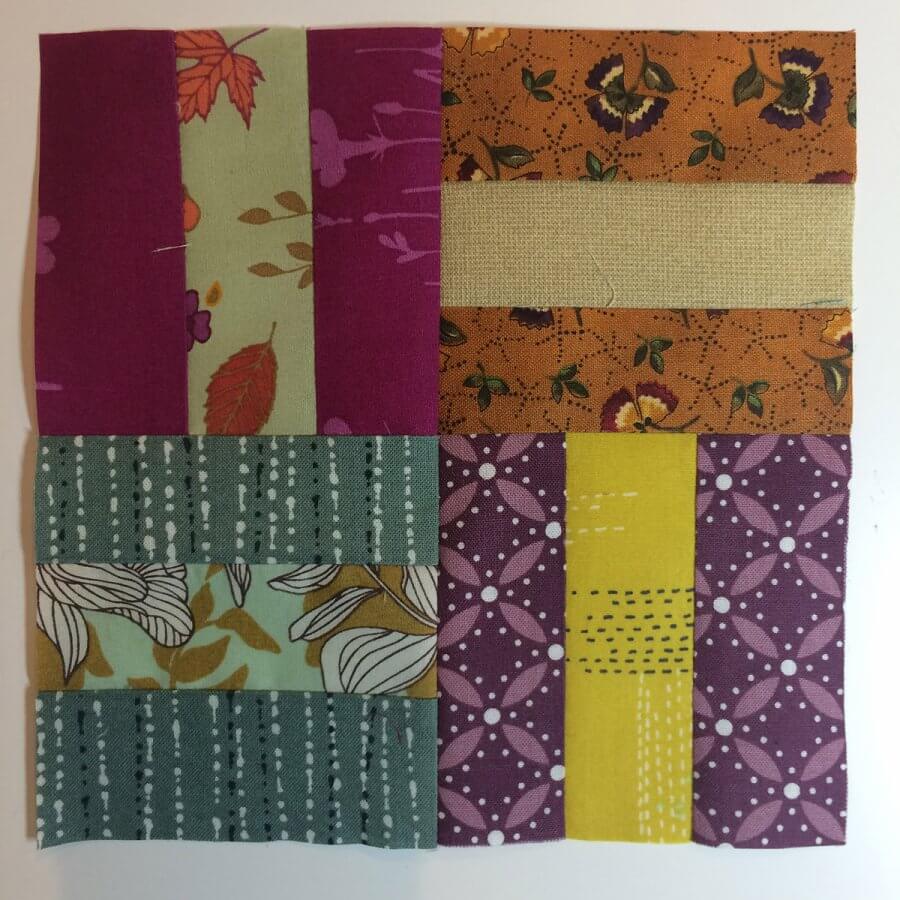
Don’t toss that test block – keep it!
Turns out, this test block is really a little rail fence unit. After you have made four accurate test blocks, sew them together, four patch style, and you will have a nice scrappy 6″ rail fence block. If you sew every day and make a test block every time you sew, over time you will have enough for a beautiful scrappy quilt! (About seven 6″ blocks a month!)
Knowing that my test block is actually going towards a future quilt keeps me motivated to make my daily test strips. Hoping it does the same for you. too!
Sometimes it’s you. Sometimes it’s the machine
Another really helpful tip I have learned has to do with your machine. Have you ever noticed that at the end of a seam, it has a tendency to get a bit narrower? Well, it does. I didn’t really believe it at first, but then I went back and looked at some old patchwork and sure enough, there was this tendency for the seam to be just a bit off towards the end of the seam.
This has to do with the way the feed dogs pull the fabric, and half the battle is just being aware of this tendency. If you can consciously tell yourself to hold that fabric straight as the last bit goes under the presser foot, you can control it!
Another accuracy exercise
A few students I’ve taught in the past have had trouble keeping their seams straight. If you notice that your seams are a bit wobbly, try this exercise.
Take an index card that has the quarter-inch ruled lines printed on it, and take a few minutes each time you sit down at the machine to sew down a few lines. (You can even do this without thread in the needle, as the punched holes will tell you if you hit the mark or not.) Every machine feeds a little differently, and this can also help you get a sense for how much (or little) you need to guide your fabric to keep your machine feeding straight.
TIP: most of us try to control and guide our fabric too much. If we just let the machine do the work, it will turn out much straighter.
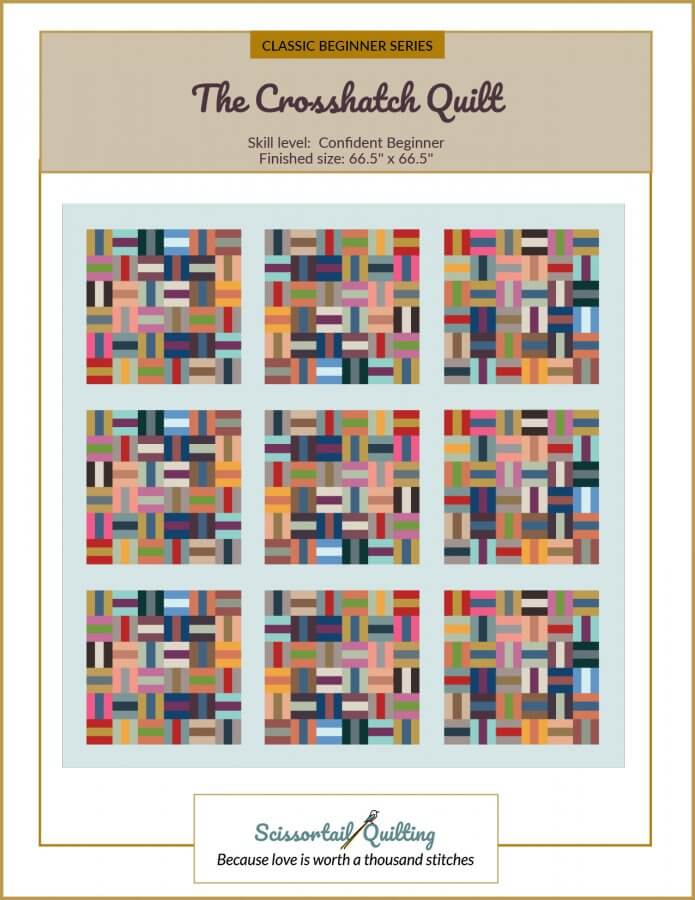
Update: I later took all my test strips and turned them into a quilt! Here is the pattern:
Until next time!


