
How to Prepare Fabric for Quilting
Estimated reading time: 4 minutes
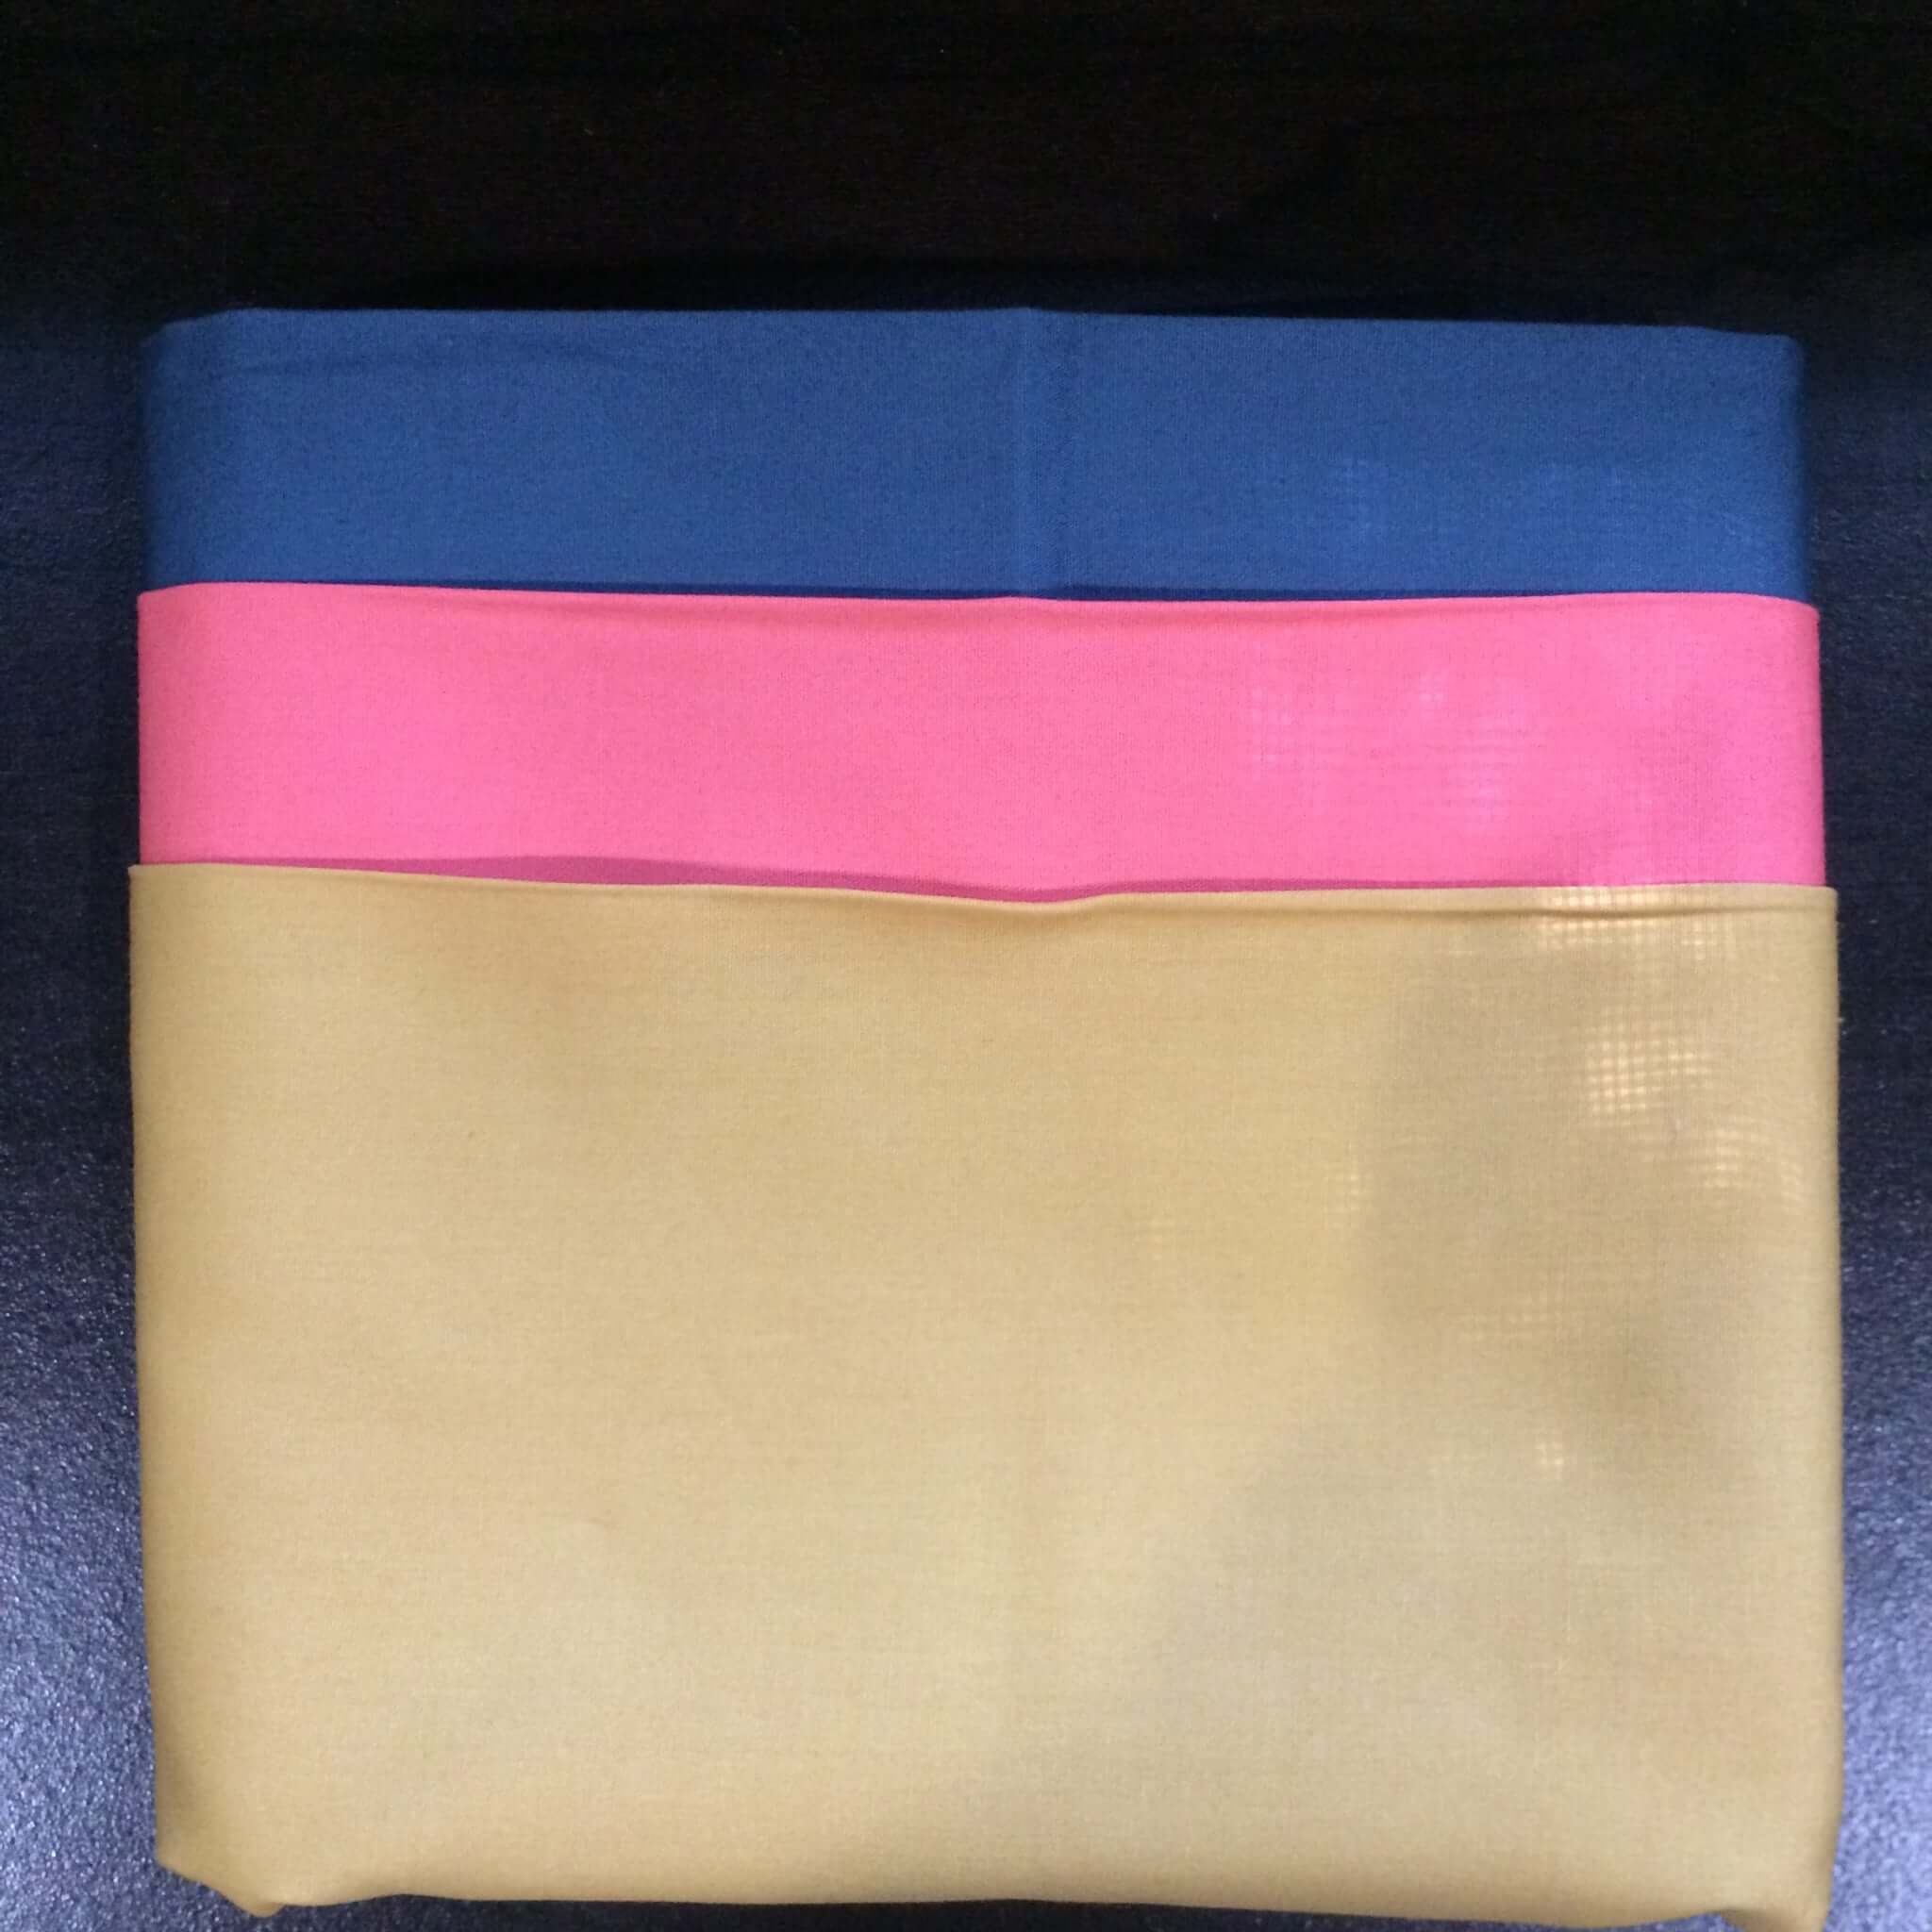
Today we discuss the steps needed to prepare fabric for quilting. There is not a lot to it, but there are a few things you should know in order to get accurate cutting and piecing results. In the last post I recommended you make a trip to a local quilt shop. Hopefully, you found some pretty solid fabrics to use. Here is what I came home with:
I was fortunate enough to have birthday money in hand when I got to my friend’s quilt shop! I chose the fabrics in this photo (and a few more!), but I’m still trying to decide if I should swap the gold for a tan color that I have in my stash.
When to prepare fabric for quilting
Typically, I don’t prep fabrics until I am ready to use them. I bring them home and put them on the shelves in my sewing studio so I can admire them, fondle them, be inspired by them, until I’m ready to put them to work.
Steps to prepare fabric for quilting
Step 1: TO PRE-WASH OR NOT TO PRE-WASH?
That’s a good question, and there’s been a long-running debate in the quilter community over whether you should first pre-wash your fabrics. Twenty years ago, I might have agreed with the practice, but manufacturers have come a long way with the dyes and stabilizers they now. It’s rare for a good quality cotton to bleed, and shrinkage tends to be minimal. Most of the time I don’t believe it’s necessary to to pre-wash. If you agree, this is a step you can skip
But there’s an exception to every rule
Here are a few times when I might pre-wash my fabrics:.
- If I am piecing very dark (think red or navy) fabric next to a white background. In this case, I would test a strip of the dark fabric to make sure it isn’t going to bleed. To test it, soak a small strip in hot soapy water for 5 minutes, then blot it on white paper towels. If it’s bleeding a LOT, either rethink whether to use the fabric at all, or stabilize the dye using a product called Retayne. I used this on some fabrics that a client had purchased in Africa with wonderful results. If I don’t notice any bleeding on my test strip, then I would not pre-wash. If I notice a little, then I would prewash the fabric, then test again.
- An instance when I will pre-wash is if I know that I am mixing older fabrics that have been washed.with new unwashed fabrics. These fabrics will shrink at different rates over time, causing unattractive puckering and possible stress on the seams, which could cause the fabric to fray or the seams to pull apart.
- If you struggle with chemical sensitivities, you may want to pre-wash to remove the sizing off the fabric. If that’s a cross you bear, I totally understand…I suffer from some chemical allergies myself, but so far have not had to resort to pre-washing all my fabrics. I do make sure to wash my hands after handling a lot of fabric, to remove the chemicals off my hands.
Step 2: Make your fabric a manageable size
If you plan to cut patchwork pieces, it’s a good idea to cut your fabric down to a manageable size. Half yard cuts aren’t too bad to deal with, but if we turn this cut of fabric into a FAT QUARTER it will be even easier. So, to do this, take your scissors and cut your half yard piece of fabric along the fold at the top. You should get two 18″ x 21″ (approximately) pieces of fabric from each half-yard.
Step 3: Iron and Starch
While pre-washing is optional, ironing is not. You will get more accurate results if the wrinkles are eliminated and the natural give and stretch of the fabric is stabilized with some starch.Because fabric by nature has that give and stretch, it makes comfortable items to wear and sleep under. (This is why we make clothes out of fabric and not paper!) But when we are cutting and sewing the fabric, it would be nice if it behaved a bit more like paper, with less stretch and give. The reason I am such a big believer in pre-starching my fabrics is because it makes the fabric behave a little more like paper. And that greatly improves accuracy when cutting and piecing.
To get good stiff results, Take your spray starch and give your fabric a good shot. Let it sit for about 30 seconds, then go back over it with a very hot iron to smooth out any wrinkles. Pay special attention to any places where the fabric was folded and eliminate any bumps or creases.
Now you’re ready to cut the fabrics you prepared!
Keep those fabrics nice and flat until you are ready to cut them!

