Sewing Room Organization Part 1: Basic Principles
Estimated reading time: 9 minutes
Recently I was asked if I would share some of my sewing room organization strategies. I am delighted to do that in my next few posts. But to be really up front with everyone, I don’t know that I do anything all that special, nor do I claim to be the most organized person in the world. In fact, for most of my life, I’ve suffered a bit from “scatterbrained” syndrome. Yeah, I just put that out there for the world to see…hope I don’t end up regretting that. Plus, I’ve just affirmed the suspicions of all who believe (mostly my family) that my organizational skills are due to some kind of sickness! I can tell you that being a bit scattered caused me early-on to find ways to adapt, and so I have a few things I do to help me stay organized and on track. And I’m constantly on the lookout for better ways and methods. If you, too, feel a bit challenged with keeping things in order, hopefully, you will find this rambling post helpful. In the remainder of this post, I will try to explain some broad concepts and strategies that I use to keep my head above water, and my next post will look into some specific ways I’ve implemented those methods in my sewing space and my daily life.
(Admittedly, this post is low in photos, but in the next post will make up for it!)
From the outside looking in, my sewing space may not always look very organized, but there is usually a method to it. And like some of you, I sometimes “lose” things in my sewing room. Just last week, I nearly panicked when the quilter called me and said my last client’s job was ready for pickup. I looked around my sewing room and realized that since I had recently “cleaned up” my sewing room, I had no idea where I had placed the client’s project bag (containing that last bit of fabric for the binding!) I took a deep breath and thought “Now where would I put that?” Within seconds I knew exactly where to look. I thought I’d give everyone a peek into how I was able to do that.
Reasons to Keep an Organized Sewing Room:
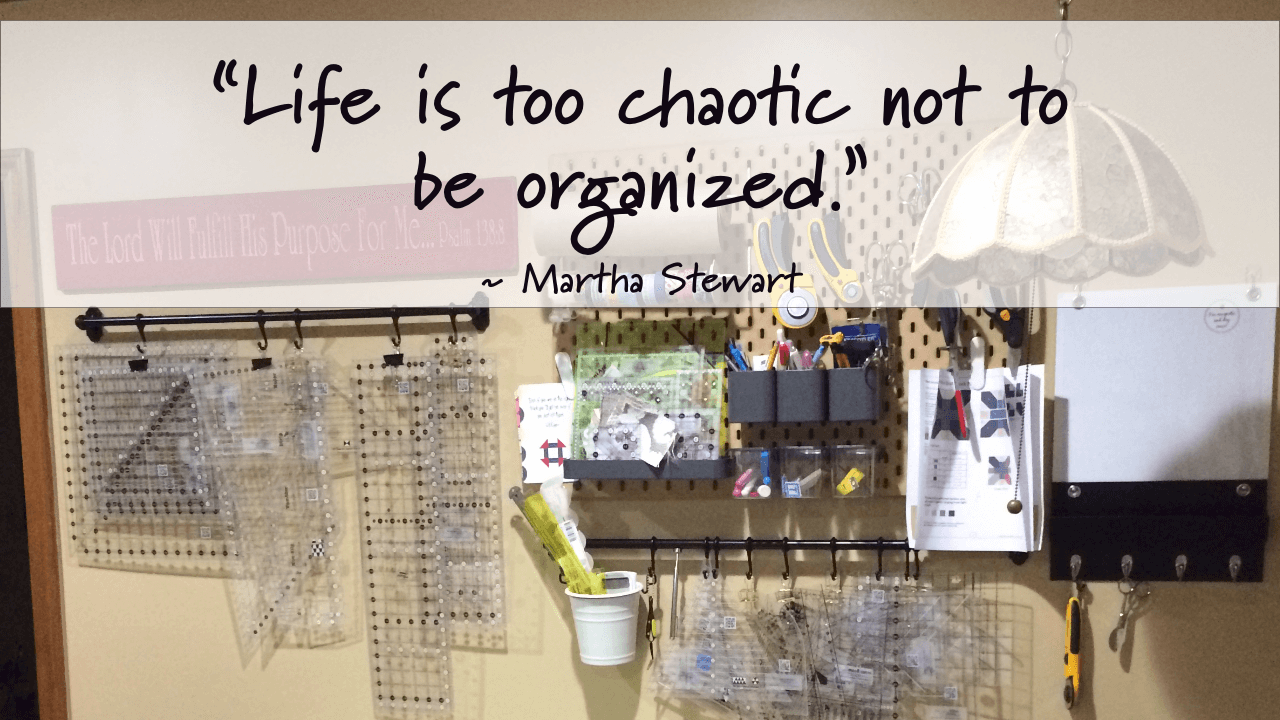
Martha Stewart is credited with once saying that “Life is too chaotic not to be organized” and I can only give a hearty “Amen!” to that sentiment. Friends who know me will tell you that I am an “everything in its place” kind of gal. Martha Stewart would be proud, right? because …
First, there is organizing for the sake of looking pretty.
For me, this is really a thing. I like pretty. I need pretty. I think that’s part of the creative bent God fashioned into my soul.
And who doesn’t love pretty? Pretty is nice. Pretty can be inspiring. I believe that wherever you sew it should be your artistic refuge where you find your mojo. Surround yourself with things you love that are placed in a way that pleases you.
But while I love for things to be pretty, and I adore for things to be neat and orderly, what I really love about being organized is being able to put my hands on things when I need them. If “Pretty” does not help me be productive, then “pretty” is totally useless in my book. And that brings us to the main reason I thrive on organization:
Organizing well will save you loads of time.
I said earlier that my main motivation for being organized is to keep my head above water. I imagine you’re not too different.
In addition to running a quilting business on the side and maintaining this website, I work a regular full-time job as a graphic designer. I have a family that is happier if there are meals in the fridge and way too often mountain-sized piles of laundry are waiting for me when I get home. But what I want to do when I enter my house is head for my sewing room. When I’m home I want to sew, and because of other demands, it’s important that I be able to make the most of my sewing time.
Who wants to waste any of that precious time? But often we do. See if this sounds familiar: You buy a quilt kit that coordinates with a fat quarter you have in your stash. You’re rockin’ right along and then you cut a piece wrong. You remember that you have some of that fabric in your stash, so you stop progress on the quilt to go hunting through your many piles of fat quarters. Forty-five minutes later you shout “Eureka!” While you may have ultimately found that piece of fabric, you wasted 45 minutes.
However, that scenario could have gone an entirely different direction. You could have spent 45 minutes looking, but were not able to find it. So, perhaps you’d spend another 45 minutes ordering online and then wait a few days for the fabric to arrive. OR you might have dressed (because we know you were in your jammies), driven to several quilt shops, and spent an entire afternoon looking for replacement fabric. Then, you get home, and when you start looking for your rotary cutter, you FINALLY find that missing piece of fabric. (Uh, yes, I’ve done both of these things.)
Which brings me to the other reason we need to be organized …
Organizing well will save you money.
So, time, money and pretty are all good reasons to get it together, right? Most of you are probably thinking, “Yeah, I know that. I just don’t know where do you start!”
Don’t feel alone. I think that getting started is the hardest part. And thinking through the problem takes quite a bit of energy. But I’ve found a few simple strategies that work for me. I’m sharing them below, hoping they will help you with your sewing room organization. (Disclosure: I didn’t make up these rules. Most of this I learned from was drilled into me by my mother.)
Sewing Room Organization Rule #1: Like goes with like.
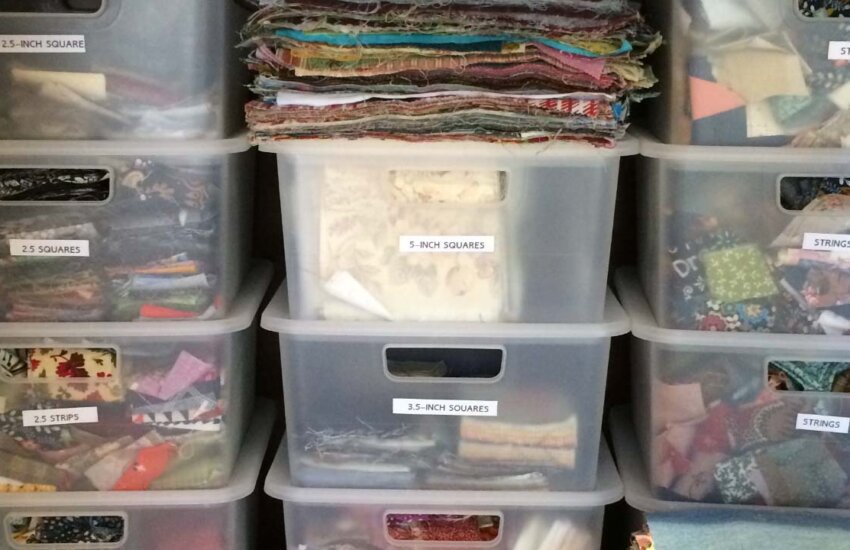
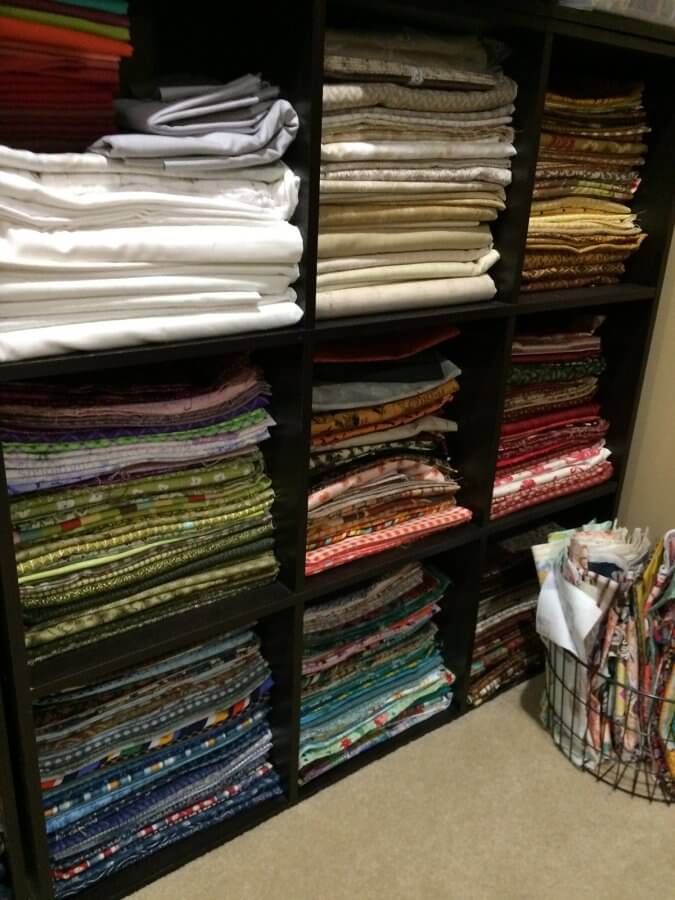
Generally, organizational systems work best when things are sorted and stored by their use and purpose. Simply having things thrown into drawers or cubbies is not going to work. If your space is really out of hand, one of the best ways to start is to create piles where you’ve sorted like things together.
Maybe you want to start with your fabrics. Pull all your fabrics together, then sort again, either by size or cut, or color, or designer collection. (For me, it’s a combination of those things.) Whatever makes sense for you. Next, put all your cutting devices together. Keep all your rulers together. Tackle one section at a time. (Do NOT try to do it all in one day. It will overwhelm you.)
But one caveat: “Like goes with like” is not a hard and fast rule. Rule #2 will sometimes override Rule #1.
Sewing Room Organization Rule #2: Store it where you use it.
If you’ve ever worked at a company that had a big mail room, think about how it is set up, because this is the best way I know to communicate this concept. In a well-designed mail room, everything you need to mail a letter or package is within easy reach. Supplies such as envelopes, stamps, pens are at the ready near the postal scale, which is prominent on a large table that doubles as your work surface. Boxes are probably stored on a nearby shelf, along with packing tape and bubble wrap. You get the idea, right?
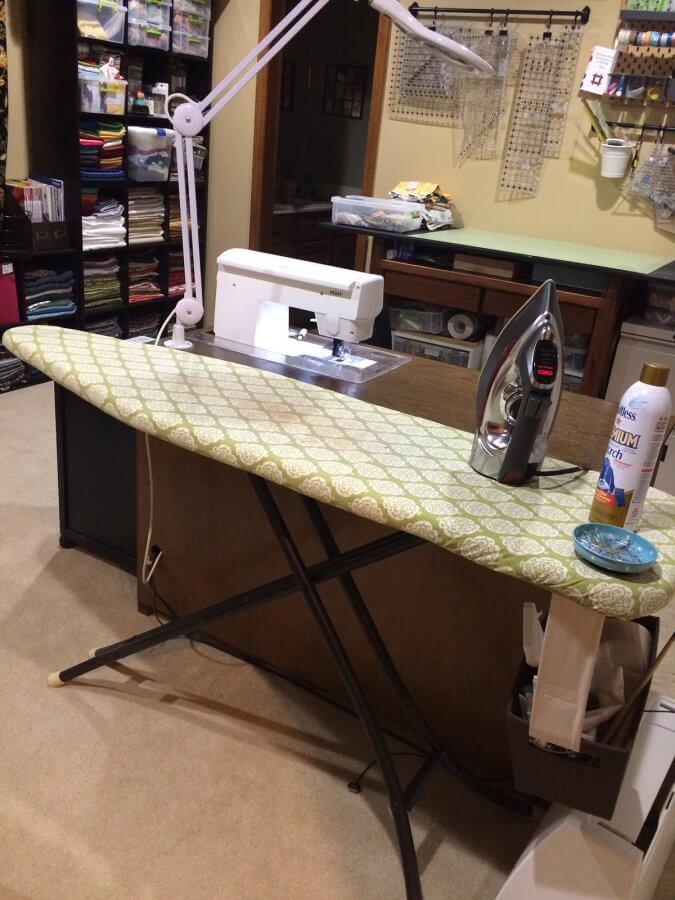
So your sewing room is no different. It’s a work zone just like a mail room. When you sew or quilt, you have several types of work, and it’s helpful to organize by these various work zones.
 My sewing room has five main zones:
- Cutting
- Pressing
- Stitching
- Storing
- Designing
Now that we’ve identified the ‘work’ zones, think about what types of tools and supplies you want nearby when you are stationed at that work zone. In my next post, I take you through all my work zones and how I have them set up.
Rule #3: Work to maintain order
I also believe that in order for your organization system to work, it needs to be a daily habit. If you can get things fairly organized, then it’s just a matter of spending 5-10 minutes a day either putting things back or refining your system. (This is not only true in your sewing room, but works for your whole house. Teach those kids to spend 10 minutes picking up every night, and you could save yourself the pain of stepping on a stray Lego in the middle of the night!) Now I’m not always good about cleaning up the mess on a daily basis, but whenever I finish a project, I do a thorough clean up. I consider my sewing space sacred, so I take the time to treat it with respect.
Rule #4: Implement, then reevaluate over time.
Your system might have worked great for you last year, but things change over time. That’s exactly what happened to me. I had outgrown some of my systems and needed to come up with some better solutions. Next week I will walk you through what I did to solve some of my sewing room organization issues. Spoiler alert: Purging plays an important role!
And finally, a suggestion: Write stuff down on paper.
Despite all my efforts to have the “stuff” organized, what helps me more than anything is being able to pull stuff out of my head and put it on paper. It’s like that magic thing Dumbledore had in his office — the Penseive. And for me, it’s called my BUJO (Bullet Journal.) Not everything can be put in order physically. So much of what I need to put in order is mental — capturing the ideas, thoughts, measurements, color combinations, deadlines, etc. that are swirling in my head. Pen and paper is where the magic really happens for me. So, I’ve thrown out a lot of swirling ideas for you to sort through regarding some basic principles of how to be organized. Next post I will explain in detail how I try to put these things into practice. Until then,