
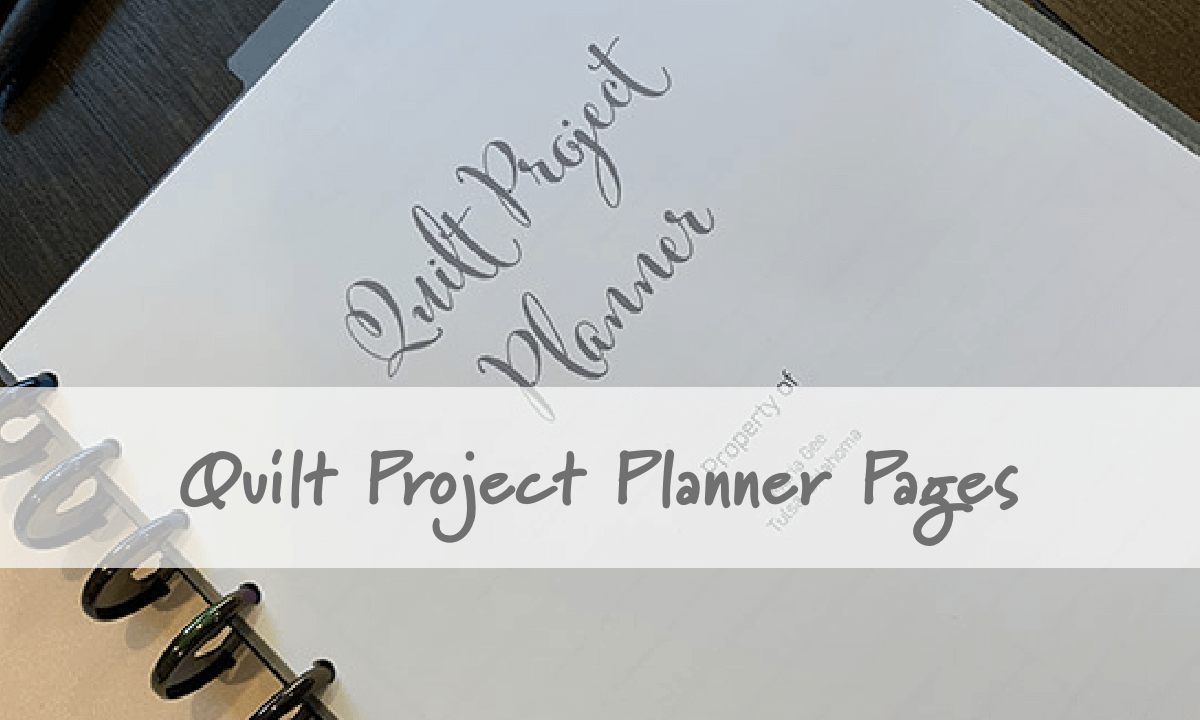
Quilt Project Planner Pages
If you’re a quilter struggling to keep tabs on all the quilt projects you have going on, I can tell you the struggle is real. Chaos sometimes swirls around my quilt projects, and I realized that my planner system could use an update. Ultimately, I designed my own quilt project planner pages to use in my planner. In this post, I give a little background to the process in hopes that this post helps you find a few ways to tame any chaos you might be facing.
Towards the end of the post, there are links to the resources I now use in my planner and I will let you know how you can get your hands on a printable version of the quilt project planner pages that I designed.
I love a good planner
I have friends who used to tease me by calling me “Miss Organized.” I’m not sure the term is very accurate. They see me constantly organizing things. I see a scatterbrained mess who is using organization as a coping mechanism, LOL!
BUT I am addicted to my planner. For at least 20 years now I have kept one at my side. Initially they were pretty basic, but over the last 10 years my use has been more evolved. I have tried ALL KINDS of planners and calendars, ranging from the Covey Planner to Bullet Journals. I’ve tried very detailed tracking, but I eventually leaned into keeping it simple.
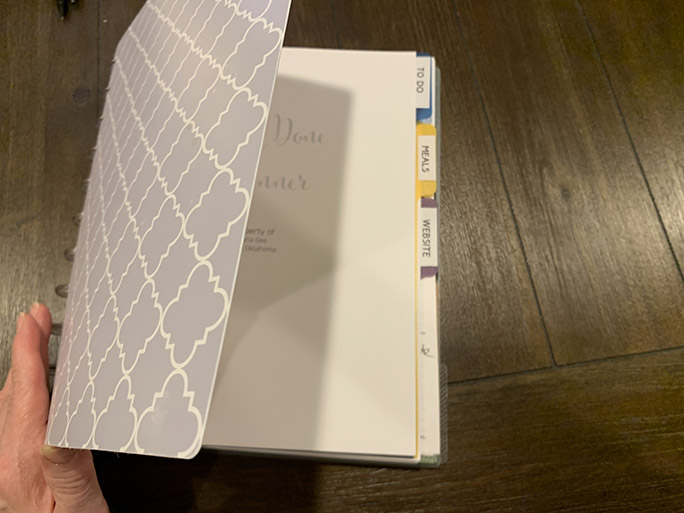
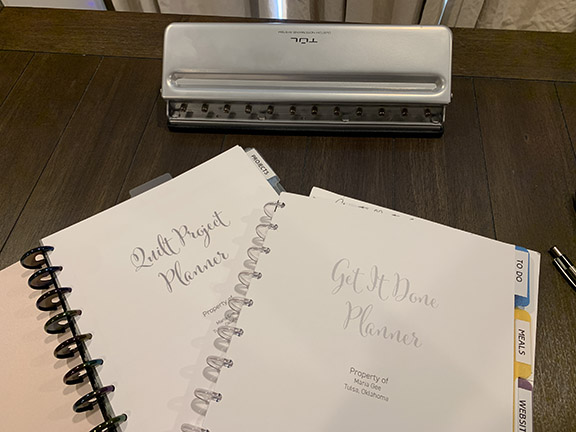
For the past 4 years I have used the TUL system. (It is a disc bound notebook similar to the Happy Planner or the Talia planner.) My TUL planner is letter size, and has four main sections: Daily To Do List pages, a section for meal-planning/groceries/household notes, a website section, and an “ideas” section with graph paper for when creative inspiration strikes.
A word about planner sizes: I decided a long time ago to stick with letter size. Mainly because it is much easier to insert other pages when needed. Smaller size planners require that the page be folded or trimmed. I didn’t want to have to fuss with trimming and I figure if a page is important enough for me to want it in my planner, then I don’t want to have to unfold it to see the information. Plus letter size gives me more room. 😉 Some may argue that smaller sizes are more portable, but I never had trouble fitting my letter-size planner in my briefcase. And I carry a big purse, LOL!
A word about electronic planners: I was an early adopter. I tried them, starting with a Palm Pilot PDA circa 1999. But I was also an early abandoner. I needed that tactile feel and I wanted to be able to see it without clicking a bunch of buttons. I do use the notes app on my phone for quick notes. At work my notes are entirely digital and I do not keep work notes in my personal planner. Work stays at work and I’ve drawn a hard line there. For me, I think keeping work notes digital on my work computer and keeping personal notes on paper helps keep the distinction.
The most central part of my planner is my Daily To Do list, and I keep that page organized into four sections: Must do, Should do, Try to do, and a Daily Recap (sort of a mini-journal entry). it has worked fairly well for me as a place to dump all the things. Over time that TO DO list page was having to cover more and more ground, so it began to feel a bit unmanageable.
…And a separate planner for Quilt Projects
At this point I realized that I needed to keep quilting projects separate from my “regular” planner. I experimented with a few quilt project journals. (There are several on the market.) But none of these really worked for me. Some were WAY too detailed. I do not have time to write a book about every quilt I make, LOL!
Some just didn’t have the boxes I wanted for the information I needed to track. I wanted a 1-pager and a way to easily see the status of the project at-a-glance.
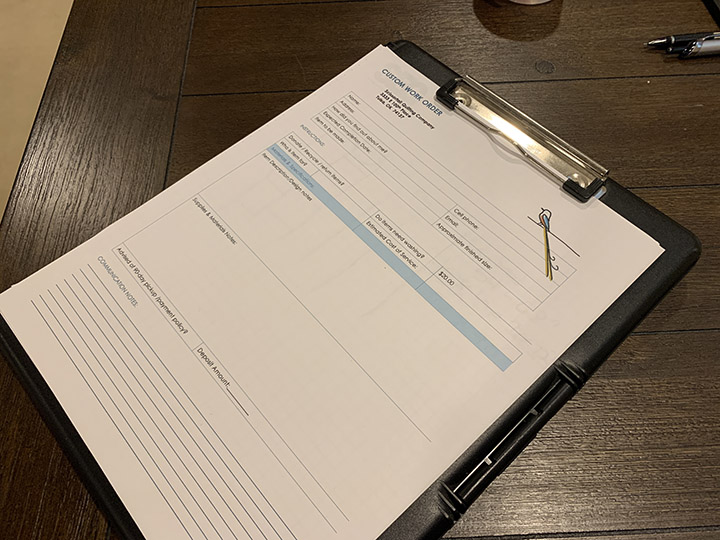
One thing that was working for me was a Customer Work Order Form that I had developed to manage my client jobs. When I meet with clients, I use this form to capture all the necessary details about the project. As I work on the client’s quilt, I keep all notes, calculations, sketches on that form. The form stays inside a manIla folder along with any receipts, swatches, etc. And the folder lives in the bin with their materials. Old school, but very functional.
I realized I needed something similar to this for my personal quilt projects. I had not been terribly organized with my written documentation and details for personal projects. Usually, stuff was written on post-its or scraps of paper and if I was lucky, it made it into the quilt project box.
(If only I had a dollar for every time I had to go back and measure my quilt AGAIN because I couldn’t remember where I put those numbers … )
Quilt Project Planning Pages for my TUL system
So, I decided to design a Quilt Project planning page, similar to my custom work order form containing sections for all the information that I needed to keep at the ready. I purchased a second letter-size TUL notebook dedicated to just Quilt Projects. It would hold my Quilt Project Planner Pages as well as a few other related pieces of information.
I wasted a lot of paper and went through many prototypes before I got it right. And it is still evolving. Yesterday, I made a few changes that I think have made it just a bit more lovely and functional.
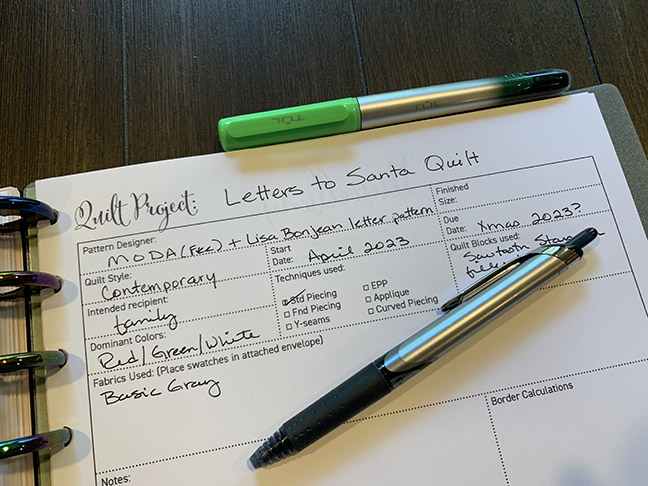
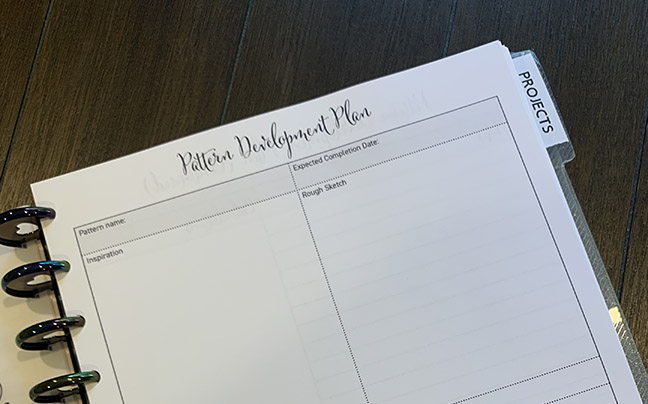
Here is a list of the information my quilt project planner page tracks:
- Project name
- Pattern designer
- Finished size
- Quilt style
- Start Date/Due Date
- Intended recipient
- Techniques used
- Quilt blocks used
- Color scheme
- Fabrics used
- Border calculations
- Binding calculations
- A Notes section (for writing down applique stitches, stitch lengths, anything else of importance)
- A section to write down what was challenging or rewarding about making this quilt
- what type of batting was used
- who quilted it and what quilting design was used
- a QUILT PROJECT progress bar at the bottom of the page
- Space for the completion date
Tracking the Quilt’s Status
The biggest reason I decided to design my own Quilt Project planning page was to track the status of a project. It was very important for me to be able to quickly see where each project is at in the process. I created a status bar along the bottom of the page where I simply color in each step as it is completed. As I flip to each quilt project page in my planner, I can easily see where the project stands.
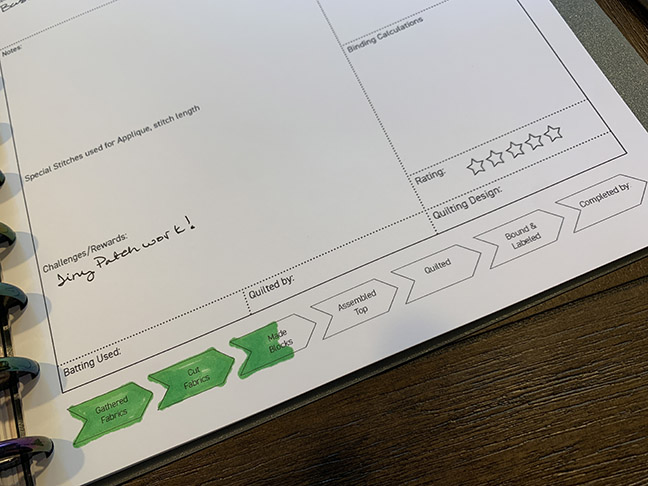
I find it very satisfying to color in those boxes, LOL! (That same satisfaction one feels when drawing a line through an item on your TODO list!)
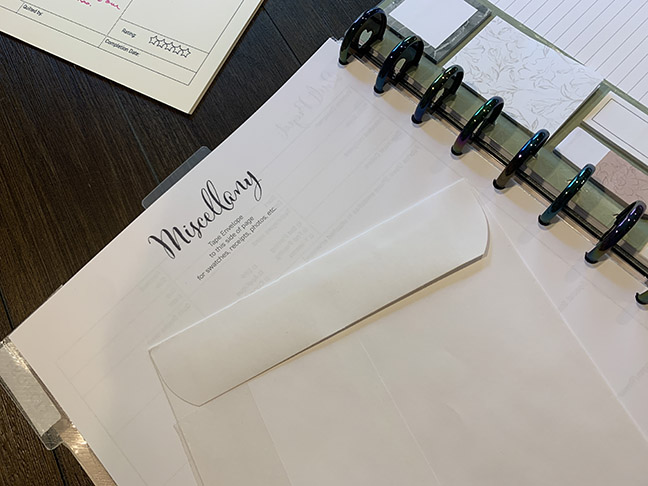
On the backside of the Quilt Project Planner page, I tape a medium-size envelope to hold swatches, receipts, etc. This keeps all that loose paraphernalia in one tidy place.
Organizing Other Quilt Project Ideas
Of course, being an organized quilter means more than just tracking current projects.
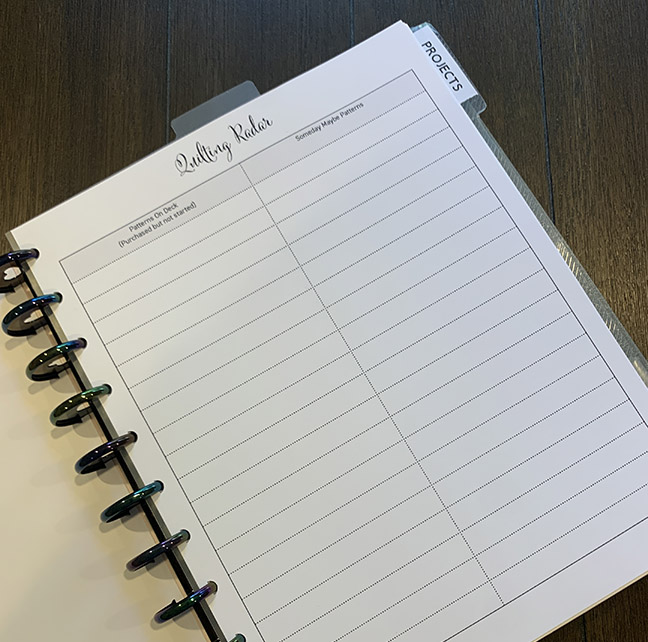
So, I designed a few other pages for my Quilt Planner. One page I call my Quilting Radar — this is where I track patterns I want to do in the future. One side is for patterns already purchased. The other side is for things I am keeping my eye on.
I designed another page to record details for projects where I am also writing a pattern.
Using my Quilt Project Pages
These pages have been working out quite well for me over the past month. I’ve been very delighted with how they keep the right information at my fingertips, and I believe they may be of value to you, too.
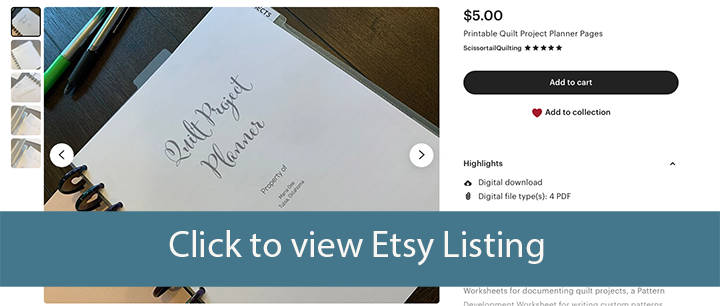
I have decided to make these pages available as a download in my Etsy shop for a very nominal fee. PLUS, In honor of the Labor Day Holiday I am offering a 20% discount now through September 11 using code LABORSAVING20 at checkout.
If you are interested in trying these, all you need is access to a printer and a hole punch. Then you can print them and put them in any binder you choose. A disc bound system like TUL or Happy Planner requires a special punch (called a mushroom punch), but it is a good investment if you want to print custom pages for one of these types of planners.
If you are interested in using the TUL system that I use, scroll to the bottom of my Tools and Notions page where you will find a “Quilt Organization” Section containing links to the products I use on Amazon.
That’s it for now! Stay organized out there!

