How to make a French Linen Bread Bag
Estimated reading time: 13 minutes
Hello, friends. Today I’m sharing a tutorial for how to make a french linen bread bag. I whipped up a bunch of these a few weeks ago and have thoroughly enjoyed using the one I kept. Before I get into the tutorial, let me catch you up on what’s going on around here.
Admittedly I’ve been a little out of pocket the last few weeks. For starters, the wedding celebrations have begun. Family and friends came in a few weeks ago for the first wedding shower. It was such a lovely and joyful day. The darling couple was surrounded by loving family and my sweet friends from church truly showered them with blessings.
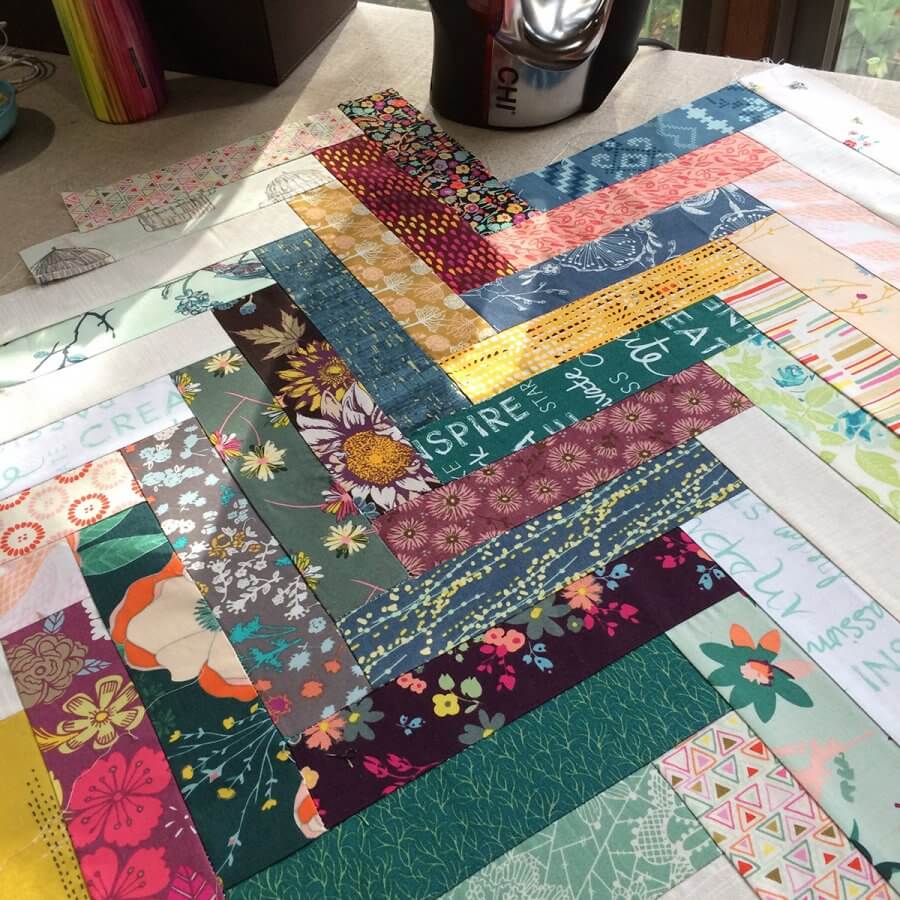
We had the big quilt reveal, too…Click here to see the post on the making of this quilt.

The other reason I’ve been a bit off the grid is that last weekend I attended a quilt retreat. This is a group that I meet with twice a year. I had signed up for the retreat way in advance, way before I knew how crazy this spring would be, but I was glad I went. It was just the break I needed. And I got a LOT accomplished.
(But I digress…I’ll tell you more about the retreat in my next post.)
The Back Story to my French Linen Bread Bags
So, why is a quilter making French Linen Bread Bags? Well, a lot of factors led me to this project…
Oddly enough, it really started about a year ago when, for health reasons, I decided to give up sugar and carbs, including all forms of bread. After some significant health improvements, I decided that I wasn’t buying bread for my family anymore either.
Yeah. That went over like a lead balloon! LOL
Disclaimer: this is a quilting blog and not a blog about diet and health. If you want to know more about my decision to give up carbs and bread, I can only point you to some places that led me to this conclusion, namely the websites of Dr. Peter Attia, DietDoctor.com, and Dr. Jason Fung’s IDM Program. I do not earn any money or commissions by referring you to them. I am just one health-seeking
begger trying to show other health-seeking beggers where to find bread. (Pun intended.)
There was quite a bit of grumbling initially, and after about a month with no bread in the house, my oldest son decided that if I wasn’t going to buy bread, he would just make some. (He reasoned that it would be healthy if it was homemade. Give him some credit, at least he cares about the healthy part!)
But I could go off on all the ways this was annoying to me
…flour all over my kitchen
…the smell of freshly baked bread waking me up at midnight
…and the MASSIVE amounts of saran wrap disappearing from the kitchen.
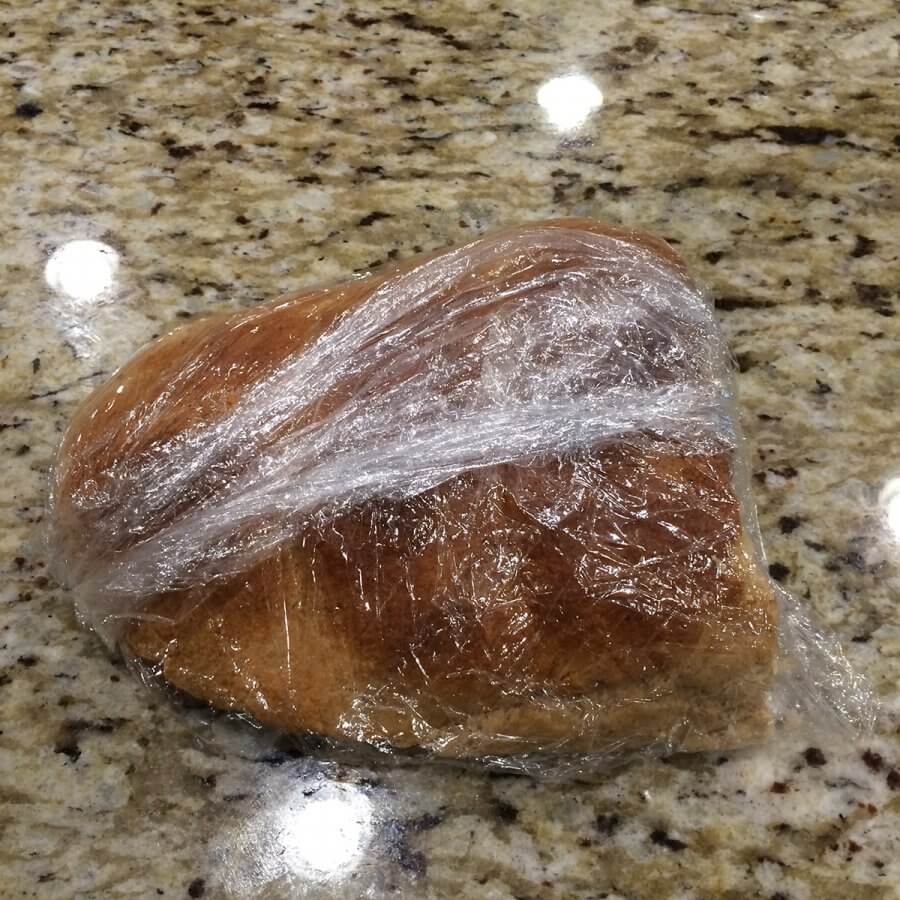
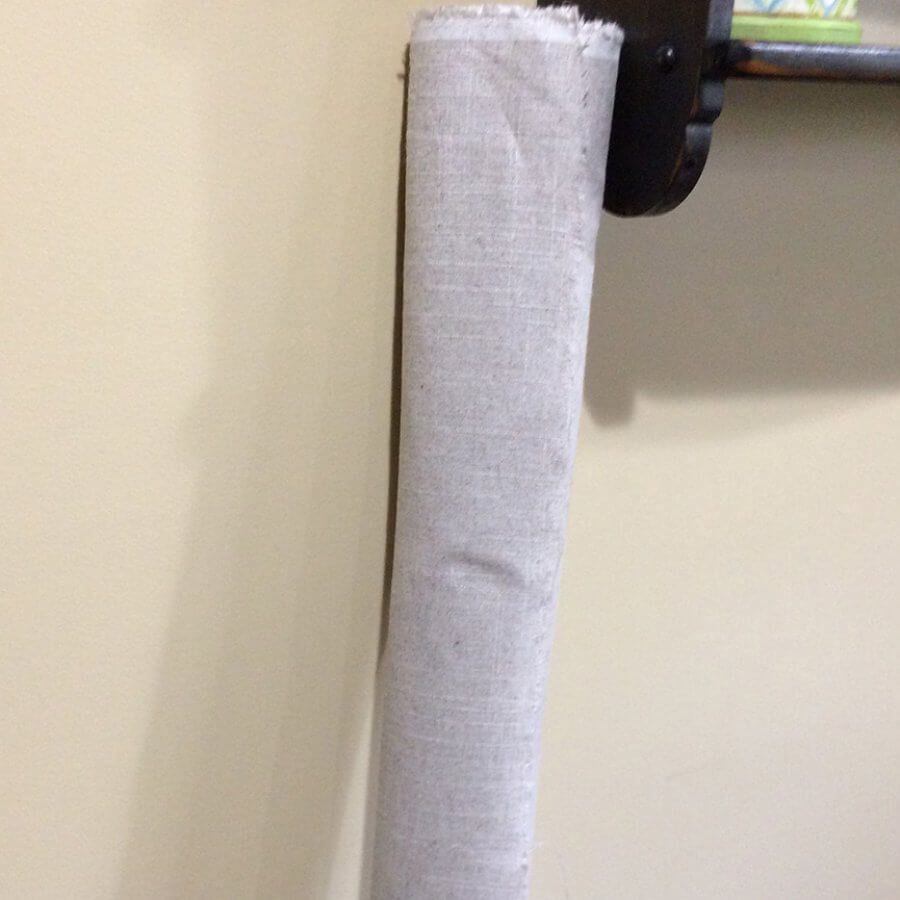
I started to do a little research on earth-friendly ways to keep the bread from going stale and discovered that French bakers used to keep bread wrapped in linen because linen naturally attracts moisture.
Meanwhile, as we are in the middle of wedding plans, the issue of hostess gifts came up. My wedding coordinator-friend recommended we give artisan bread.
(My first thought: Seriously? Bread?! I simply cannot get away from it!)
But in the end, it sounded like a cool idea, especially when future daughter and I stumbled upon some super cute cheese plates to go with.
On Clearance.
In an effort to pretty up the packaging and experiment with my bread bag research, I decided to try my hand at making some French Linen Bread Bags as wrapping for the gifts.
Before I start the tutorial, there is one other little component that played into the design: early in
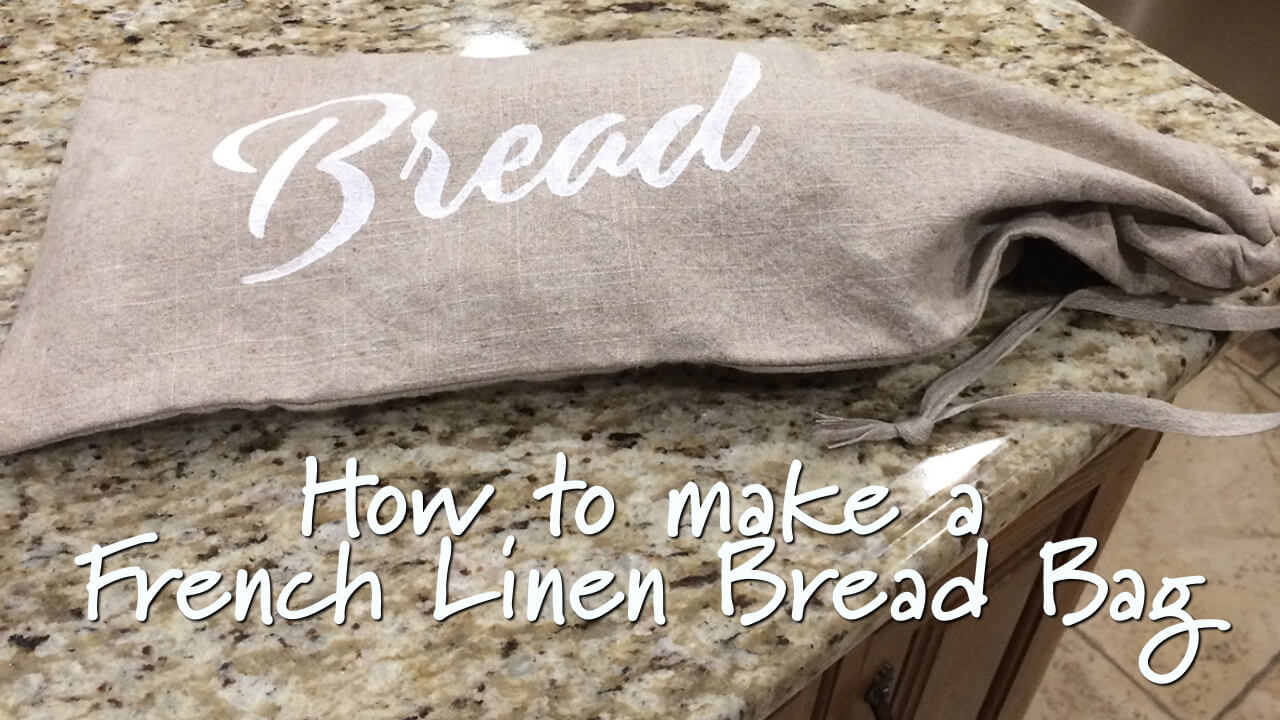
The results
The tutorial that follows for how to make a french linen bread bag is the culmination of all of that.
Now, the bread bag itself is very basic. It’s a simple
I whipped up 10 of them in a couple of hours.
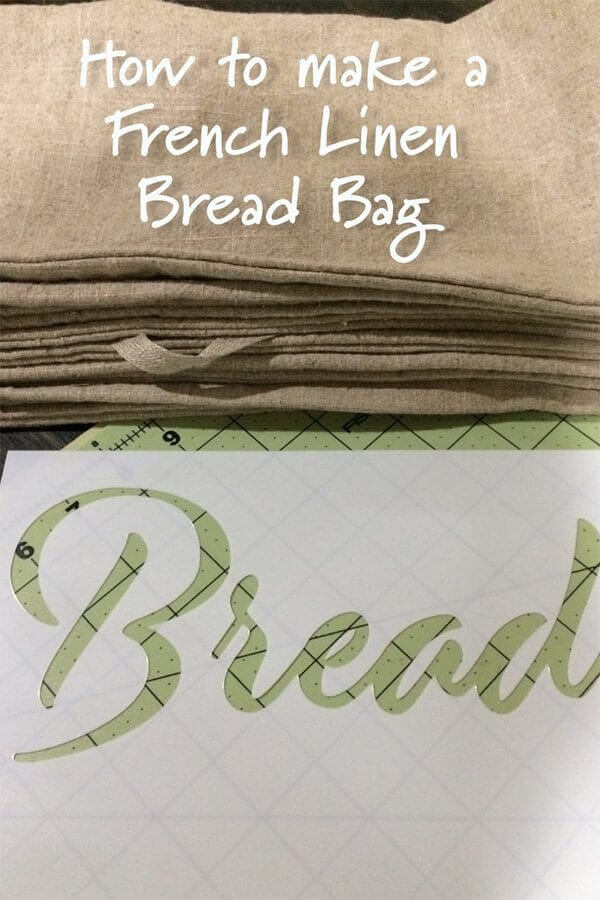
For my “Bread” label, I played around with quite a bit of typography in Adobe Illustrator before I found the look I was going for. I wanted a nice chunky script – something that evoked a farmhouse feel without being too rustic (or illegible…one of my biggest pet peeves!)

Then I transferred the typographic design to my Brother Scan N Cut, created a stencil and painted them up the next evening. (I explain this in further detail below.)
The day before the shower, we bought the artisan bread (No, I did not get son #1 to bake it!), wrapped the bread in the bags, then tied them to the cheese plates with white tulle ribbon. They were a big hit, BTW, as evidenced by this text I received from one of the hostesses a few hours after the shower:

So, if you want to try them out for yourself, here are the instructions for how to make a french linen bread bag:
Supplies you will need:
For the bag:
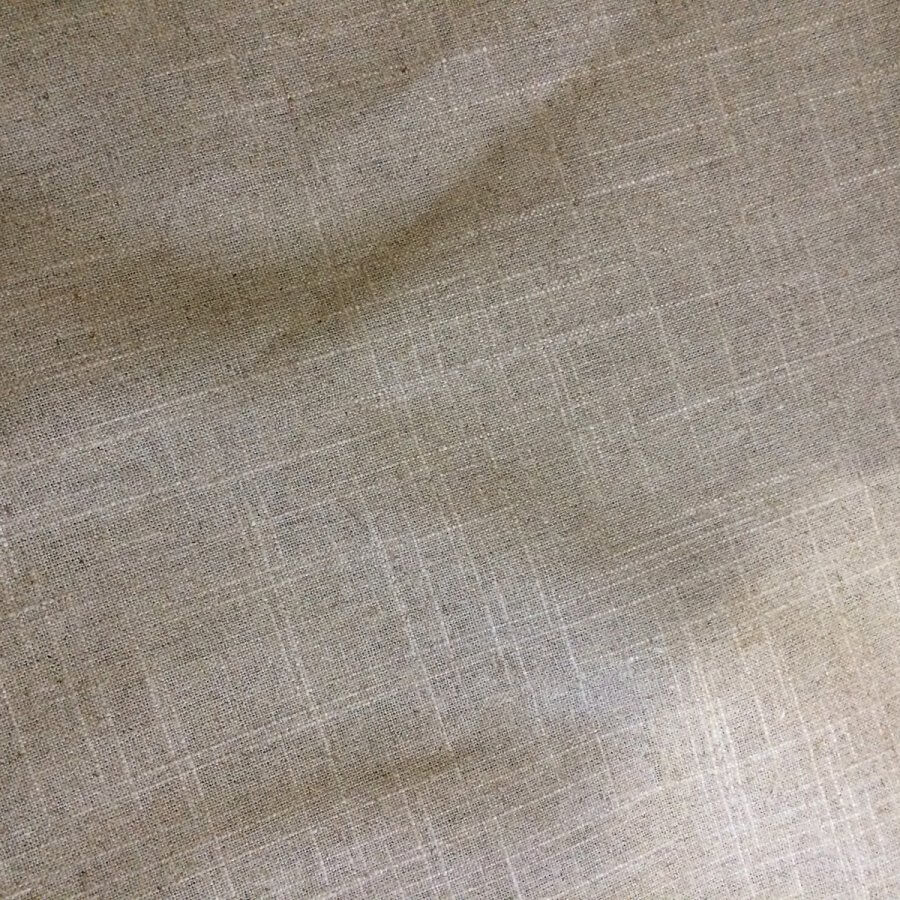
- about 5/8 of a yard of linen (Note: you can use 100% cotton, but cotton does not have the same moisture-wicking properties as true linen. When you touch linen, you will notice it is often cool to the touch due to its moisture content.)
- Matching thread
- a 1″ square of interfacing to stabilize the buttonhole opening
- Coordinating ribbon (I used a flat 1/2” wide jute ribbon, but you can also make a 1/2” wide tie from any leftover linen.)
- A large safety pin to thread the ribbon into the bag’s casing
- General sewing supplies: sewing machine, scissors, thread, etc.
- Rotary cutter, long acrylic ruler and a rotary cutting mat
If you want to stencil paint the “Bread” label:
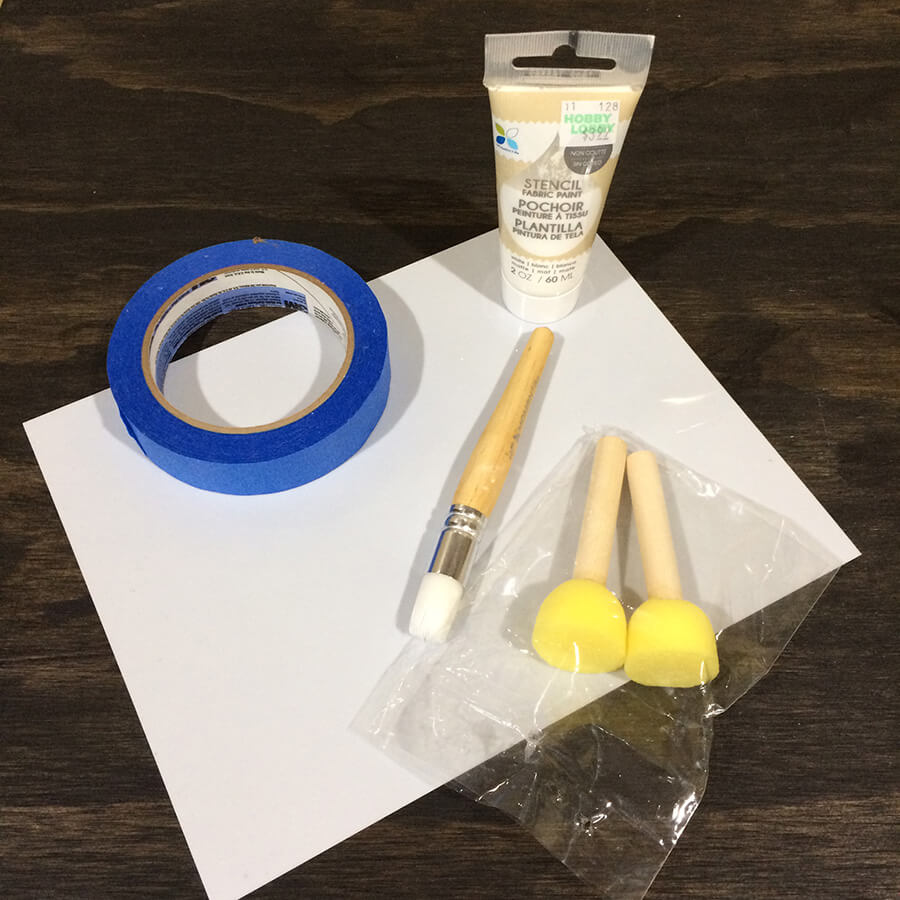
- Fabric paint
- Stencil brush or foam pounce brush (I tried both but preferred the stencil brush.)
- Stencil plastic
- Painters tape
Instructions
- Prewash your fabric using a mild soap to remove all stabilizers and chemicals. Allow
to air dry. Do not use any fabric softener. Those chemicals are not only bad for the food, but they prevent the paint from sticking if you choose to stencil the bag. - Starch and press your linen with a hot iron, then cut a piece that measures 19” x 28.”
- Fold your piece of linen, wrong sides together,
along the long edge of the fabric. You should now have a rectangular piece that measures 9.5” x 28.” Pin carefully to make sure raw edges match. If they do not, trim slightly so that the piece is squared up and all raw edges match up perfectly. - Sew a 1/8” seam along two raw edges (the bottom and one side) Note that this is a very little seam, and that’s why we carefully matched up those raw edges in the previous step. Ever so slightly, trim a bit of the fabric in the seam allowance away from the corners.
- Turn the piece inside out. (The wrong side of the fabric should be on the outside now.) Use an old chopstick or slightly pointy device to carefully push out the fabric in the corners. Press.
- Now we are going to make a pretty French seam. Go back to your sewing machine, and using a scant 1/4” seam, sew along the same two edges. Your previous seam will be caught up in the seam allowance as you sew.
- Carefully clip the bulky excess seam allowance from the corners and turn right side out, again pushing the corners out neatly. Press again,
- Now it’s time to make the casing for the ribbon so you can make a drawstring opening. For the casing, turn under the top edge about 1.” Press.
- Slip a 1″ square of interfacing in the fold of the casing where you want your buttonhole. I placed mine in the middle of one side. Using the buttonhole function on your sewing machine, sew a buttonhole that is at least 5/8″. Cut the slit open for the buttonhole using a utility knife or sharp scissors.
- After the buttonhole is made, fold your casing over again, about 1.25” and press. Sew along the bottom edge of the casing to stitch it closed. I find that using my quarter-inch foot helps me keep a nice straight sewing line.
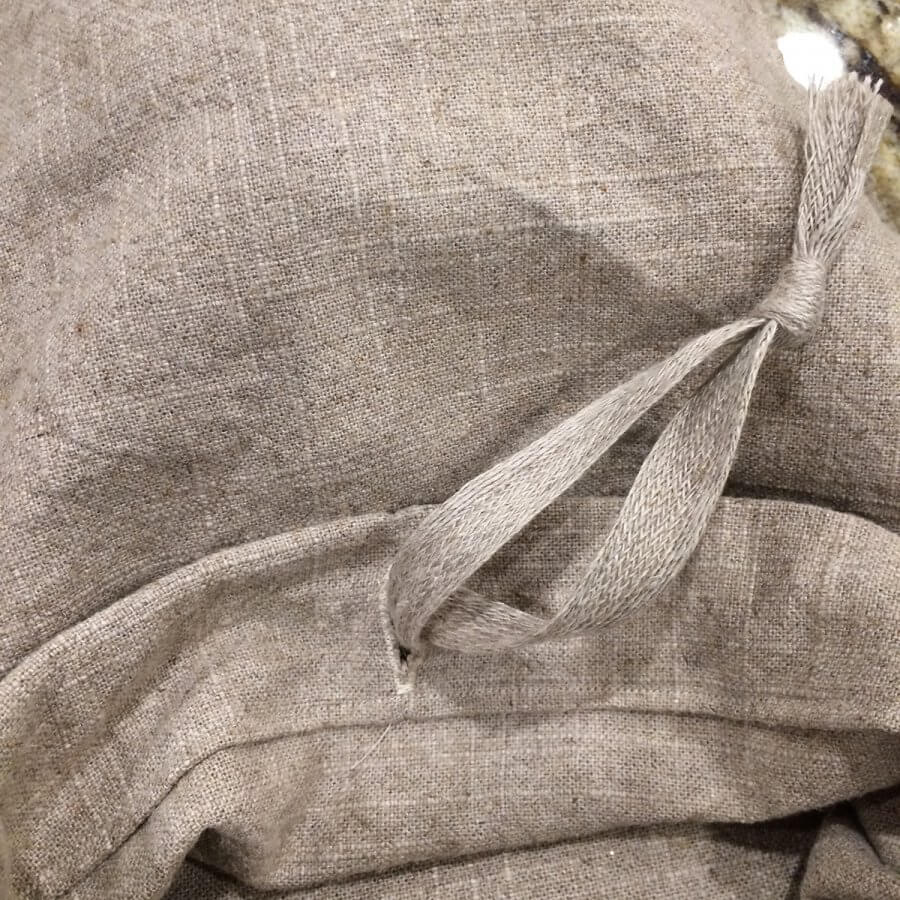
- Cut a piece of ribbon or make a tie that measures 1/2” wide by 27.” Attach the safety pin to one end of your ribbon or tie, and thread it through the casing. Once it is completely threaded, tie both ends of the ribbon together in a knot, to keep the tie from disappearing back into the casing.
- Embellish your bag as desired.
Embellishing tips:
I chose to stencil the word “Bread” on the outside of my bread bag. Of course, applique is an option, too.
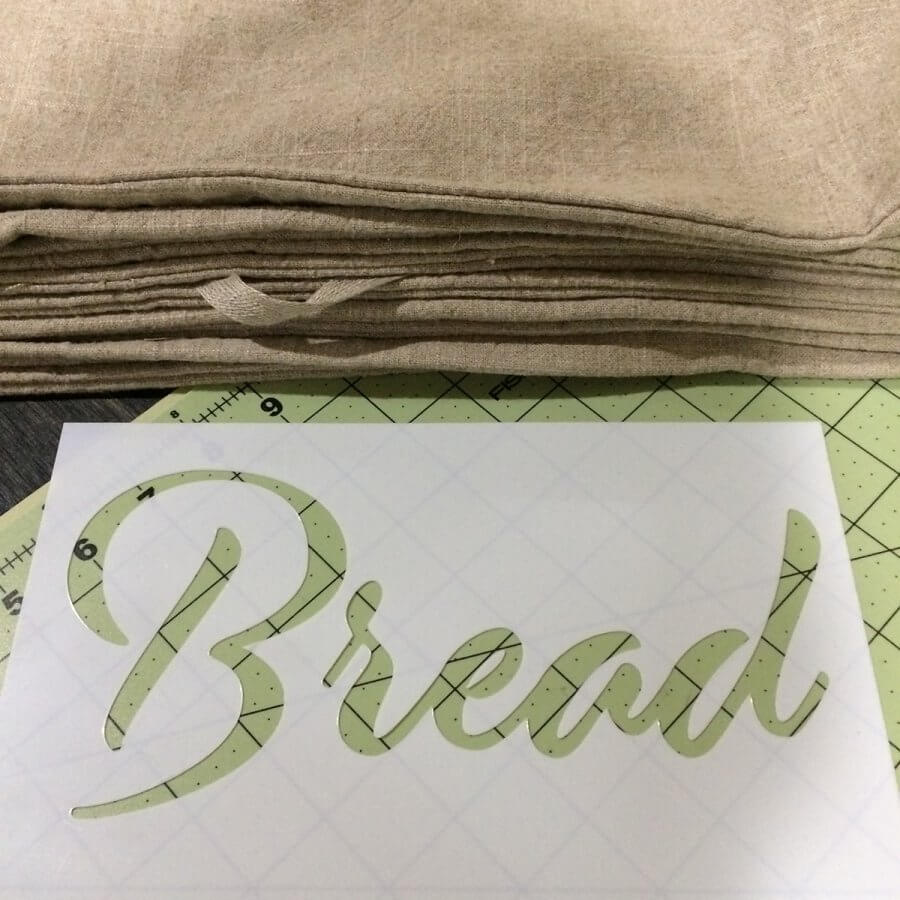
For the next few weeks, I am including a free download on this post for the file I used to make my stencil, and it works for stenciling or applique. Download the file by clicking the highlighted text below:
Bread Typography (6823 downloads )If you choose to stencil…
If you own a Brother Scan N Cut machine, you can scan in the download to create a cut file, or if you have the wireless interface on your machine you can upload the included SVG file to the Brother Canvas workspace, and send the design to your digital cutter that way.
A digital cutter is a great tool if you do a lot of applique or paper crafts.
The link below is an affiliate link, which means that if you click the link and choose to make a purchase, I will earn a commission. This commission comes at no additional cost to you. Please know that I only link to items which I personally use and feel that I can confidently endorse. Your support by using these links is greatly appreciated.
If you think you might like to try using a digital cutter, I highly recommend the Brother line.

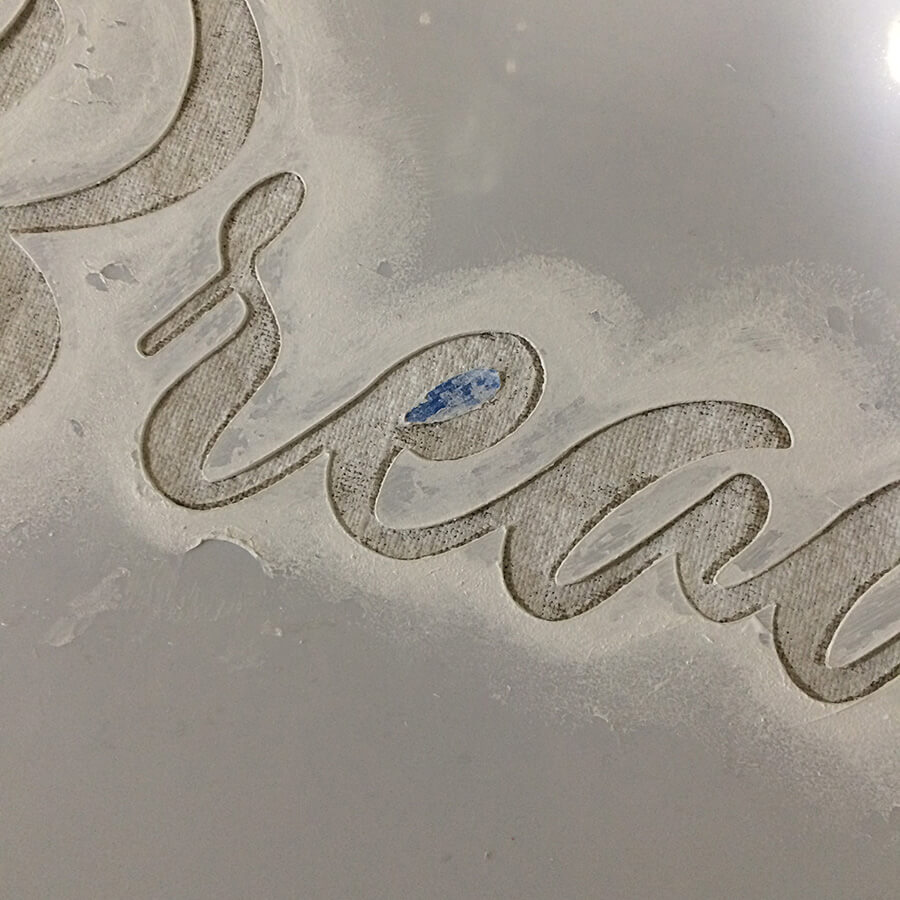
I loaded my mat with a sheet of vinyl stencil plastic, set the blade to 4 and the pressure to 5. One caveat about the stencil: it can’t make the little cutout inside the “e.” I’ll tell you later how I got around this.
So, after your stencil is cut, find the vertical center of your bag by pressing your finished bag in half lengthwise. (I only centered the design
Place the bag on a hard surface. Use painter’s tape to hold the stencil in place.
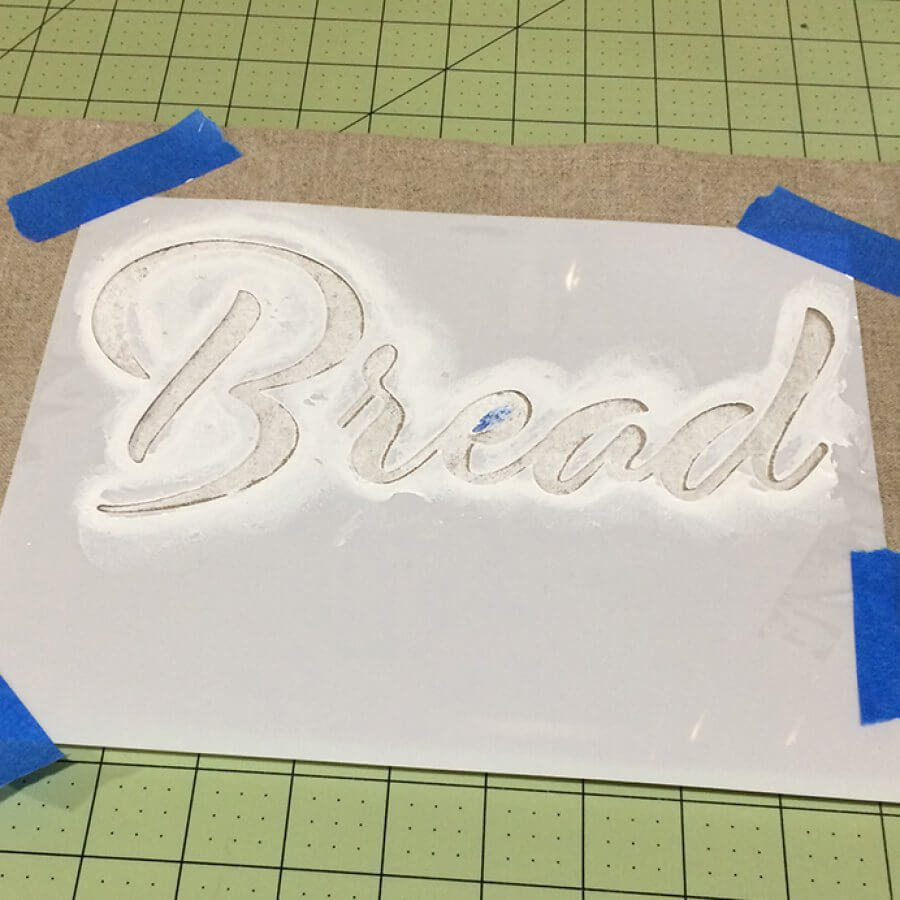
Since the center of the “e” cannot be cut into the stencil, I cut a piece of painters tape to match the middle
Load up your brush with the fabric paint and dab off the excess. If you are using a stencil brush, hold it like a pencil with the bristles flat on the surface, making small circular motions. K
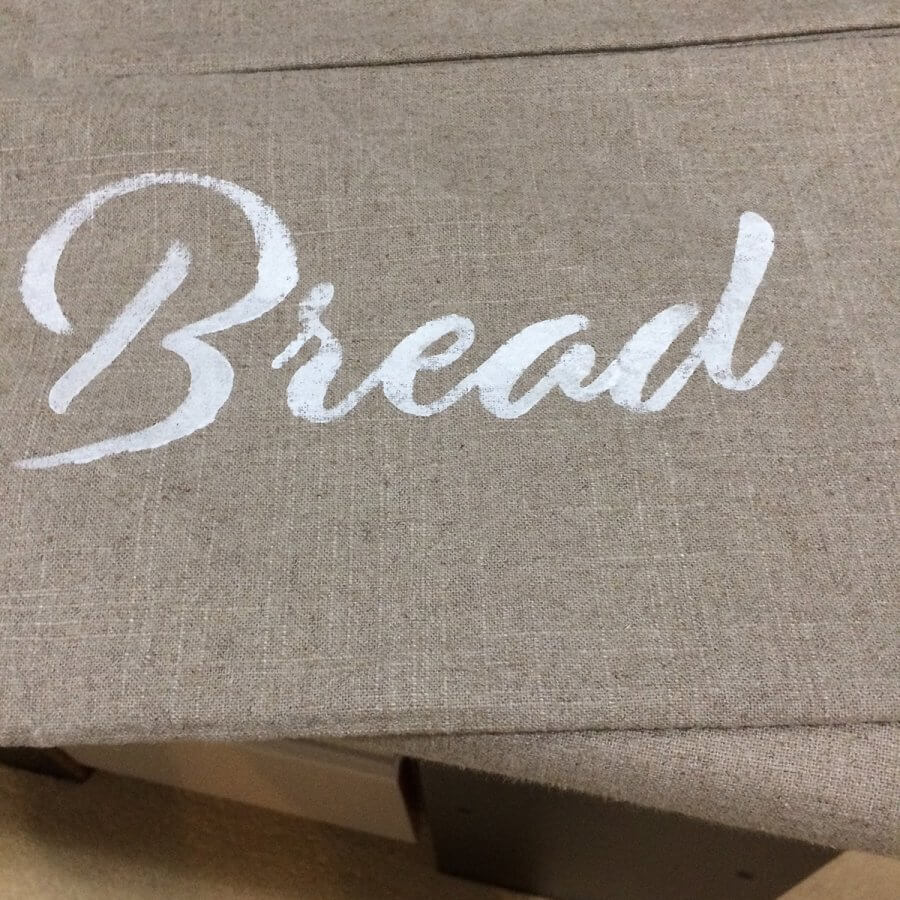
Remove the stencil and allow to dry for 24 hours. Then, using a pressing cloth and very hot iron, heat set the paint as directed by the paint manufacturer.
So that’s it.
Bread still doesn’t work it’s way into my diet very often, but when it does, I make sure it’s worth every carb and it’s slathered with butter. But whether you’re a bread-eater or not, I hope you have great success with this little tutorial. Feel free to reach out to me via my contact page if you have any questions.