
A Machine Quilt Binding Technique for a Quick and Easy Finish
Welcome back! This post will tackle how to bind a quilt quickly using a machine binding technique. If you are just now finding me and want more information about quilt binding, you might want to hop over to the HOW TO BIND A QUILT PAGE and see the other posts.
This post has been a long time coming. I’ve been hesitant to write it for several reasons.
Reason one — and let’s just be honest here — machine binding techniques will not look as polished as hand binding without a lot of practice. I have known about and have used several machine binding techniques over the past ten years, but have only used them sporadically. Quite frankly, I was never as pleased with the result. Which leads me to the second reason that I have put off writing this post: I wasn’t too keen on posting pictures of mediocre machine binding work. I felt I didn’t have enough practice with it to have any special knowledge about how to make it look good.
Machine binding methods make good sense on a baby quilt.
This past year I made quite a few baby quilts. (And they are so fun! So quick, fun fabrics, and such a joy to give away!) The machine binding holds up very well to rigorous and frequent washing and all the abuse that a baby quilt will get. But the clear advantage of machine binding is that it is MUCH faster than hand binding. When you are trying to crank out a baby gift, sometimes speed is just a necessity.
So baby quilts make the ultimate practice field for machine binding! I got a lot of practice this past year, and feel like I worked out a few of the kinks that were bugging me about the process.
Stitch-in-the-ditch Machine Binding Method
My favorite machine binding technique, is to use a stitch-in-the-ditch foot to secure the binding. I will be demonstrating this using some donation quilts I offered to bind for my local guild.
Step 1: Make the Binding and attach to the front (as normal)
This technique starts off very much like the “normal” method for quilt binding. If you aren’t familiar with how to do this, I recommend that you go to the HOW TO BIND A QUILT PAGE and read the posts that explain this.
Typically I use binding strips that are 2.25″ wide, but for this technique I use binding strips that are 2.5″ wide. You need that little bit of extra width to make sure the binding folds all the way back over your seam line.
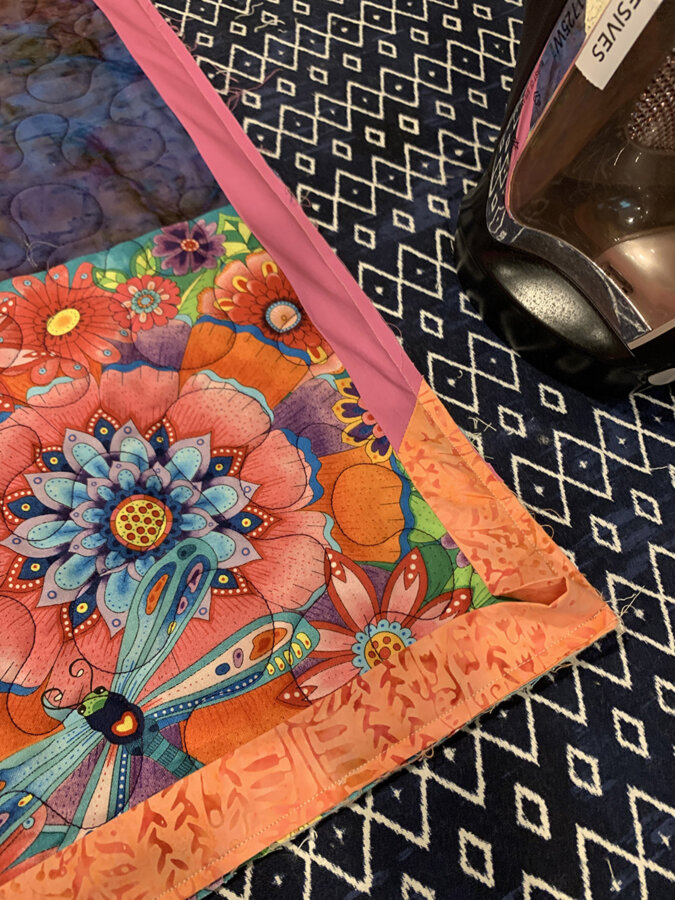
Step 2: Press the binding out from the front
Again, this is what you would normally do. This step is pretty self explanation, but here is a picture.
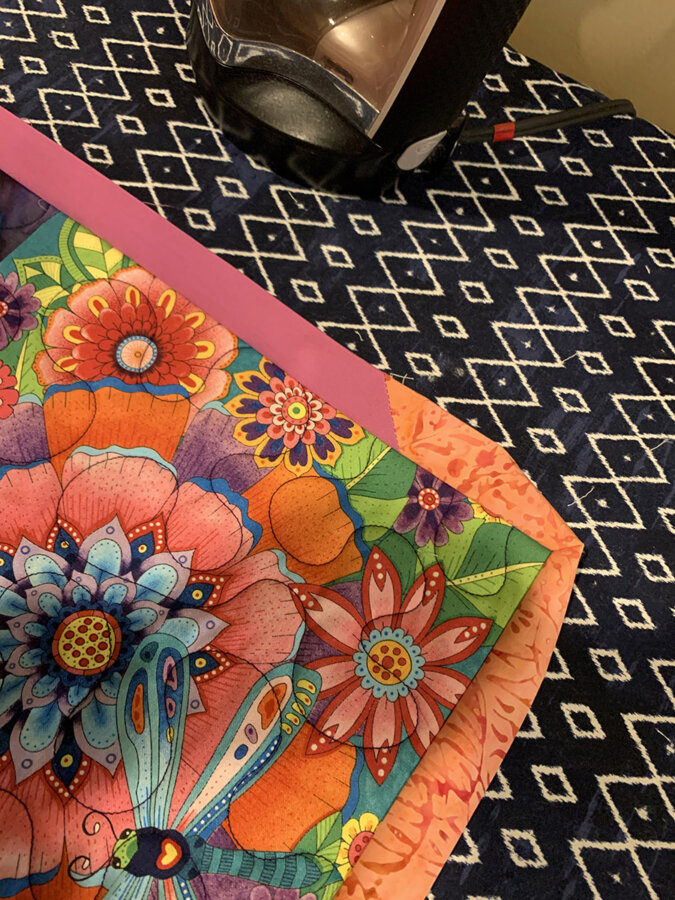
One thing to watch as you press out: that binding should look fairly straight. If you have a big wave in it, that means your seam got a little wonky I that area where it is flaring out. Take it back to the machine and straighten it out before you proceed. That will help you get a nicer result.
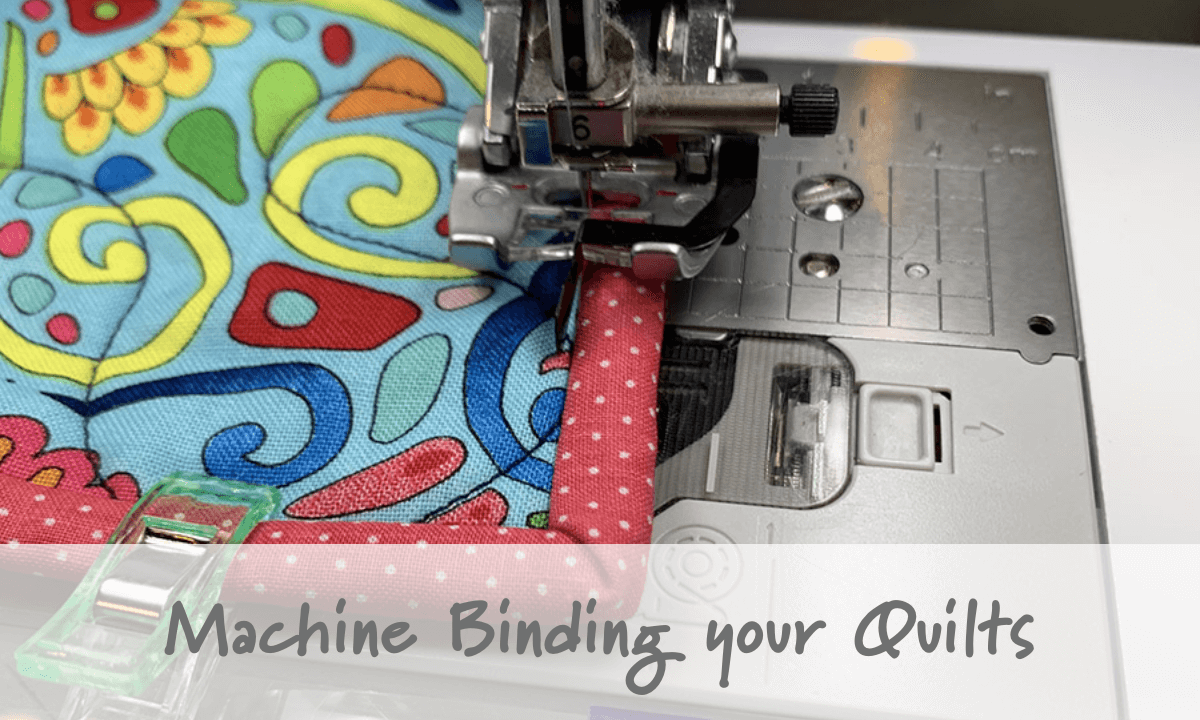
Fold the binding over and attach using your Stitch-in-the-ditch foot.
Now that sounds easy enough, but details matter here.
First let’s make sure the set up is right. As usual, you want to make sure you have good support around your machine so that your quilt doesn’t slip off and create drag. (Several tables off to the side are usually enough to help support the weight of the quilt.
A walking foot is super helpful, too. But a stitch in the ditch foot will make all the difference.
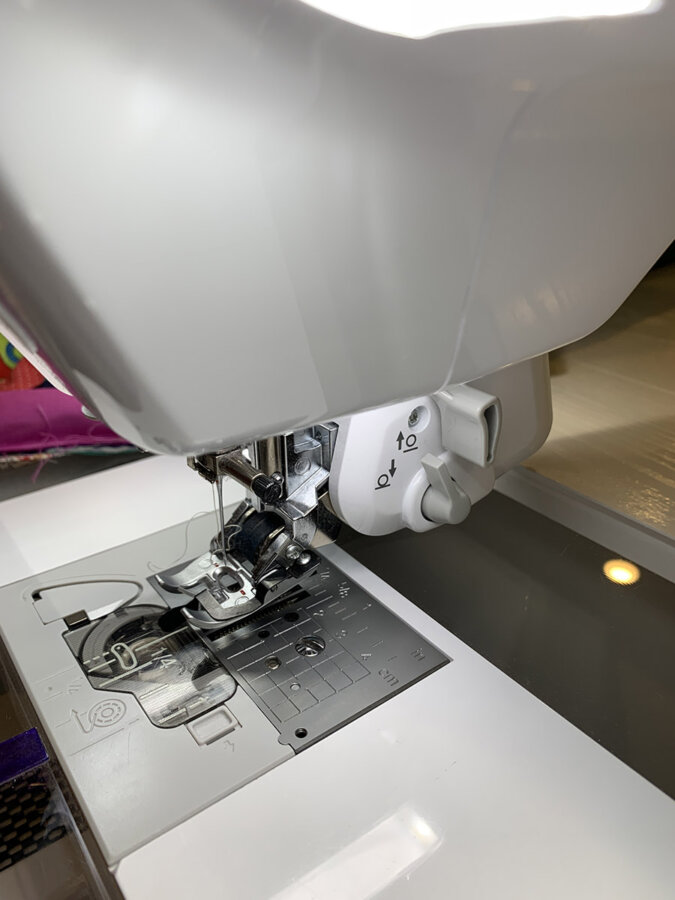
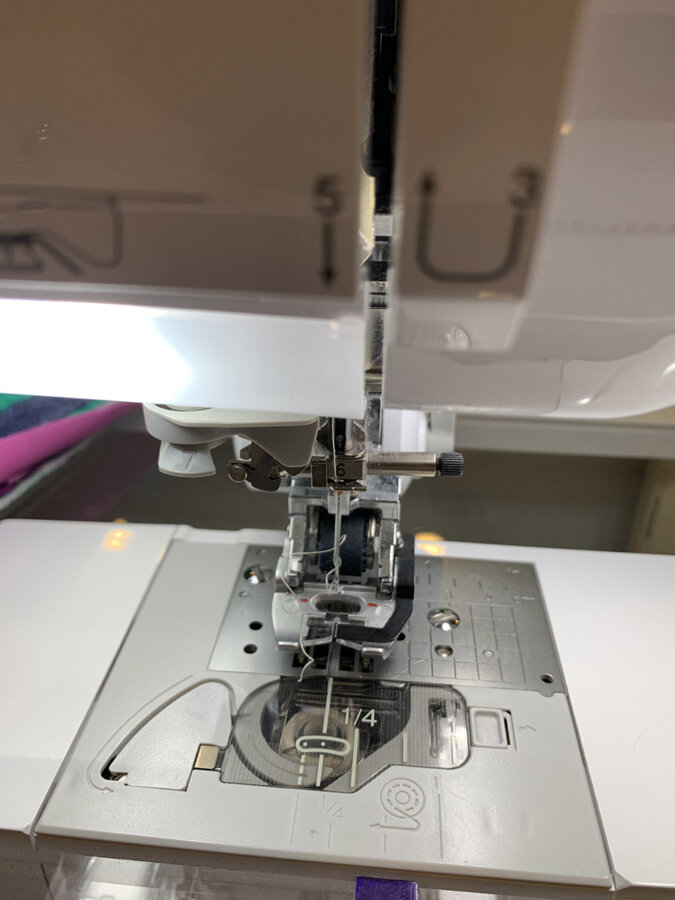
A Stitch in the ditch foot has a piece of metal that will help separate your seam. This will make your stitch sink right down inside that seam so it’s practically invisible.
Another important consideration is thread color. Make sure you are using a thread color that is going to blend in with your binding. You are going to see that thread on the back side, so a matching thread color will make uneven lines less noticeable.
But the real key to making this binding look pretty is to fold that binding over EVENLY and STRAIGHT.
As I’ve said in previous posts, I’m not a fan of pinning or clipping the entire binding all around. Even in this situation. But with this technique, I do clip about a 10-15″ section at a time.
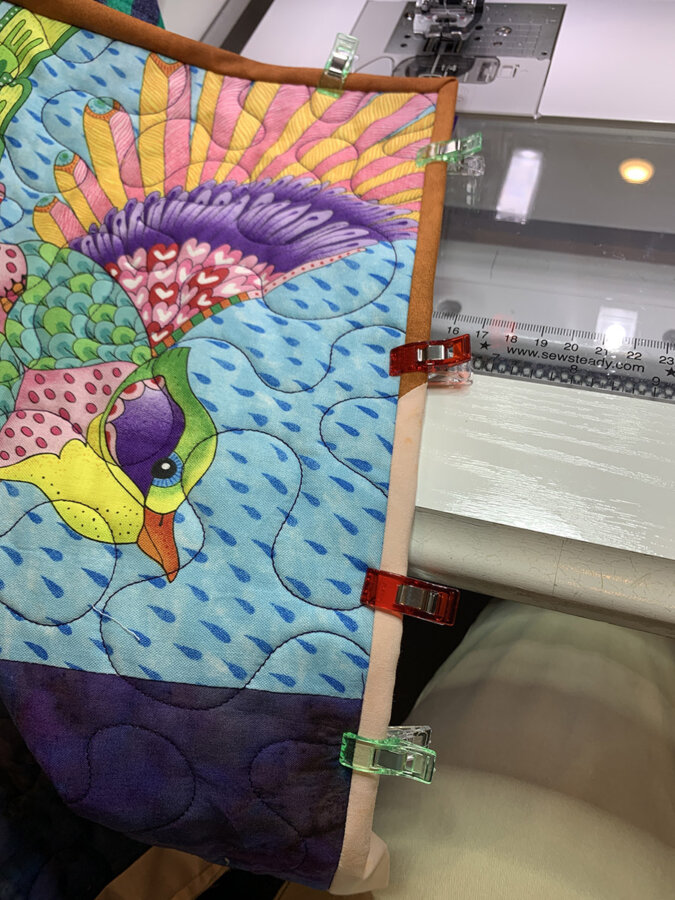
I start in one corner and make sure the mitered corner is folded correctly. Then I roll the binding back, making sure the edges are straight and that the edge comes over the stitching line. The folded edge of the binding should extend across the stitching line roughly 1/8″. (Of course that is going to depend on your binding strip width!)
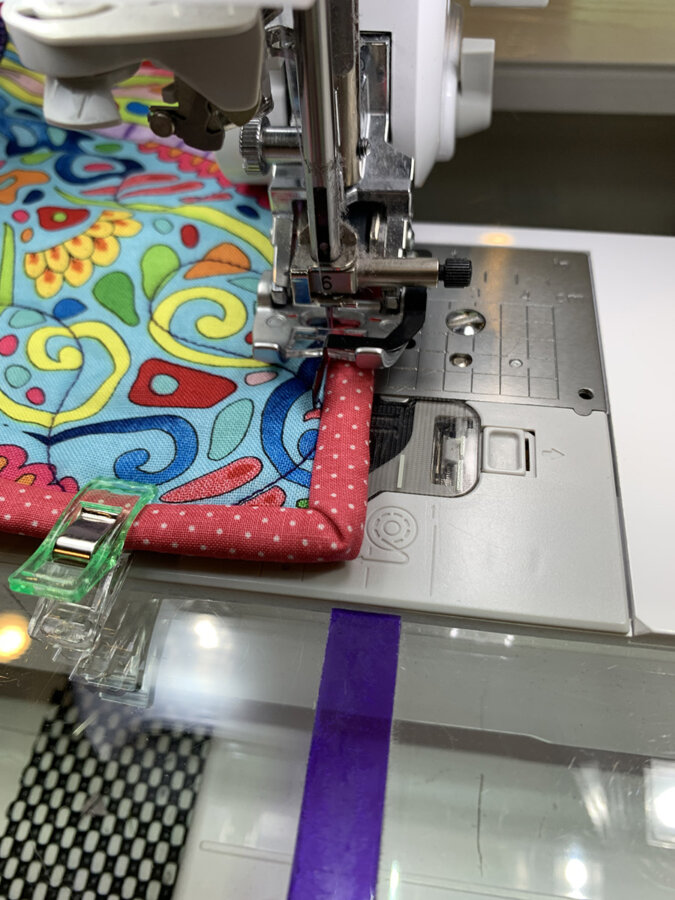
Now put the quilt on your machine. Put the needle down exactly in the corner. Make sure the guide on your foot is nestled down in your seam as shown below.
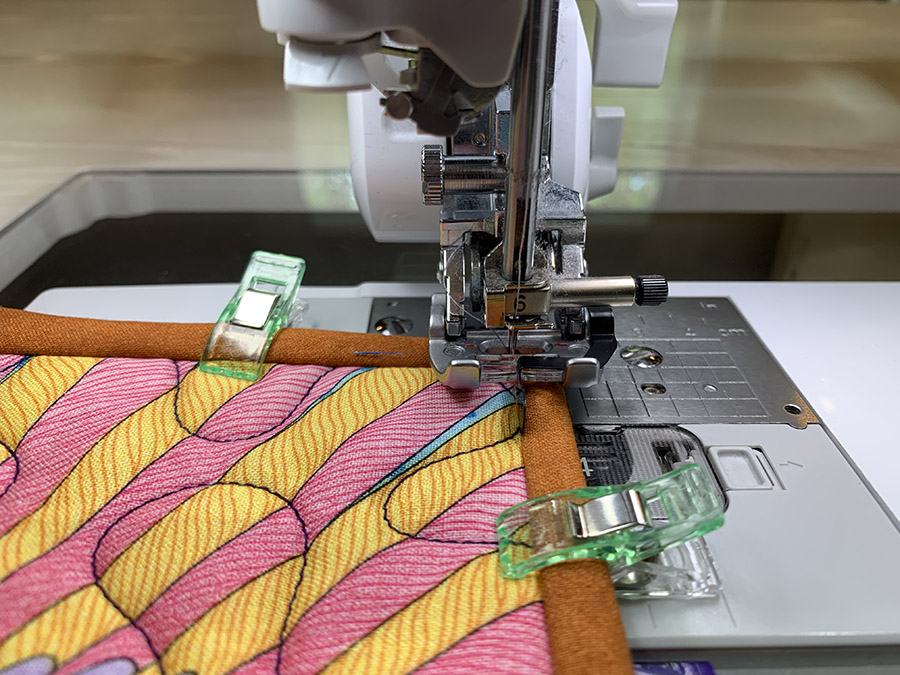
Take a few stitches, then make a securing stitch, and begin stitching. Take your time, making sure your stitches fall into the ditch of the seam.
Continue down the quilt about 10 inches, then fold over the next section and reattach binding clips to hold in place. Proceed down the entire side of the quilt in this manner.
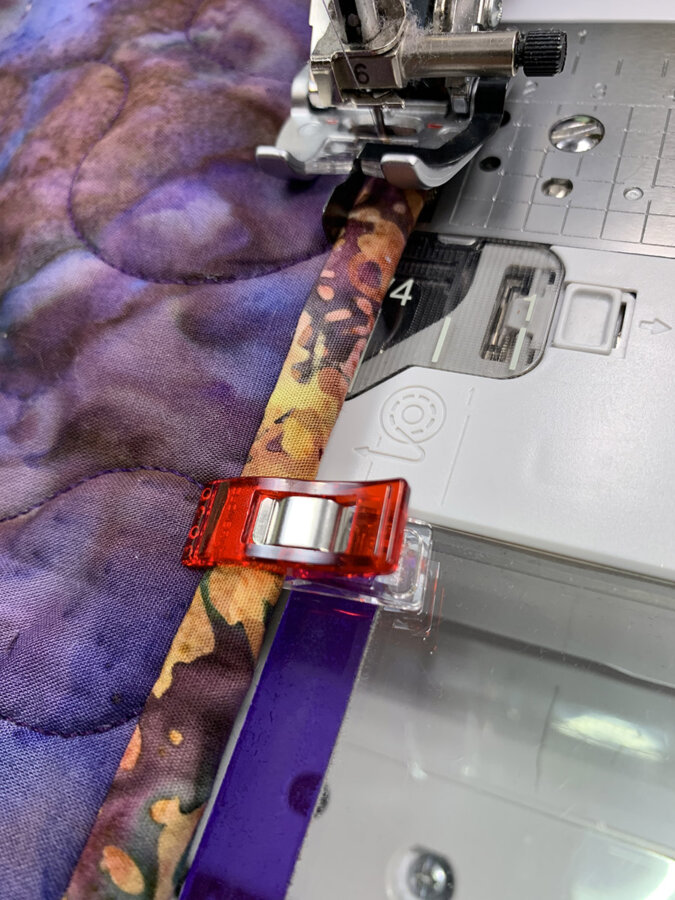
When your needle gets to the next corner, then pivot and sew in the ditch of the next side. Continue on around until you have sewn the entire binding down. I will warn you that the corner is the trickiest part. You want to make sure you catch both sides of the quilt binding in that corner. When you are an inch or two away from the corner, peek under to make sure the binding is still rolled up proporly before the needle gets to it.
End with a securing stitch.
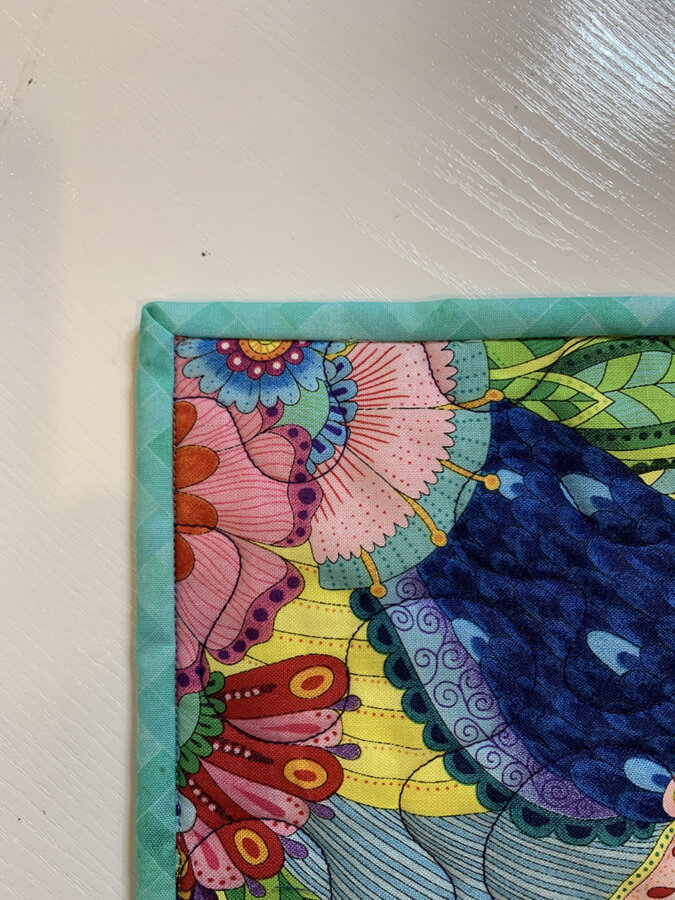
Here is how the binding will look from the front.
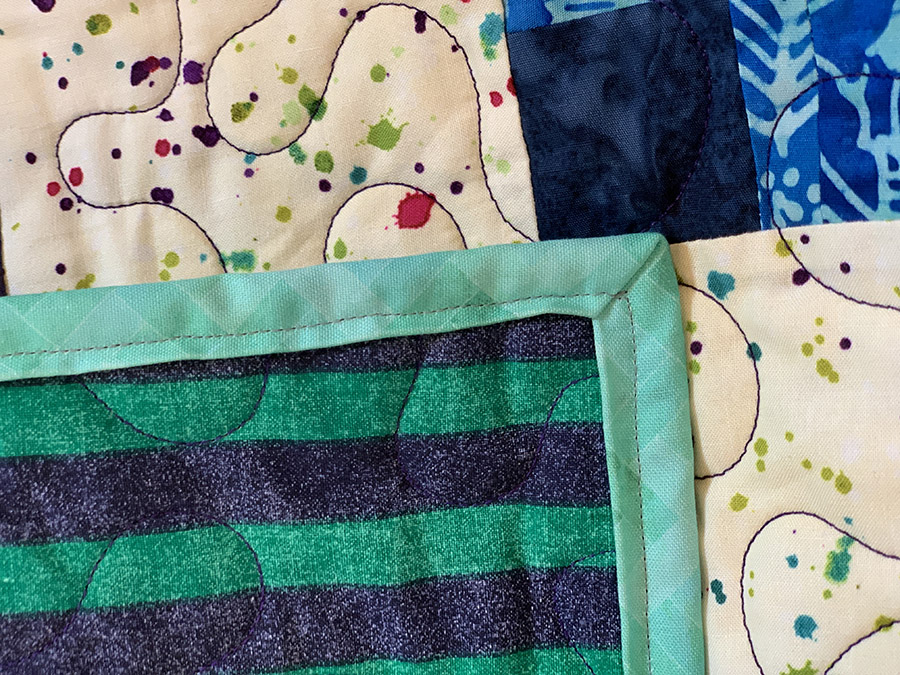
Below are a few pictures of what the backside looks like. With one of these quilts I had a scrappy binding, so matching thread color wasn’t always possible. Where I could match the thread, the results are much better.
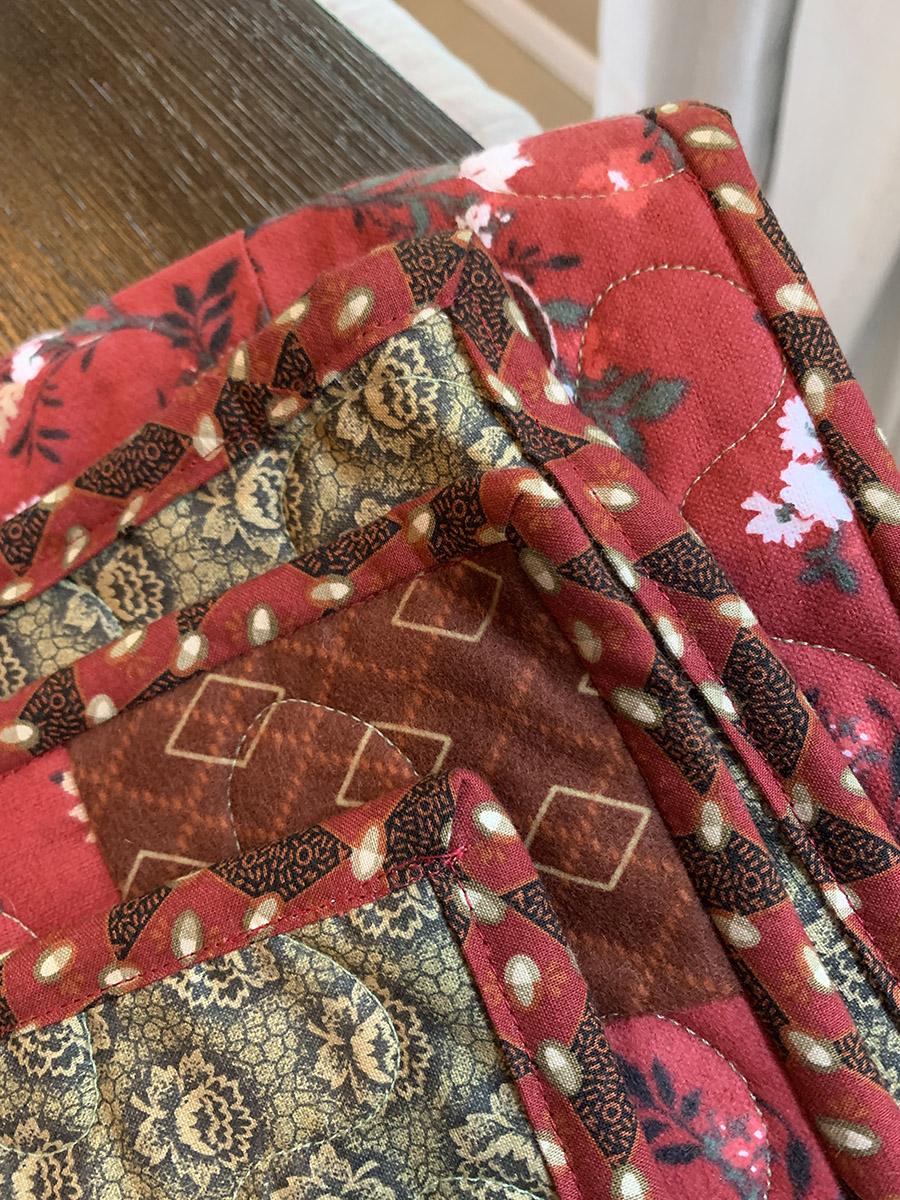
What if I miss the binding?
So, yes it is possible that your needle will miss the binding in some places. It can shift as you are working along. A few things that can help is to use a few more binding clips if you can tolerate them.
After you’ve sewn the entire binding, flip it over and do an inspection. If you have missed any sections, take your seam ripper out. Rip out an inch or two before and after where you have missed. Then pull the binding over good and straight, clip it, then try again. Be sure to use a securing stitch at the start and stop of your repair seam. If you are using matching thread, it isn’t going to show.
Will you try the Machine Binding Technique?
I hope you will experiment with this machine binding technique. I think it is a useful skill to have in your arsenal. And I promise that with just a little bit of practice you will find that you have more and more success with machine binding your quilts.


