
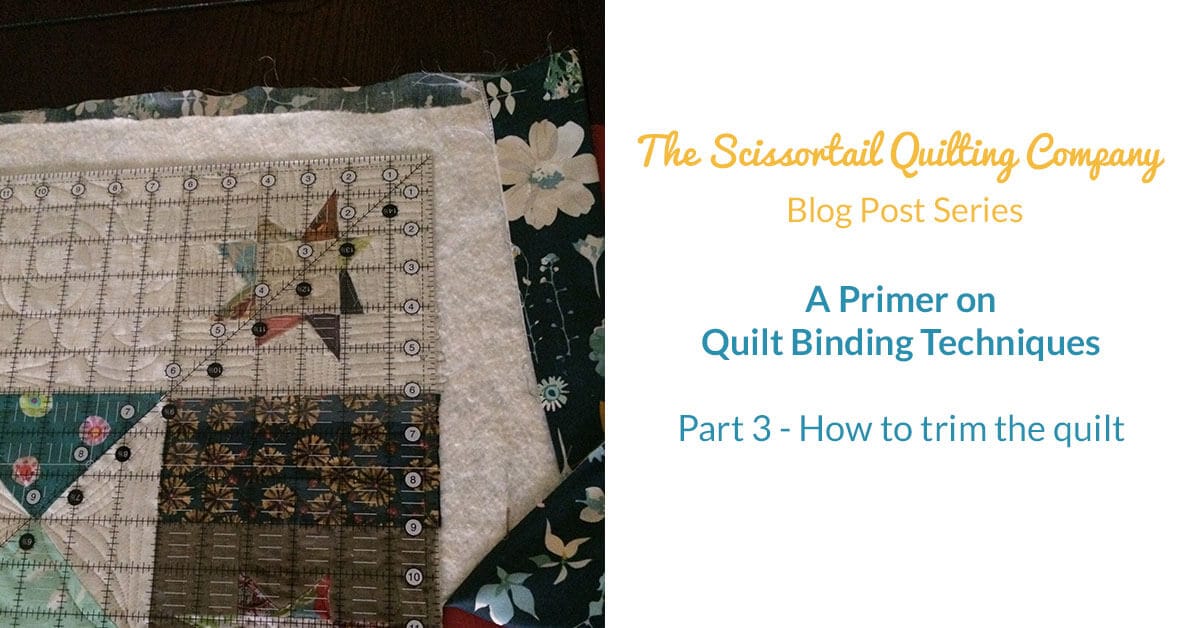
A Quilt Binding Primer (Part 3): How to trim a quilt before binding
Estimated reading time: 7 minutes
Hello friends and fellow quilters! Today we continue our primer on quilt binding techniques. This lesson is on how to trim a quilt before you bind it. I know this has been a lot of information to wade through! Hopefully, you are not on information overload! 🤣 But I believe that in the long run, we are much better quilters when armed with the details. Be warned: there will be a lot of detail in this post as well. I’ve inserted a few photos where I can. But instead of inserting a photo after every step, I’m have a slideshow at the end of the post.
What we know so far:
Up to this point, we’ve learned about the different types of binding strip cuts. We’ve learned how wide to cut binding strips. I’ve shown how to calculate how much binding and fabric you need. And finally, how to attach the strips together to create “french fold” binding. If you need a refresher, you can find Part 1 of the Primer here and Part 2 of the Primer here.
Let’s trim a quilt!
There are several ways to do this. I am demonstratinge my favorite technique below. There are other techniques if you want to hunt them down on the internet. (Side rant: Are you beginning to see a pattern here? Yep, there just isn’t any ONE WAY to attack most quilting tasks. Just as there are lots of ways to skin a cat, you can prep your quilt several ways, too.) At the end of this post is a quick slideshow with visuals. If anything isn’t clear, feel free to send me a question from my contact page.
The demo quilt
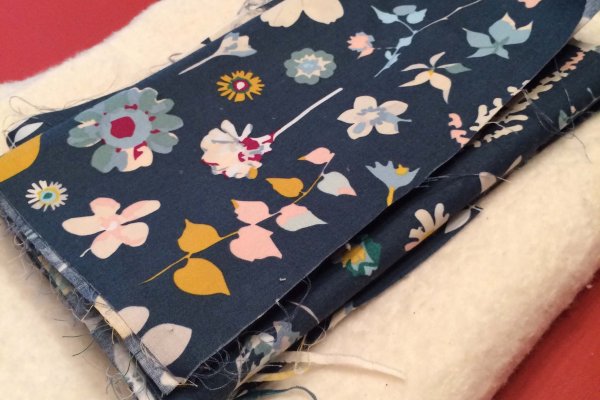
The quilt I’m prepping in the photos is my version of “Starfall” by Fresh Lemons quilt. It’s a fun quilt to make because there is so much variety in the patchwork. This quilt is also a great skill builder to try blocks you’ve not made before.Sampler quilts are never boring to me.
The very talented Mary Covey quilted my quilt. I’m lucky to know Mary and benefit from her vast experience and quilting knowledge.
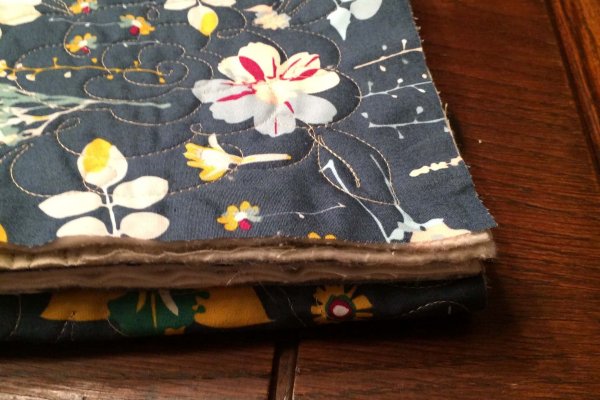
After the quilt is quilted, trim the excess batting and fabric from each side. Sounds simple enough, right? But better results are in the details, so here we go:
Gather Your “Trim a Quilt” Tools
You need the following tools:
- at least one long acrylic ruler,
- your largest square-up ruler,
- a large cutting mat,
- and a good sharp rotary cutter.
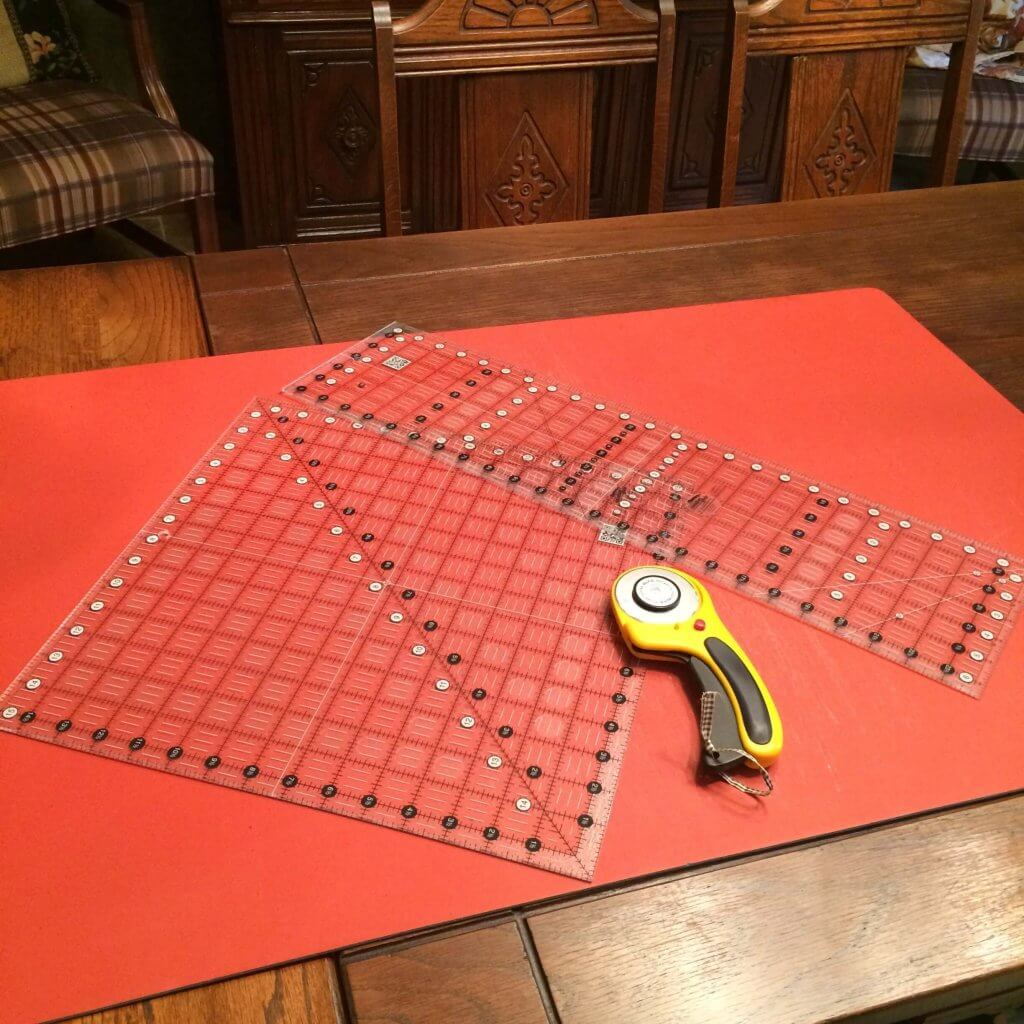
f you are binding a smaller quilt, you can adjust the size of your rulers to fit the project. For a baby quilt, you could use a 8.5″ square-up ruler, and your longer ruler could be 10-15″. For quilts that are lap size and up, I like to use a ruler that is 6.5″ x 24.” I often pair it with my 15.5″ square-up ruler.
A word about my mat:
I always use an old mat for trimming quilts. My “good” mat is reserved for fabric cutting only. I recommend that once you are ready to retire a large mat that you keep it. (I store mine directly underneath my good one on my cutting table.) IThe reason: the batting fibers will get caught in the mat. These are very hard to get out. Instead of worrying about cleaning them out, I just always use an old mat for this task. This practice has the added advantage of extending the life of my “good” mat.
Your rotary cutter should have a fresh blade in it. Remember that you will be cutting through several layers, so a larger rotary cutter is appropriate. I like to use my 60 mm cutter, but if you don’t have one that large, a 45 mm will do the job, too.
Spread the quilt out on the largest table you own.
Or if you are young and spry, feel free to do this on a hard floor. But if you’re working on a table, make the quilt lay as flat as possible. Do not allow it to hang over on any of the sides. If the quilt hangs over the side, it will create some drag and pull on your quilt. This will distort your cuts.
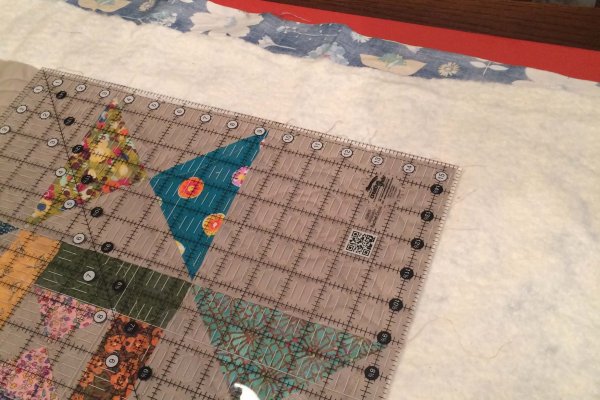
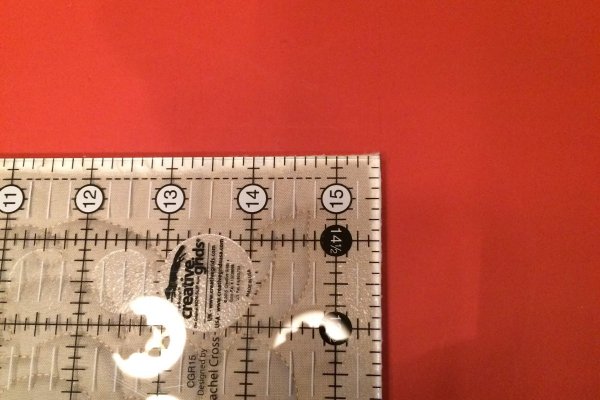
I start in a corner. Position the cutting mat under one corner of the quilt. Next, position two sides of your square-up ruler along the corner.
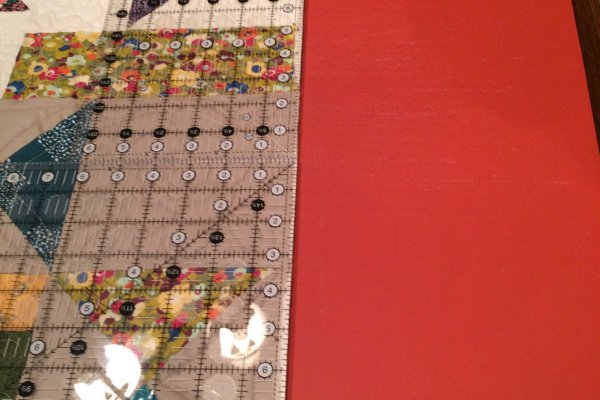
Most people will tell you to trim your quilt exactly on the edge of the quilt top, but if I can, I like to scoot my ruler out about 1/16″ to 1/8″ outside the edge of the quilt top. This gives me just a tiny bit of bulk that will help fill up the binding. Remember, we don’t want squishy binding.
However, this isn’t always possible. During the quilting process, some of the blocks may have edges that have pulled in. You should thoroughly inspect all the outside edges of your quilt before making your first cut. Evaluate whether you can go outside the edge or not. It’s not a big deal if you can’t, but it’s nice if you can.
Square up those corners
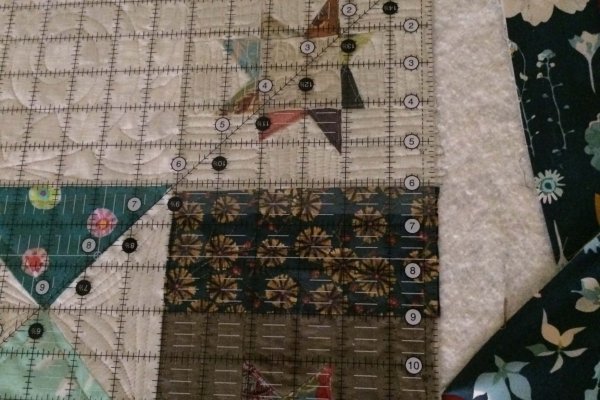
One of the hallmarks of a well made quilt is corners that are cut square (90 degrees angles). So, starting in your first corner, make sure the ruler is lined up straight with the corner. Cut along both sides of the corner as far as your ruler allows, making sure you keep the ruler square to the quilt.
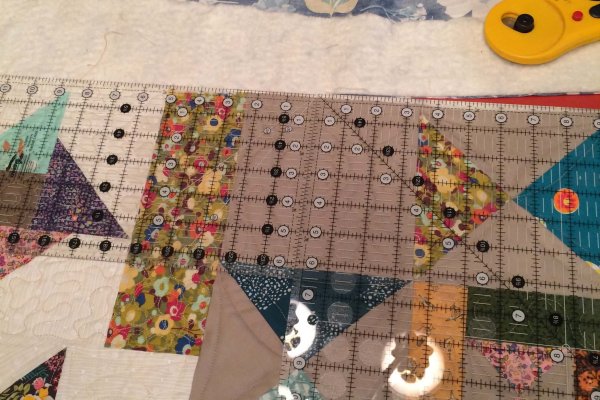
Next, without moving your square-up ruler, align the short side of your long ruler next to the square up ruler. The long edge should extend along the next section of the quilt that needs to be trimmed. You know that everything is nice and square if the lines of your ruler are lining up with your blocks, but don’t get too freaked out if they don’t. The main focus here is to have squared up and straight edges. The initial corner cuts are used as our “standard” that all our future cuts “trued up” to.
Make your first cut
Make sure your cutting mat is under your ruler and re-position if necessary. Once you know your long ruler is nice and straight, cut off the excess for that section of the quilt. Continue in this manner until you get to the next corner. Once you get to the corner, go back to your square-up ruler. Repeat the steps for squaring up the first corner.
Now that one side in trimmed, turn and re-position your quilt on your table. Repeat the process for each side of your quilt. After all four sides of the quilt have been trimmed, I fold it in half, and then fold it into quarters, just to see how well the edges match up. If I want to be real precise I will get out my tape measure and measure each side.
What if it’s wonky?
Love it anyway. It’s still going to be a GREAT quilt. Just know that you will get better with practice.
Unfortunately the trimming step isn’t where we make sure the quilt will be square. That happens as you are assembling the quilt and attaching the borders. If you’ve squared the blocks, and put the borders on properly then the quilt should be fairly square, and the trimming techniques used in these tutorials will give you excellent results.
But remember, if it’s a bit off, hardly anyone is going to notice except you. Unless it’s like 10″ off, and then you just pretend it was a design decision!
One last tip: Be sure to save the backing fabric you trim away from your quilt. It makes great scraps for your next scrappy project. And cheapskate that I am, I also save any sections of batting that are more than 10″ wide.
 Align large square-up ruler to first corner of your quilt.
I hope this lesson on how to trim a quilt has been helpful. In my next post I will walk you through how to sew binding on a quilt. I’m excited to share a super easy technique I use to hide my starting/stopping seam. And guess what? No specialty rulers required!
If you have any questions or comments, please let me know in the comments section below. Until next time…


