
Vintage Quilt Repair: Techniques used to repair a 30’s Apple Core Quilt
Estimated reading time: 9 minutes
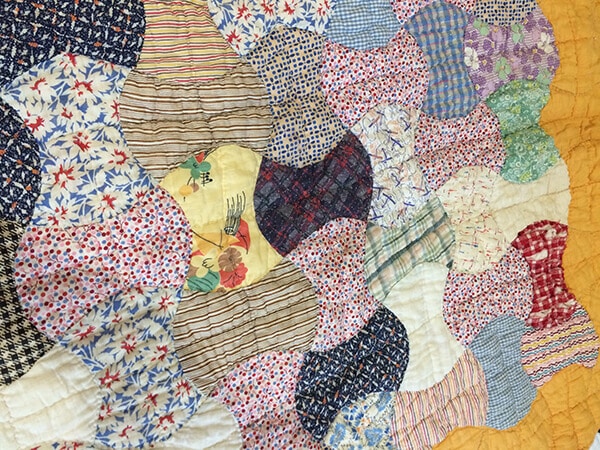
If you love old quilts, this is the kind of story that will break your heart. I’m stitching along with my quilting group when my phone rings. The woman on the other end sounded completely desperate as she explains how she got my number and asks if I could repair her quilt. I knew I didn’t really have room in my schedule to work on it, but I told her to bring it over and I’d take a look. An hour later she shows up with what was once a beautiful specimen of a 30’s feed sack quilt. Not only that, but it was an Apple Core design that had been entirely hand stitched. She had recently inherited it and, like many a good housekeeper had thrown it in the washer.
The washer was not kind.
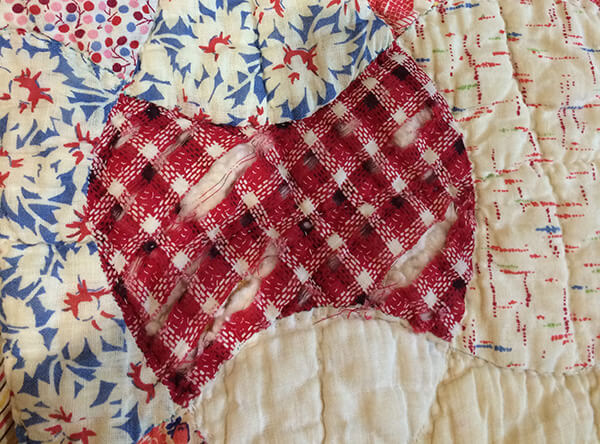
Actually, the quilt had held up rather well to the abuse apart from the red plaid patches and a few other small spots. It was the red patches that were really an eyesore. My guess was that the red plaid had probably been a well-worn work shirt, and the fibers were not as strong as the other pieces in the quilt.
She was surprised to find out that her quilt had been such a nice specimen of an Apple Core Quilt, done entirely by hand. I pointed out the ways I could tell it was from the 30’s – the muted yet cheerful color palette, the periodic use of black.
My initial reaction was, No, I can’t fix it. But as she persisted in asking me about perhaps darning the rips, I said, “The only way I can see fixing this is to applique patches over these damaged areas.’ I asked one of the girls in my stitch group who is excellent at applique what she thought, and she agreed that was the only way to fix it. I gave her a quote and told her she’d have to be patient, as it would take me a while to get to it, and it would take some time to find the right fabric.
Only vintage fabrics will do
If you have a vintage quilt in need of repair and will need to replace any of the fabrics, you should do your best to find vintage fabrics from the same time period. My client and I spent some time searching online for replacements. We were lucky enough to find a beautiful replacement fabric from Almost Paris Antiques on Etsy.
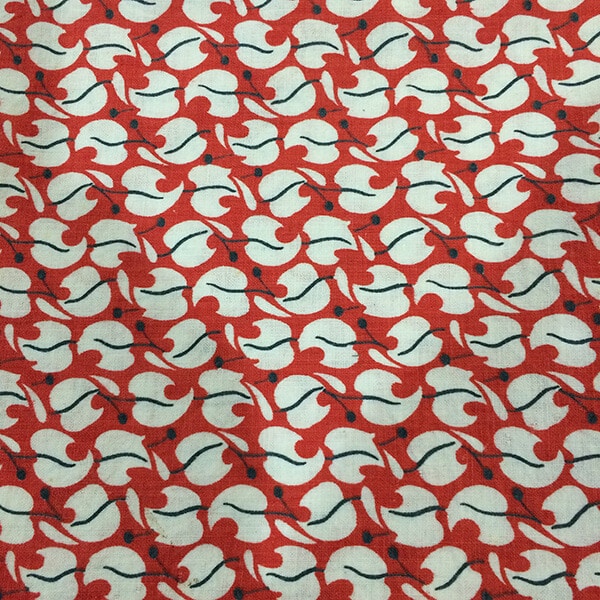
When the fabric arrived, it was apparent that it had already been prewashed. That was a good thing because you should never mix old and new fabrics. If you do, and you later wash the item the shrinkage in the new fabric can cause the older fabrics to split. In this case, my client knows that she should never wash the quilt again. Her plan is to display it on a wall. But you never know what will happen in the future, so it’s still a good idea that the fabric is prewashed.
Repairing a Vintage Apple Core Quilt
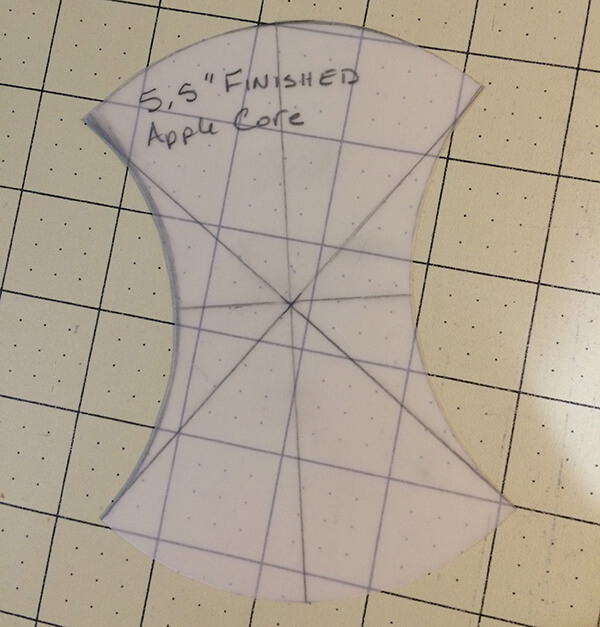
Flash forward 4 weeks. I’m finally ready to do a little vintage quilt repair. I pulled out the damaged quilt and worked out again in my head what I needed to do. First I needed to make a template for the apple core patches. I had a few templates in my studio but none were the correct size. My project needed a 5.5″ finished apple core template. I found a few good tutorials on the web for how to make your own, but they were all dependant on tracing a circle using a jar or a plate. That’s all well and good if you’re willing to use a random or approximate size, but I needed my template to be an exact 5.5″ finished apple core. I picked up my trusted drafting tools and figured it out. So, if you need a precise size, I’ve shared my steps below.
How to draft a specific sized Apple Core Template
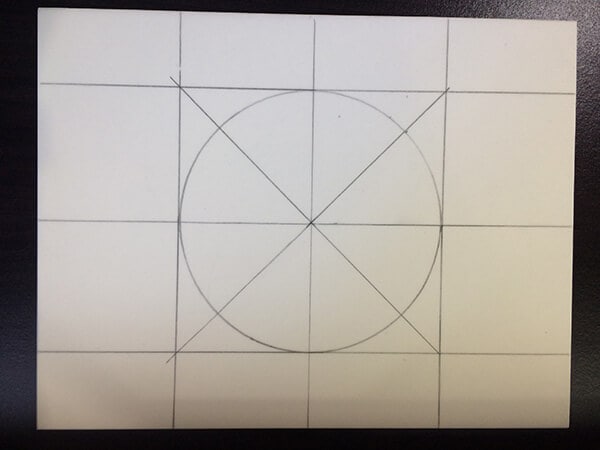
Drafting an apple core template turned out to not be nearly as hard as I thought it would be. I took some drafting in college but it was NOT my favorite subject. (I think mainly because I was the only female in the class and my instructor was far from helpful.) Anyway, I started thinking through what points I would need to mark and what follows below is what I came up with. There may be a better way, but I think my drafting teacher would have been impressed that I remembered ANY of this!
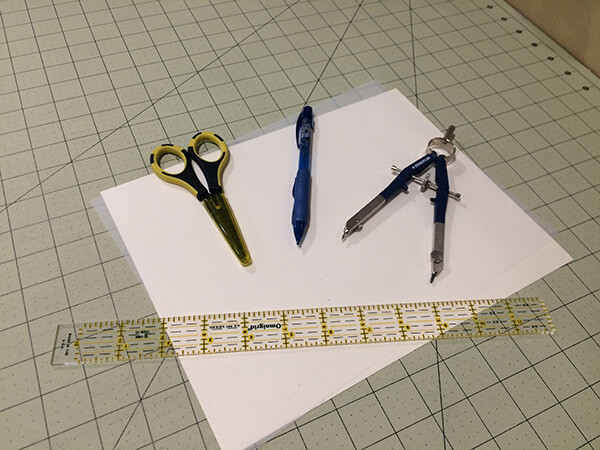
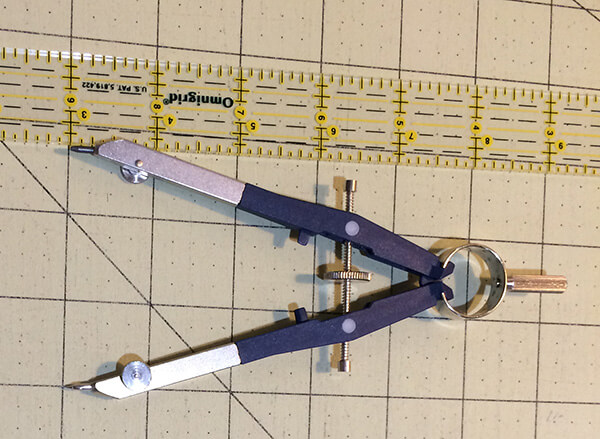
- Gather the following tools: paper and/or template plastic, sharp scissors, a compass, a pencil, and a good ruler.
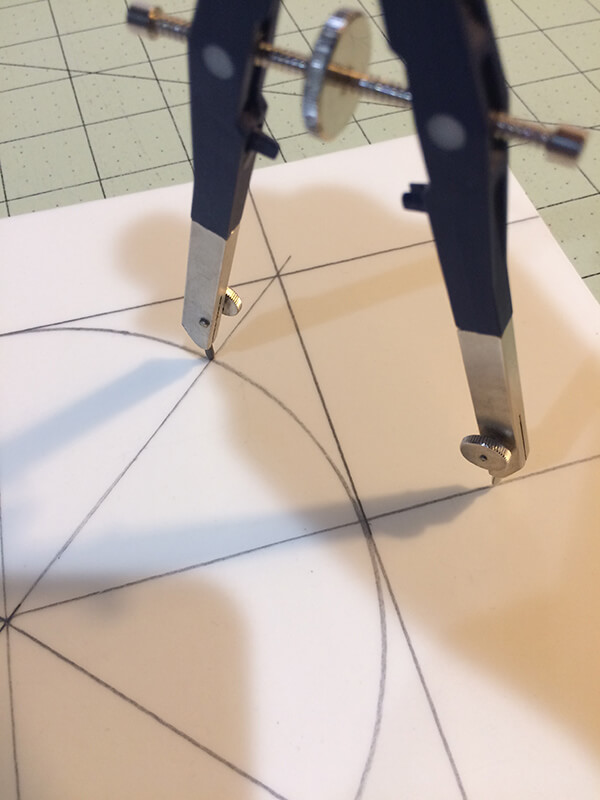
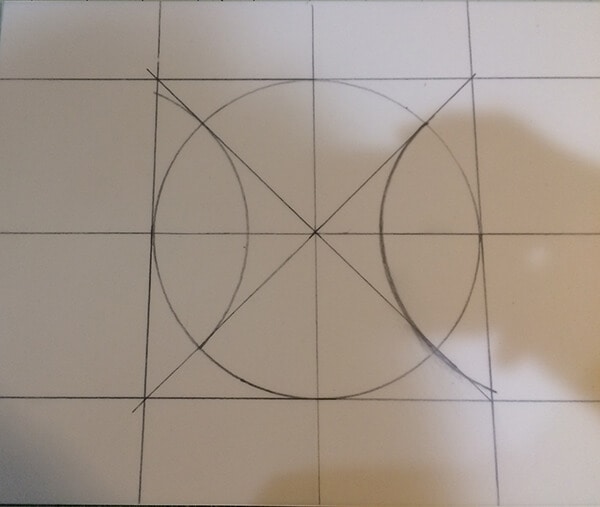
Now, draw a partial circle to take a “bite” out of your apple. Turn the paper around and repeat for the other side. Now, if your reference lines are precise and your compass is still set exactly to your radius, when you draw your “bite” the semi-circles should not cross over your diagonal lines. (Note that mine needed adjusting.) When you’ve finished drawing both sides it will look like this:
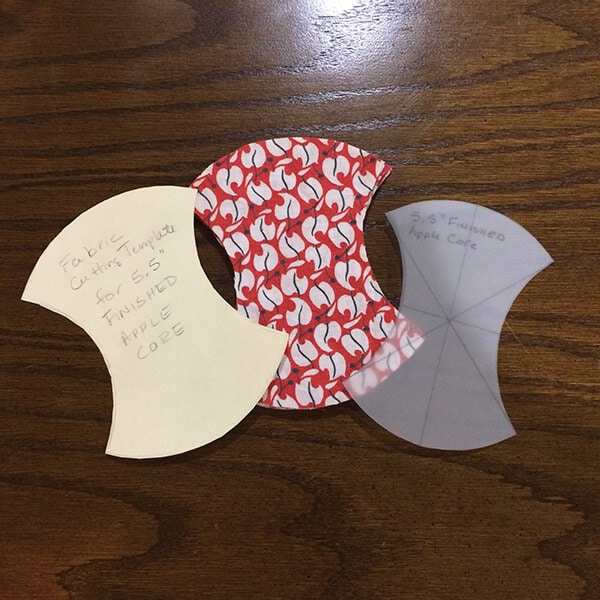
Prepare your fabrics:
So, next, I needed to cut my fabrics. I made another template using cardstock to include my seam allowance. I simply placed my plastic template down on the paper and marked lines about 3/8″ outside of the plastic template. I carefully cut my pattern out, then I used it to cut my patches. Just a tip – In my case, the fabric patches don’t have to be cut very precisely. What matters is that the template is very accurate, because that will be the shape the fabric will conform to.
There are several ways to applique, but I decided to use the starch method to prepare my fabrics.
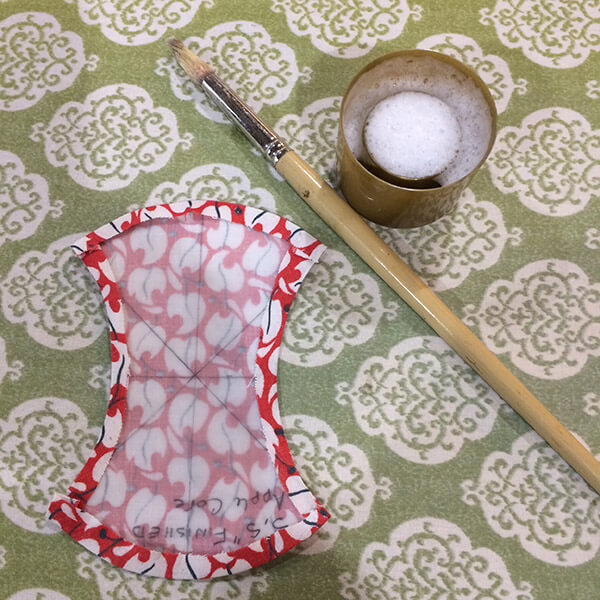
Using an iron, some starch, and my heat-resistant mylar template, I turned the seam allowance over the edges and set them in place. Here is a photo how my appliques looked after I starched under the seam allowances.

So, now I need to sit down and stitch all these in place. I will be back with the rest of the story soon!

