

A Change of Pace — How to get started with English Paper Piecing
Estimated reading time: 7 minutes
This month I am changing gears a bit and have taken on a few large-scale English Paper Piecing projects. I’ve done a bit of English Paper Piecing in the past, but nothing very intricate or fussy. A few friends have shown interest in the topic and so I thought I would write a quick post on how to get started with English Paper Piecing, what you need, and my experiences so far.
About 5 years ago I made some hexie flowers that I appliqued onto a large star quilt. At the time, it just didn’t seem as exciting to me as patchwork, so I only dabbled in it. But to be really up front with you, lately, I think I have been in a bit of a Quilting Funk. I was trying to select a new project and everything I looked at just wasn’t motivating me. I couldn’t explain it, but some of my stitch group friends have talked about this happening to them and their advice was to do something really different.
A few weeks back, I saw a Patchwork of the Crosses quilt and was very intrigued. I decided to jump in, hoping that it would cure the quilting funk, and I believe that it has. I’m super excited about the projects I’ve worked on so far and am having a lot of fun.
Now, I certainly don’t consider myself an expert – but I thought I’d share what I know, what’s worked for me, and link you to some of the videos and tutorials on the web that I have found most helpful. But let’s start with the basics.
What is English Paper Piecing?
English Paper Piecing (or EPP for short) is a hand sewing technique in which small pieces of fabric are folded around a paper shape and are then stitched together. The shapes used are always tessellating shapes and the resulting designs can be simple or complex mosaics.
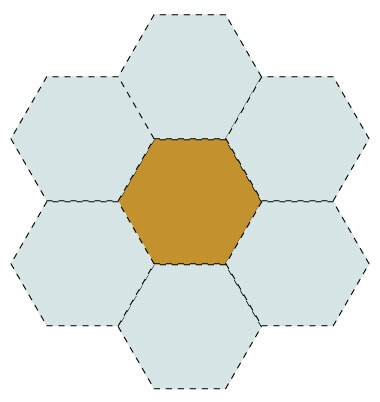
“Tessellating” is just a big fancy word meaning that the shapes fit perfectly together without any gaps or overlapping of the shapes. Many geometric shapes can be arranged in tesselations – hexagons, diamonds, triangles, and kites, just to name a few.
English Paper Piecing has become quite popular recently, mainly because it has a low cost of entry and because it is so portable. (No sewing machine is required as it is all done by hand.) But know this about EPP – it’s SLOW work, almost meditative to me. I actually find it calming. I think a lot of times with quilting we know it’s a slow art, but we want to find the fastest quickest way to get there. And that’s okay sometimes. But with EPP, you really need to intentionally want to slow down. I find it great for sitting in front of the TV, or when I’m sitting in the car waiting. There is something about it that (for me) sort of pulls the tension away.
OK, are you sold yet? If so, here is…
What you need to get started with English Paper Piecing (EPP)
Surprisingly, it doesn’t take much. If you’re already a quilter, you probably have everything you already need. I’m breaking this list down into two parts. The first is what you really have to have and the second part is a list of little luxuries that will make your EPP more efficient. For specific products that I recommend, see my Product Recommendations page.
The Must-Haves:
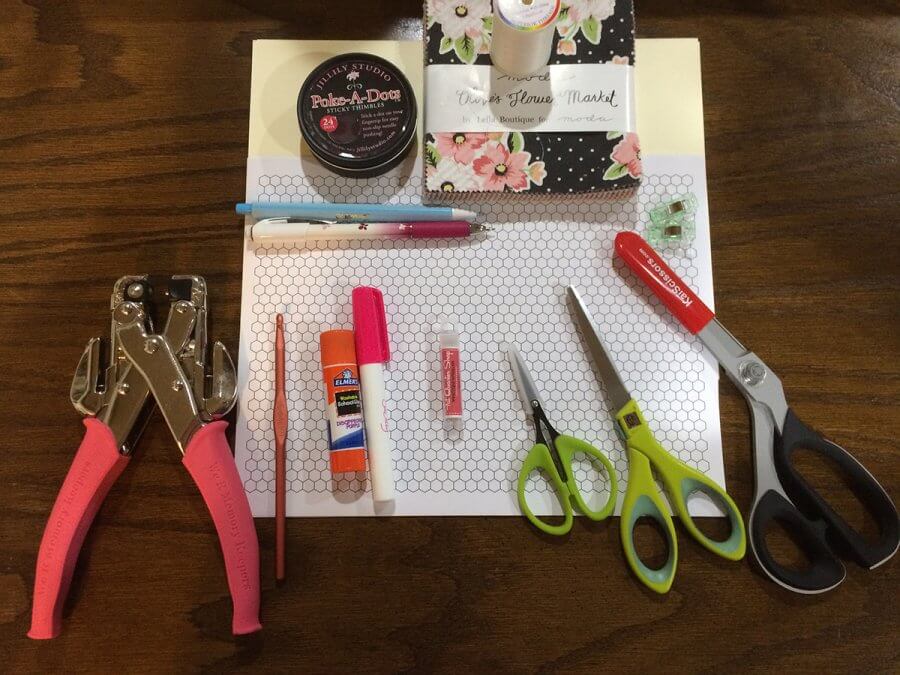
- #10 or #11 Straw or Millener’s Needles
- 100% Polyester Thread (such as Bottomline by Superior Thread) So, yeah I know the standard wisdom is that you should use cotton thread with cotton fabric. However, most EPP experts recommend polyester over cotton thread because the thread is subjected to so much stress as it passes over the paper shape over and over. I’ve been using the Bottomline thread and have had NO issues with thread breaking.
- Thimble or Finger Pads
- 100% Cotton Fabric (buy the best you can afford – if you don’t have a stash yet, start with pre-cuts such as charm packs and layer cakes.)
- Scissors (1 set for paper, 1 set for fabric)
- Glue sticks (Water soluble – Elmer’s will work)
- Clothespins or clips (paper clips work, too)
- Hole Punch
- Crochet hook
- Card stock and template plastic
- Marking Pencils for tracing on paper and fabric
- Graph Paper and colored pencils for designing. You can download papers to print at home at incompetech.com/graphpaper/
The Nice-to-Haves:
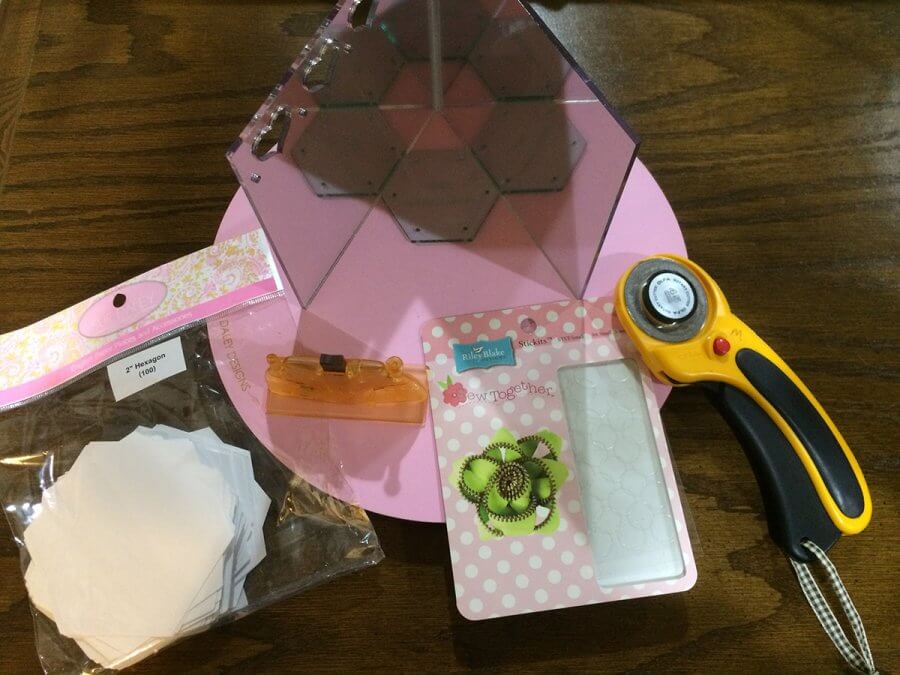
- A rotating cutting mat
- A rotary cutter
- Needle threader
- Various acrylic templates for cutting and tracing
- Premade/precut Papers
- A fussy cutting mirror
- Sticky dots
EPP Stitch Techniques
To hand stitch your shapes together, you will need to know a little bit about how to handle a needle and thread and how to prepare your shapes and fabrics before stitching.
I’m linking you to the technique videos I found the most helpful:
- How to glue baste your papers. (Missouri Star Tutorial) NOTE: you can thread baste them if you want to go even slower, but I prefer this method.
- How to make a whip stitch. (Fat Quarter Shop Tutorial) The whip stitch starts at about the 5 1/2 minute mark, but the entire tutorial with Jen Kingwell is excellent.
Some small projects to test the waters
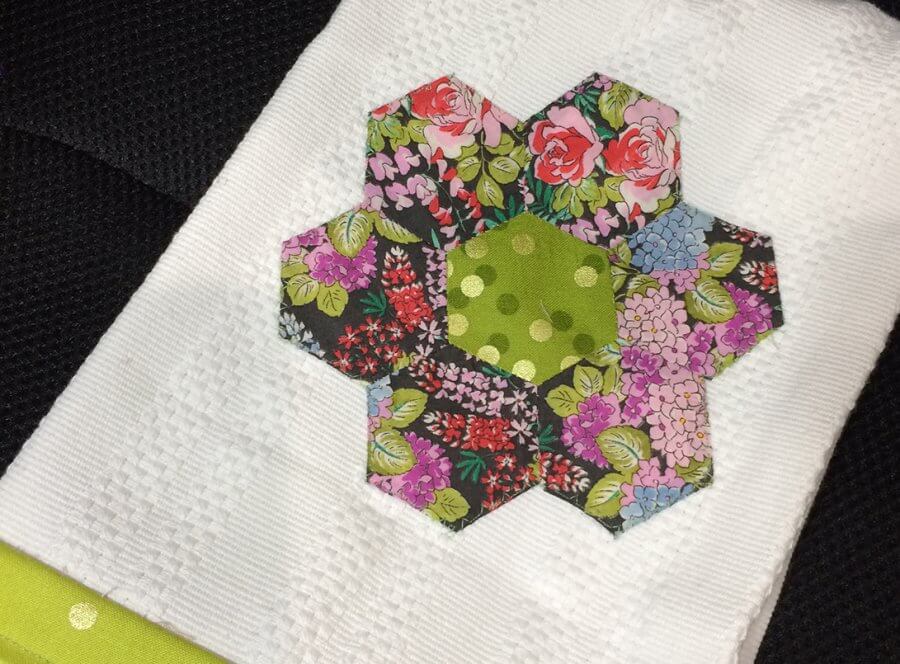
So before I decided to totally commit to the BIG Patchwork of the Crosses project, I decided to start off with a few small projects. First I started off with making another Hexie Flower and I appliqued it to a plain cotton tea towel. To give it just an extra decorative touch, I added some leftover binding along one end. I was very pleased with how well the stitches were hidden using the techniques learned in the videos I watched.
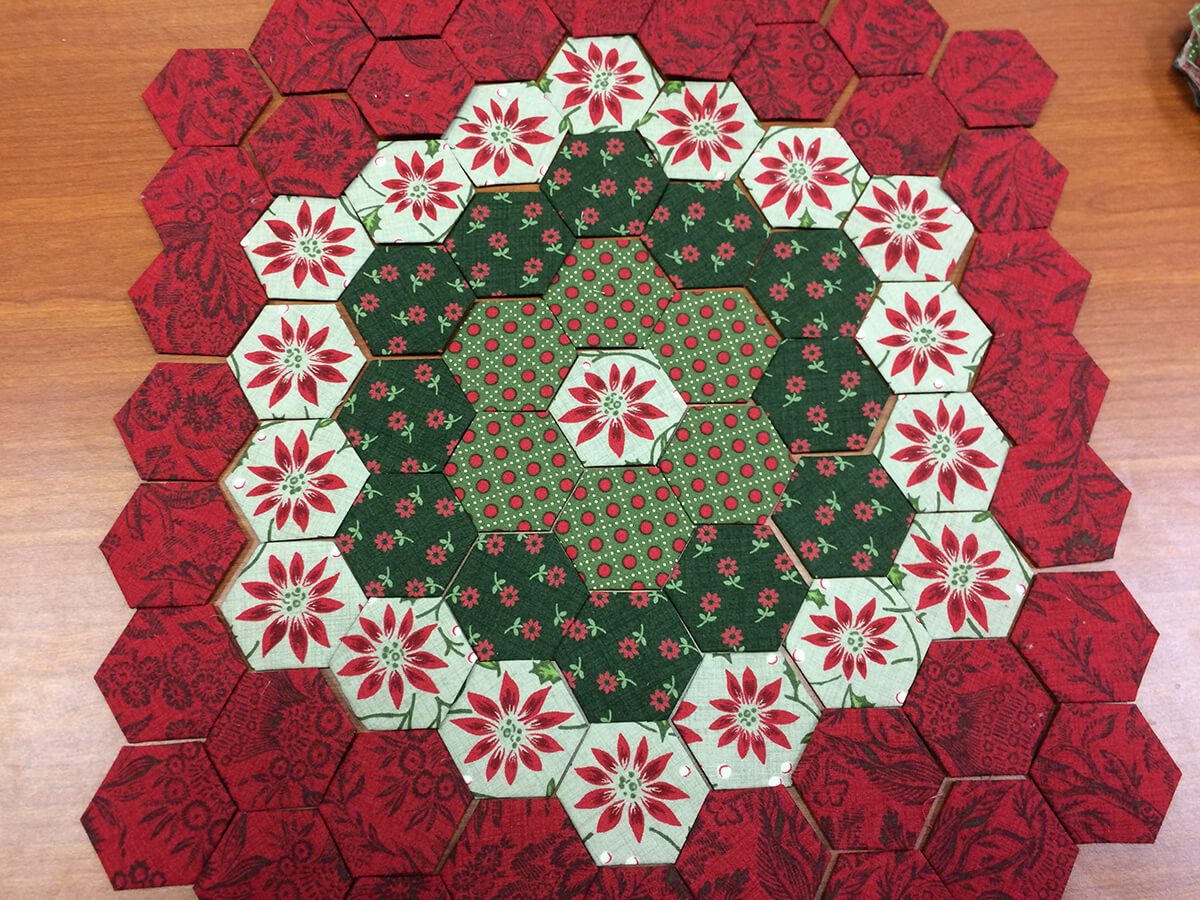
Next, I decided to make a Christmas pillow out of some French General fabrics I purchased a few months back. I’m still attaching all of these, but have been having so much fun with it, I’ve already decided to get going with my Patchwork of the Crosses Quilt. (I will try to post a picture of the completed project as soon as I can.)
Today, I spent some time playing with my Brother Scan n Cut and created an SVG file for the “cross” hexie in the Patchwork of the Crosses pattern. I realized I could use it to cut all my papers (saving me a ton of time and money…and you thought it ALL had to be slow!)
Anyway, I’ll be back in a week or so with some photos of my finished pillow and hopefully, some goodies to share with you (such as some downloadable templates!)

