Quilt Finish: Kim Diehl’s Late Bloomers Quilt Pattern
Estimated reading time: 4 minutes
Hey there, fellow quilters and friends! Today I’m sharing my version of Kim Diehl‘s Late Bloomers quilt pattern, which I finally finished early last year. I was pretty negligent in posting my quilt finishes last year and I’ve been trying to catch up with those posts. If you’d like to view some of my other quilt finishes, click here.
This post contains affiliate links, which means that if you click the links and choose to make a purchase, I will earn a commission. This commission comes at no additional cost to you but does help me earn enough to support the cost of this website. Please know that I only link to items which I personally use and feel that I can confidently endorse. Your support by clicking on these links is greatly appreciated.
Kim’s pattern was featured in the Better Homes & Gardens publication “Super Star Quilts” back in 2014. When I received my copy, it was soon plastered with post-it notes and sticky flags. And when I saw Kim’s pattern, I literally had to wipe the drool off the page. That day I knew I was going to make it “someday” so I added it my “Quilt Bucket List.” I was eager to make it but put it off for a few years because I was a little intimidated by the applique.
I had taken some applique classes back in 2013. And while I had made a few simple projects, I wasn’t so sure if I was up to all those curves on the flowers or if I would be able to make circles without “pokey” points. I still might not have ever started it if it wasn’t for Miss Emma. I had shown her the picture one day, and she encouraged me to go ahead and try it.
I decided to go really scrappy and pull fabrics from my stash. I had also been collecting a lot of teals and purples, so I incorporated them into the palette.
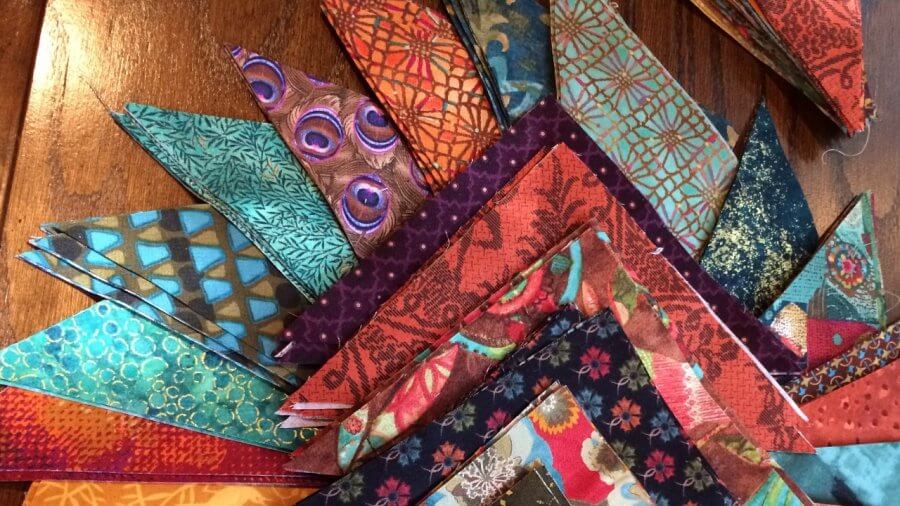
I had most of it pieced before my annual Spring retreat. My plan was to finish the piecing at the retreat, and then start on the applique while I was there. Most of the applique was going great, but I struggled a little with the circles.
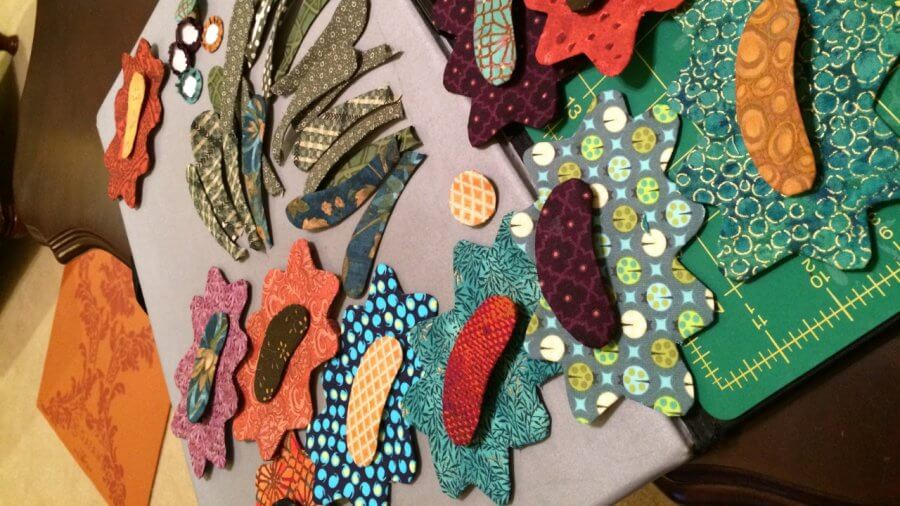
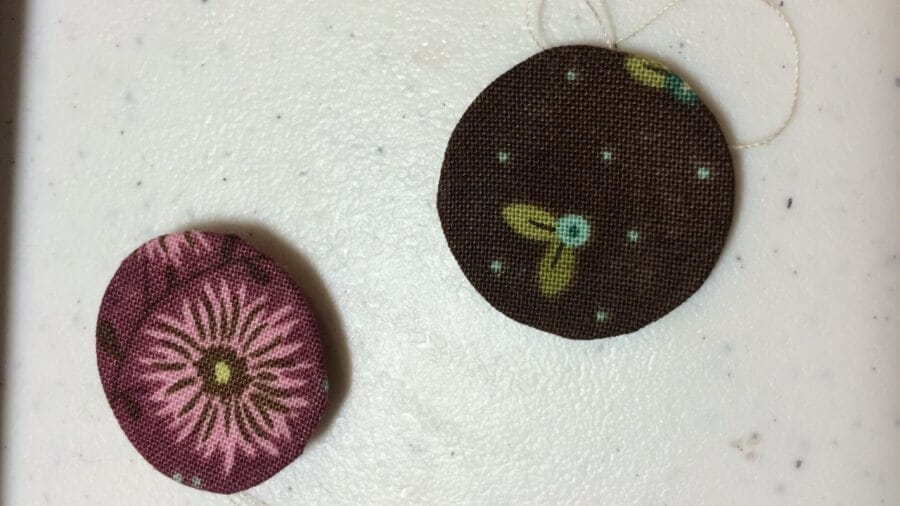
My circles were more like hexagons. One of the ladies at the retreat offered to share her secret to perfect circles: Karen K Buckley perfect circles. Below is a picture of my circles after I started using Karen’s perfect circles. MUCH improved. I highly recommend using Karen’s product as it saved me a LOT of frustration.
Once I completed the top, I sent it off to my friend Mary Covey to quilt, and as usual, she did a beautiful job.
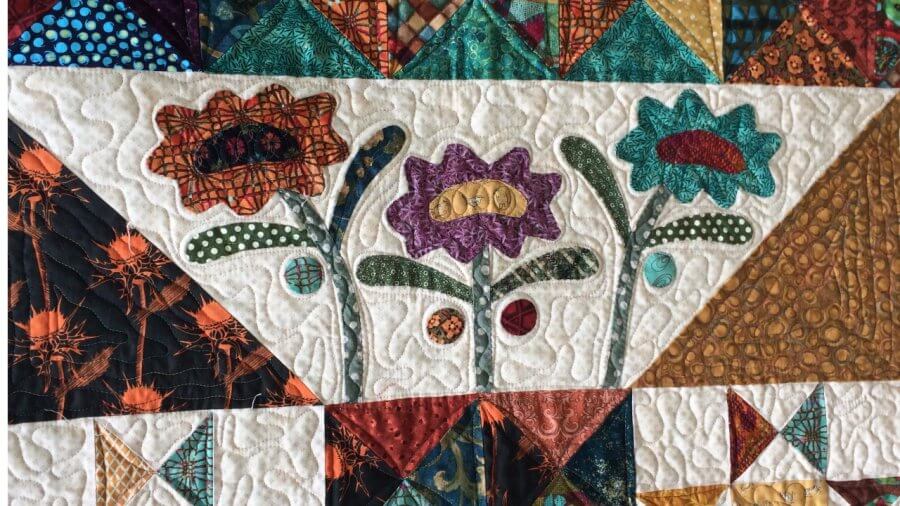
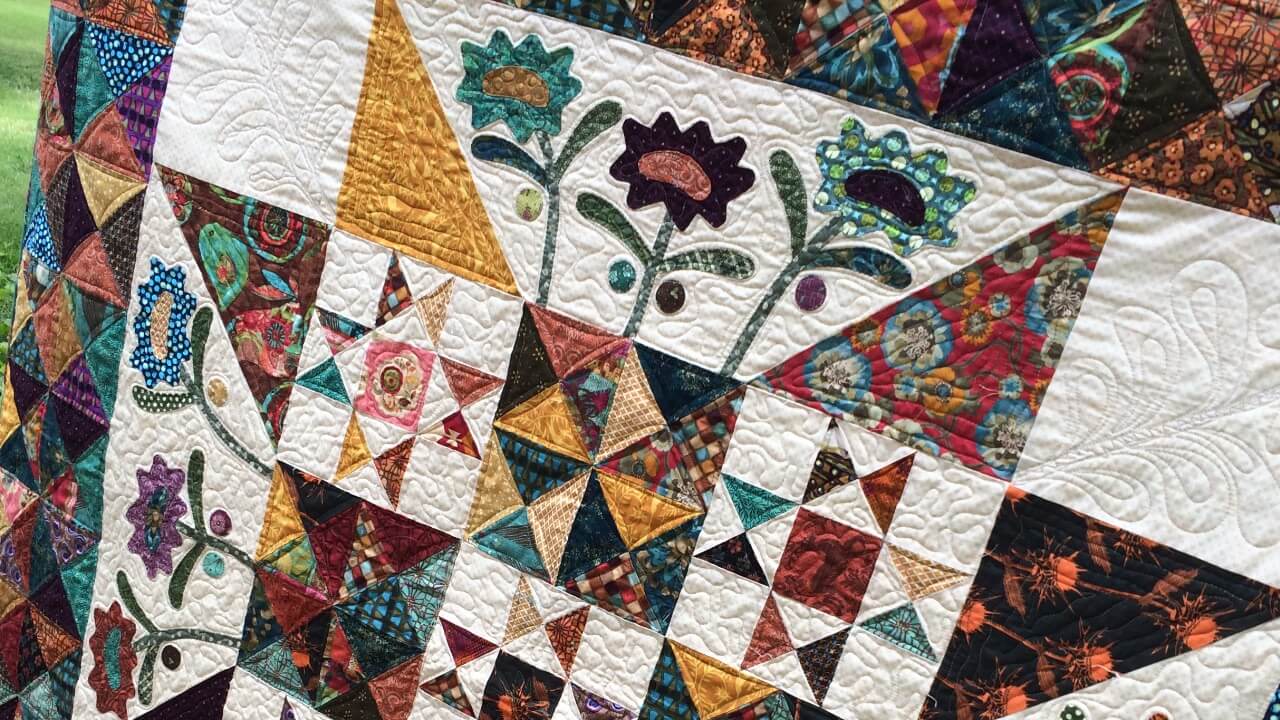
And here is my finish –
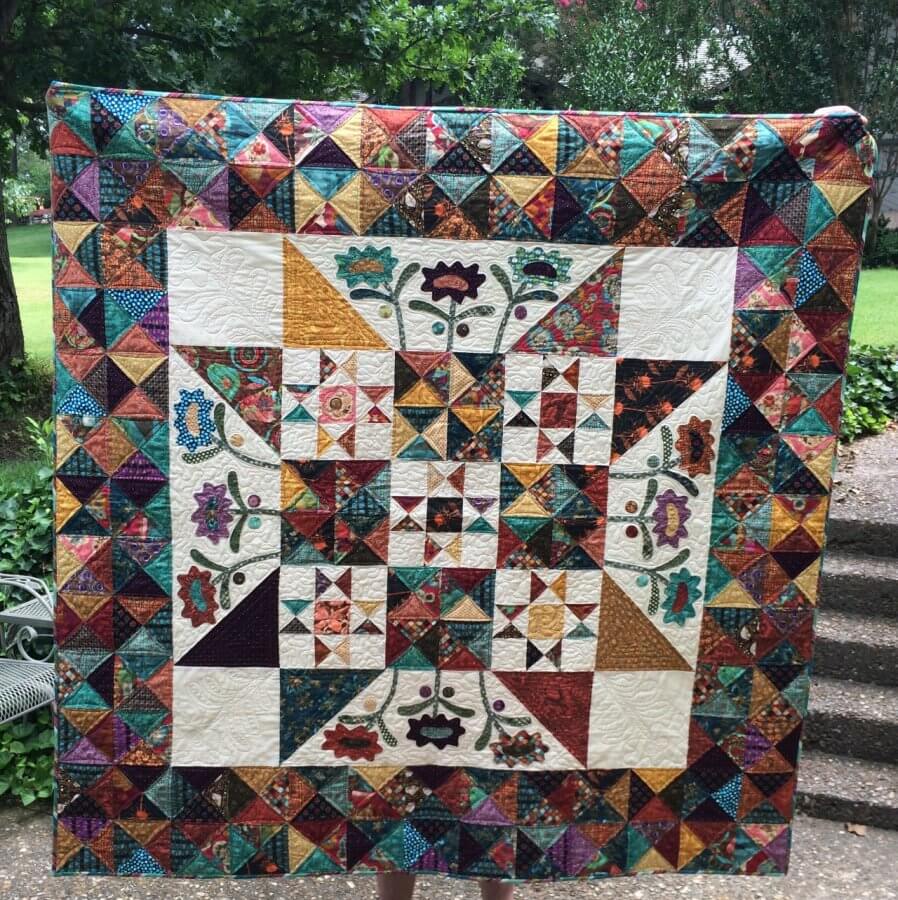
You can see that the central design is a 9-patch of Ohio Star variations that alternate with Big Dipper blocks. And all of that is set inside a large eight-pointed star with floral appliques placed between the points on each side. I had a really good time working on this pattern and felt like I grew in my applique skills from doing the project. But I think my favorite part of working on this quilt was exploring all the color interactions. When I finished this quilt, I felt like I had finally nailed the color combination I want to see in my quilts.
Thanks for looking!

