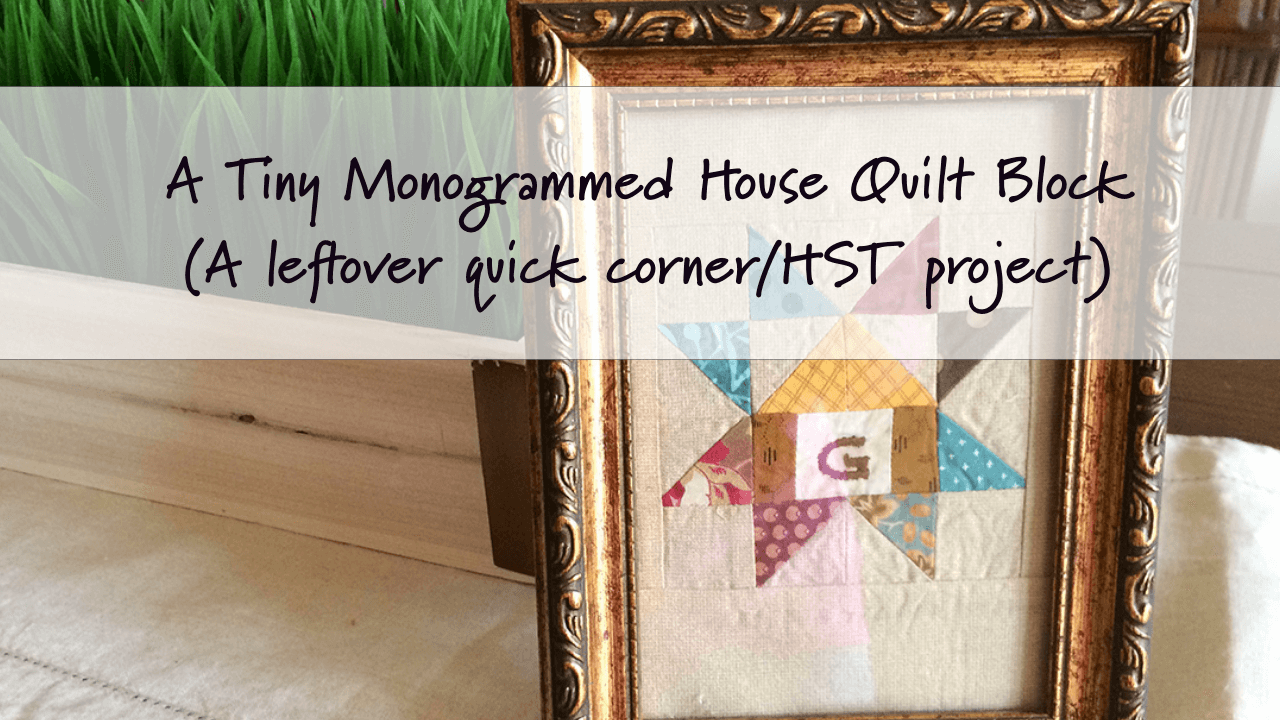
Tiny Monogrammed House Quilt Block – A leftover quick corner (Half Square Triangle) project
Estimated reading time: 7 minutes
In my last post, I showed you my massive collection of leftover quick corners. One of my goals for 2019 is to try to find ways to use them up. Today’s post is about the first project I completed that incorporated them. Mind you, it doesn’t use up very many. I guess I’m easing my way into it! But my first leftover quick corner project was to make a tiny, monogrammed House Quilt Block.
Its been awhile since I’ve done any hand embroidery and I will admit that I wasn’t too pleased with my first results. I will be doing this project over (and hope to get the embroidery a little better next time) but I thought I would go ahead and share what I’ve got for now.
The monogram craze has been around awhile, but when you’re a graphic designer who deals with type all day long and your last name is a letter, monograms are never out of style. So, when I combine a quilt block with a monogram, I get pretty excited. It’s like being at the corner of type geek and quilt design love. And that’s such a happy place for me!
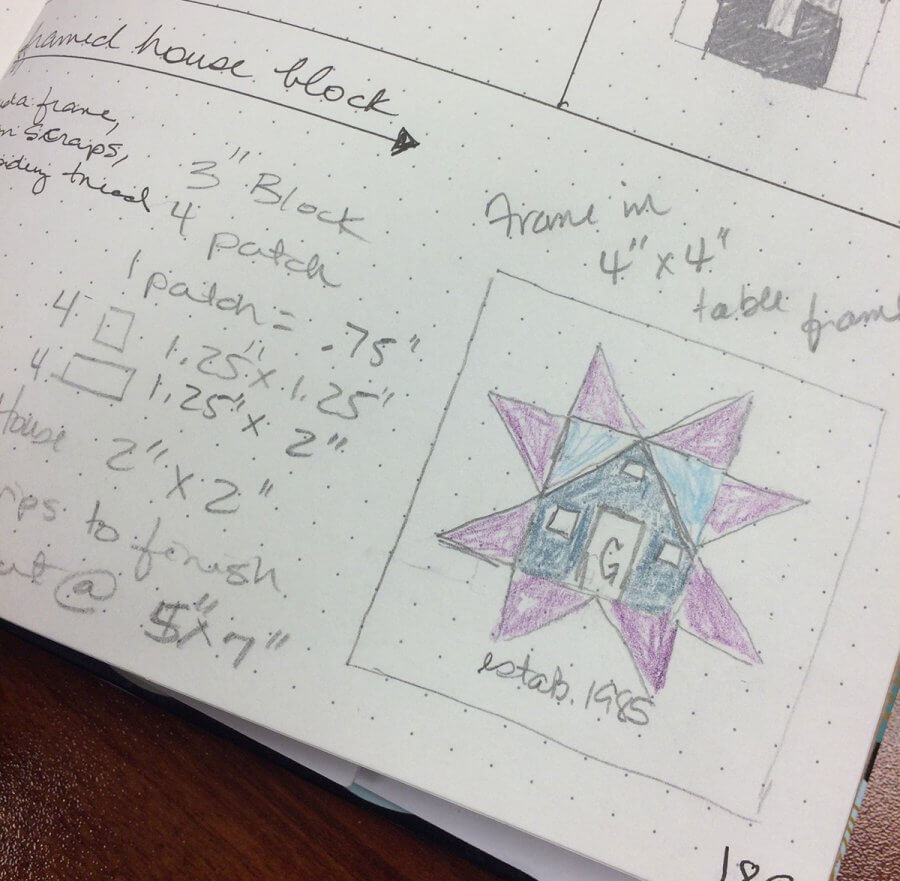
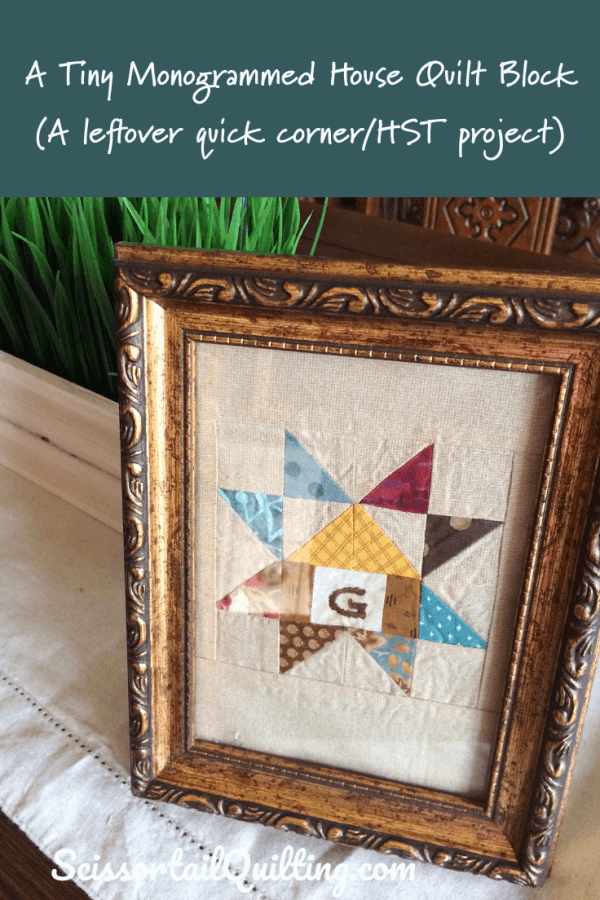
So, if you’re just a little bit into embroidery you will like this project, which I’m calling the Tiny Monogrammed House Quilt Block. The tiny block measures at 4″ finished, but I sashed it out so it would fit in a 5×7 frame that I wanted to repurpose. This post will walk you through how I designed this little tiny block and hopefully inspire you to create your own monogrammed house quilt block.
FYI: If you’re on the mailing list, email subscribers will get a link in a few days to download the pattern for free. That link will be good for one week, and then the pattern goes up for sale in my Etsy shop.
NOTE: The pattern assumes you don’t have a collection of ready-made HSTs to pull from, so it gives detailed instructions for how to make them.
Here’s the back story
A few posts back I mentioned that at the end of last year we did a quick renovation of our dining room. When we moved everything back in, there was still one big blank wall that I wasn’t sure quite what to do with, but I finally decided to let this wall be a collection of my favorite “G” monograms.
Well, it sounded like a great idea at the time, but then I realized that I liked all the various G’s right where they were in my home. Which meant I was going to have to form a new collection of G monograms for this wall, and that was going to take a bit of work. I’ve drawn out a few sketches for what it might look like but it’s going to depend very much on finding monograms that fit with the look I’m trying to get in this room (which is hard for me to describe…but the effect has to be simple, relaxed, and serene.)
I decided to paint the mirror that once lived in my entryway and try to find a large monogram decal to place over it. I’m still looking for the right one. Obviously, this part of the room is still very much a work in progress, but I’m gonna go ahead and put this out there. Please keep in mind this is a before shot. Hopefully, in a few months (by the time my company arrives for the wedding shower) it will look a little more “decorated.”
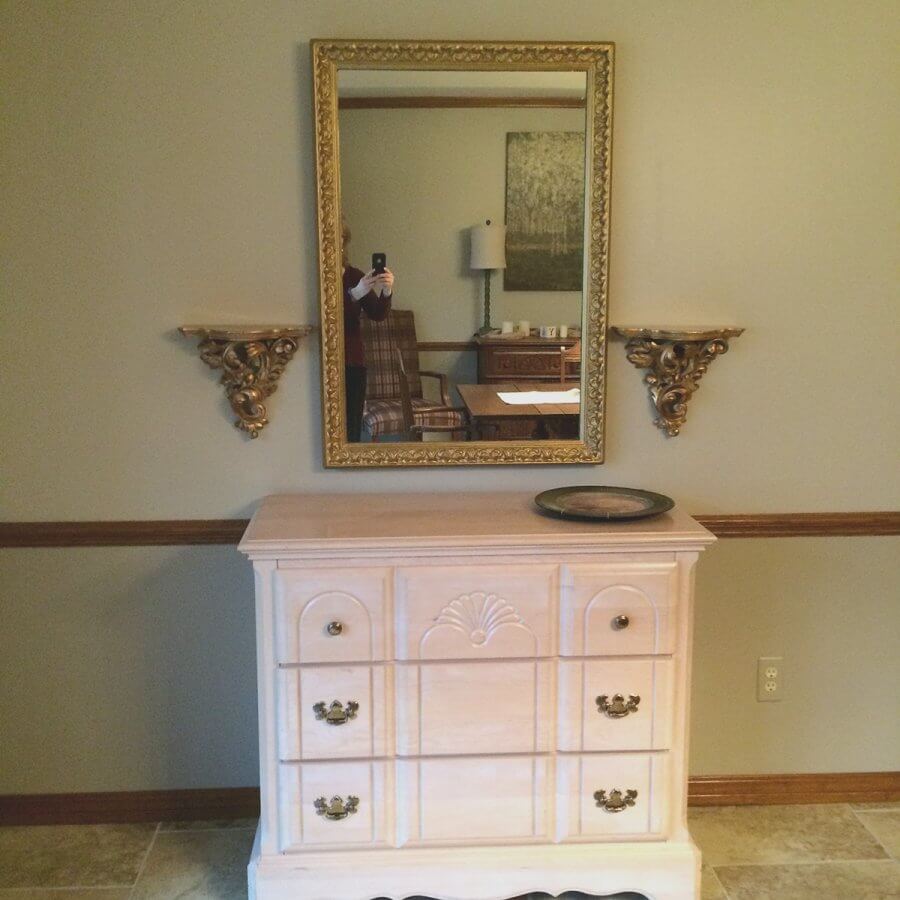
I think the little wall shelves need to go, but I’m living with them for now. Maybe they’ll grow on me? I think they’re just a little too baroque-ish, so I’m keeping my eyes open for a more humble alternative that will still play nice with the mirror. And I want to paint the chest teal…waiting to get buy-in from hubby on that one. (Timing is everything you know.) He’s a little zapped after painting the dining room so I probably won’t ask until next month! Ha!
As I’ve played with a few accessories, I kept thinking that I needed a quilt block in there, too. And that’s when it hit me that I should combine a block with a monogram,
Design it first
I sketched it out
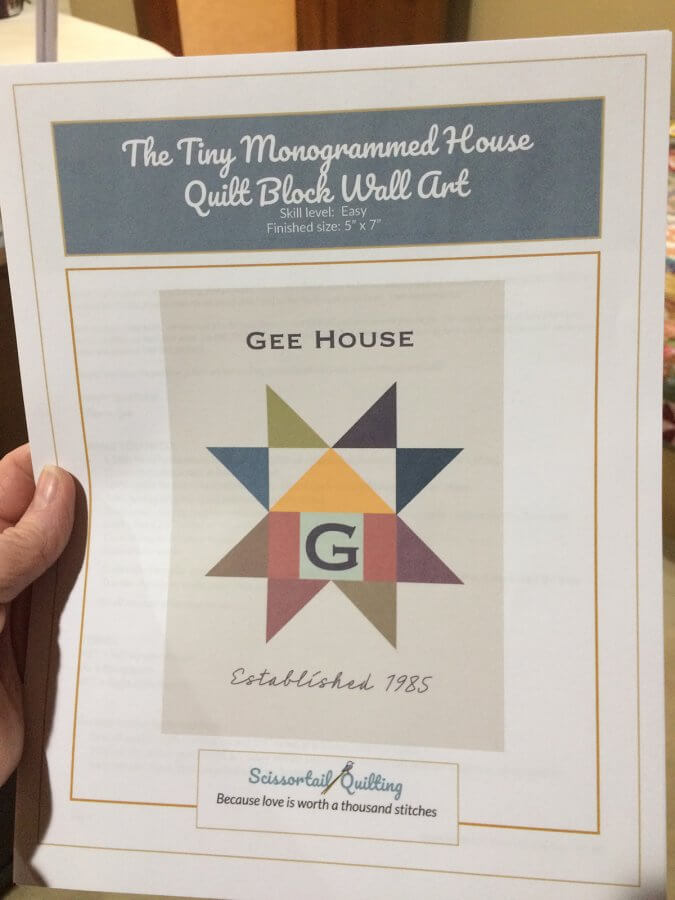
Then, sat down at my computer last Friday morning and designed away. Here is what I came up with:
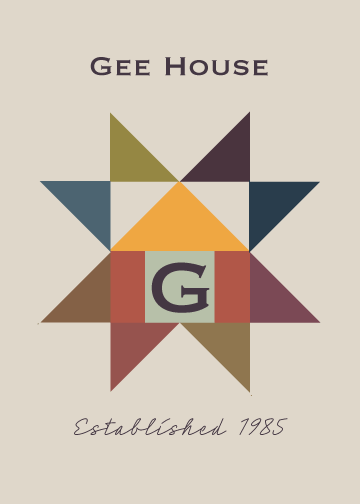
I calculated the size blocks to cut so the design would fit in a 5×7 frame, then typed out the text for the embroidery and reversed it.
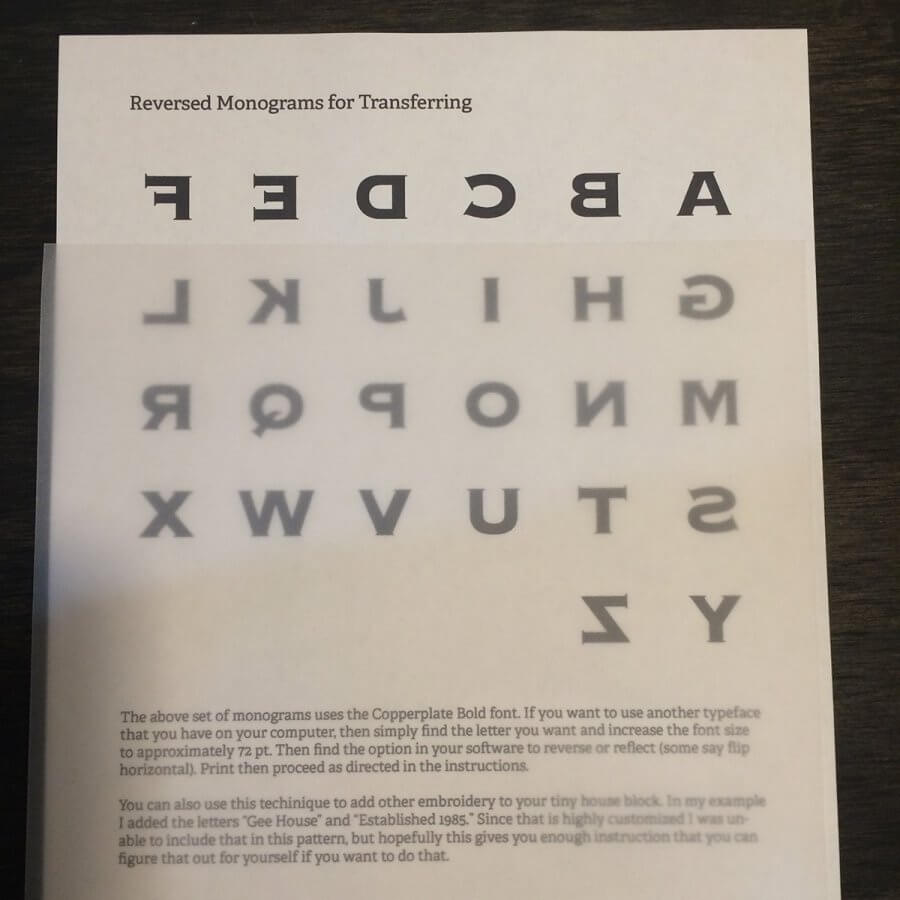
I printed the reversed letters, then went to work making the little block. I traced the monogram with a transfer pencil.
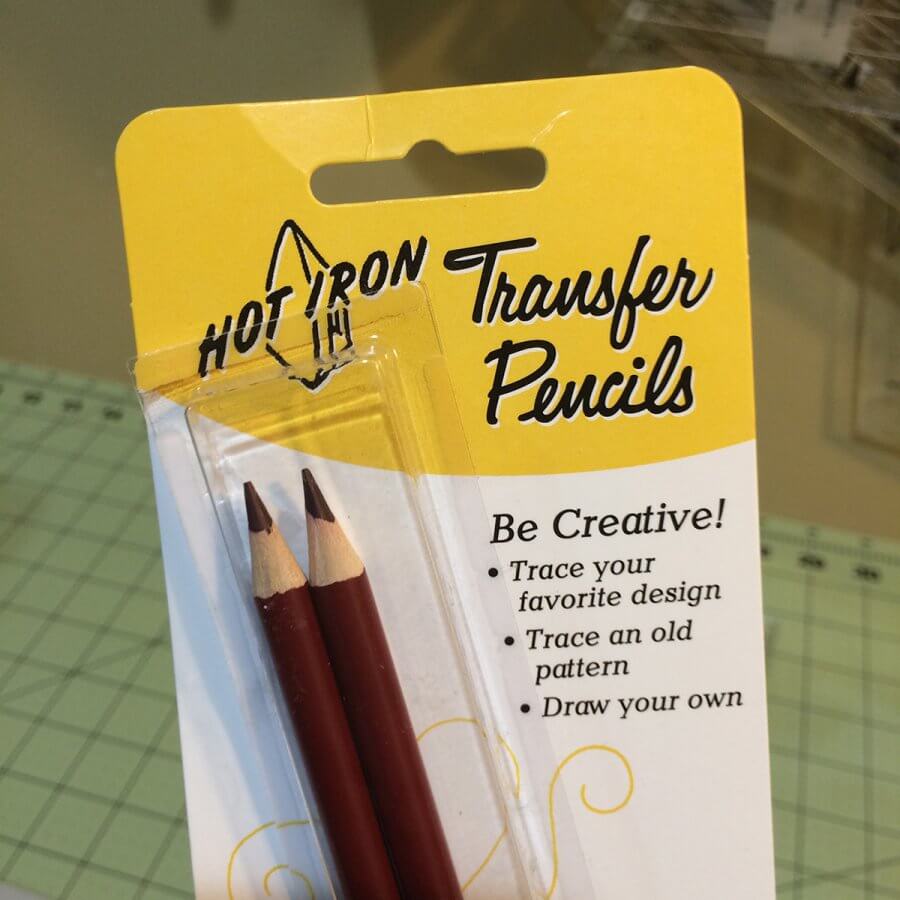
Following the instructions on the pencil package, I transferred the monogram in reverse on some tracing paper.

Then I used an iron to transfer the rubbing to my center block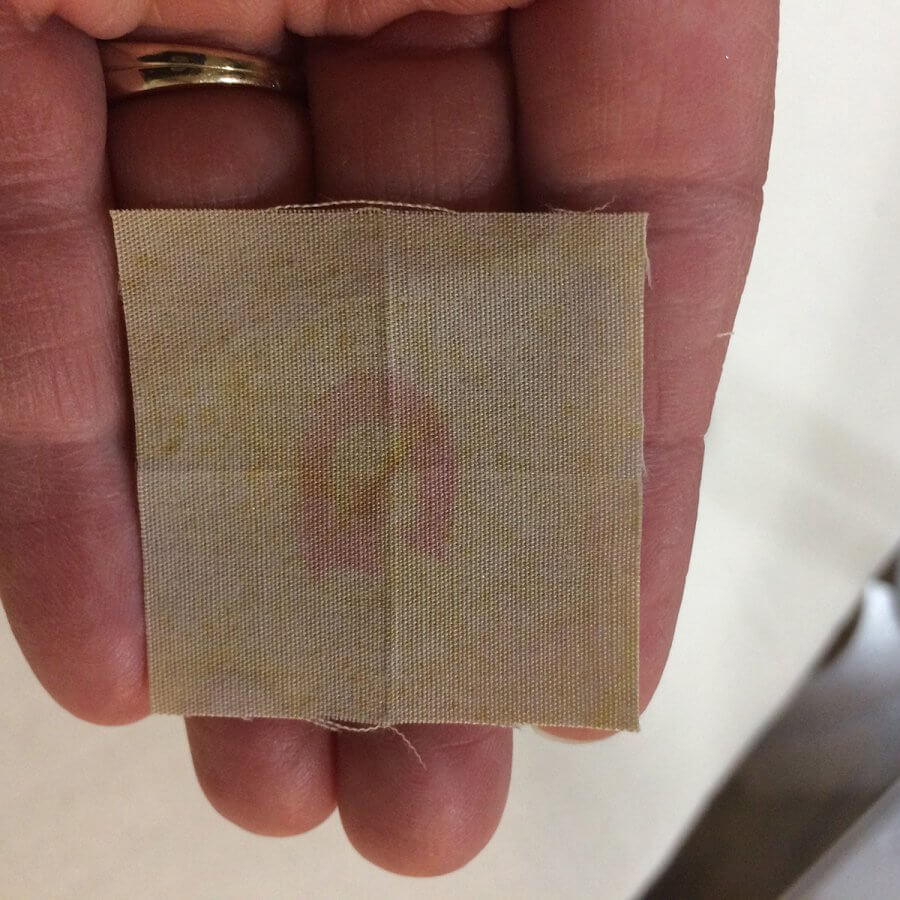
Then I attached sides to the monogram and built the little house. Then surrounded it with my leftover quick corners.
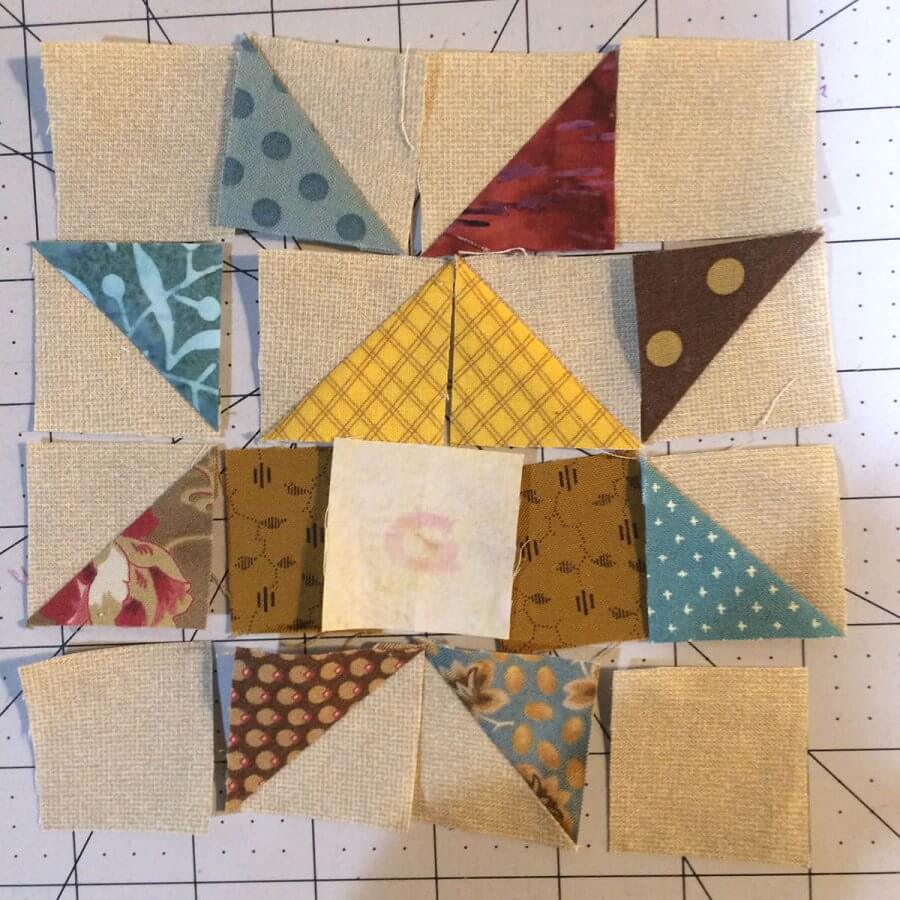
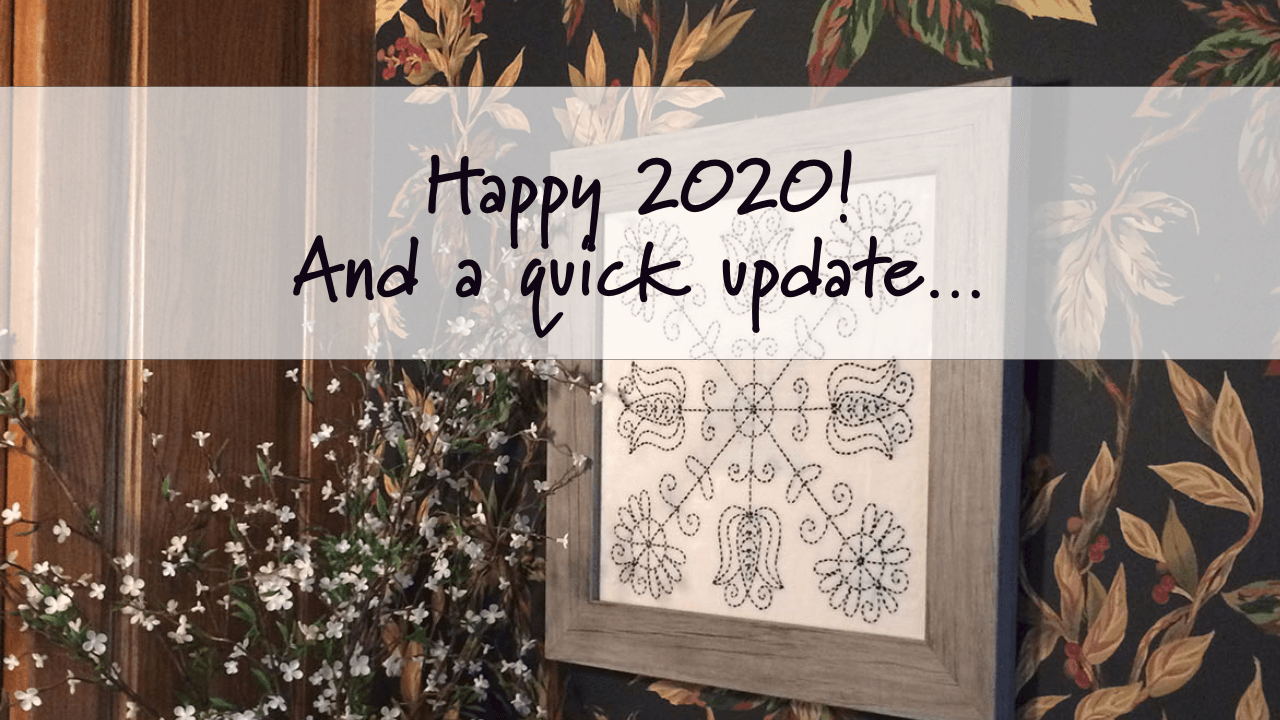
Finally, I sashed the block and transferred the remaining embroidery. I fired up a good Netflix movie and stitched the night away.
Unfortunately, I wasn’t happy with the stitching. (I think I need to buy that embroidery machine that my friends keep saying I need…) Let’s just say I’m out of practice. But it could be the 50-something year old eyes!
I decided to not embroider below and above the block as I had originally planned. Here is the finished result:
A few things I learned.
- That transfer rubbing sort of moves around the fabric as you embroider, so I had to wash it out.
- It’s probably best to embroider the block first, then center it and cut to size before building the block.
Well, I hope you enjoyed reading about my little monogrammed house quilt block project. It didn’t make a dent in my leftover quilt corner collection, but I have another project in the works that will use a BUNCH more! Hope to see you back here soon! Until next time,