
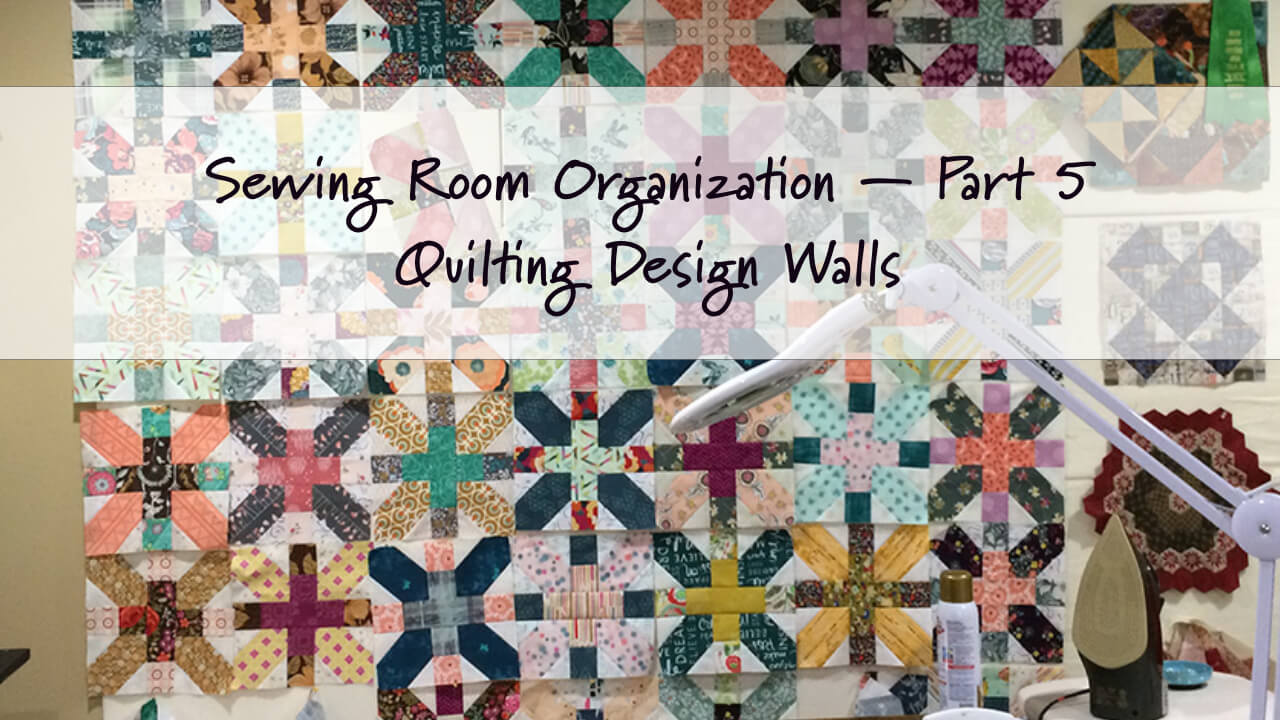
Sewing Room Organization Part 5: Quilting Design Walls
Estimated reading time: 5 minutes
Welcome back to the final post in a series on Sewing Room Organization.This week I’m going to show you how I built the design wall that I use when quilting, and I will also show a few organizational tips for how I make it work for me.
If you’re just now finding this series and want to catchup, here are links to the previous four articles:
Part 2: Organizing your Pressing and Cutting Work Zones
Part 4: Storing Fabrics and Notions
Sewing Work Zone 5: Design Wall
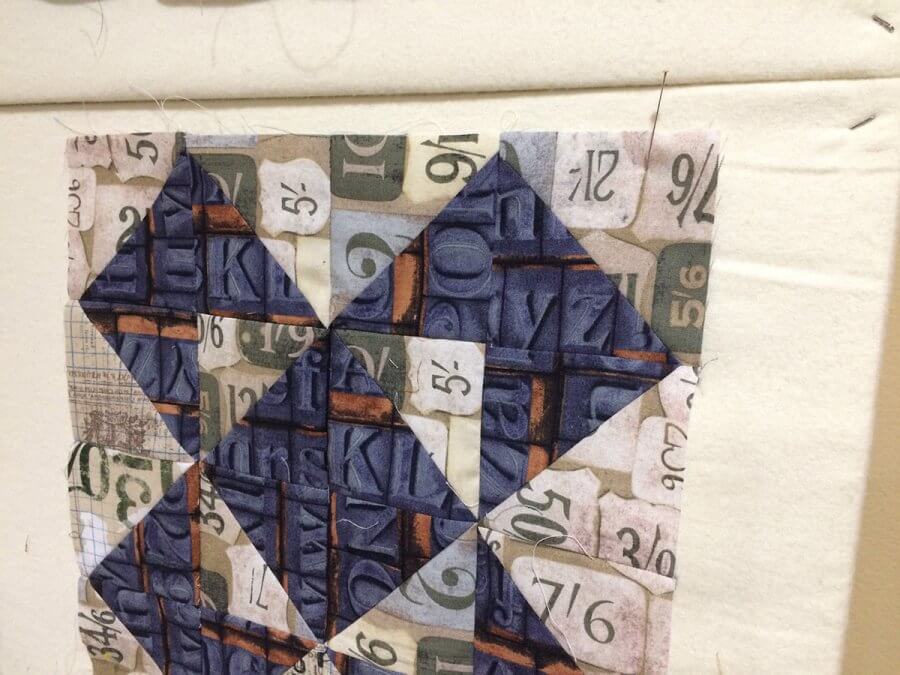
I find that a design wall is an absolute necessity for me. It’s very helpful to see where I have colors pooling or anything else that might look off.
My first design wall was a ready made one that I purchased. It was similar to one of those plastic flannel-backed tablecloths, and I will tell you that it was a complete waste of money. I was never happy with it, as blocks just didn’t really stick well.
My current design wall
Disclaimer: this is not my original idea, and I have no idea who first came up with this. One of my quilting friends showed this idea to me and I copied it right away and ditched the store bought design wall.
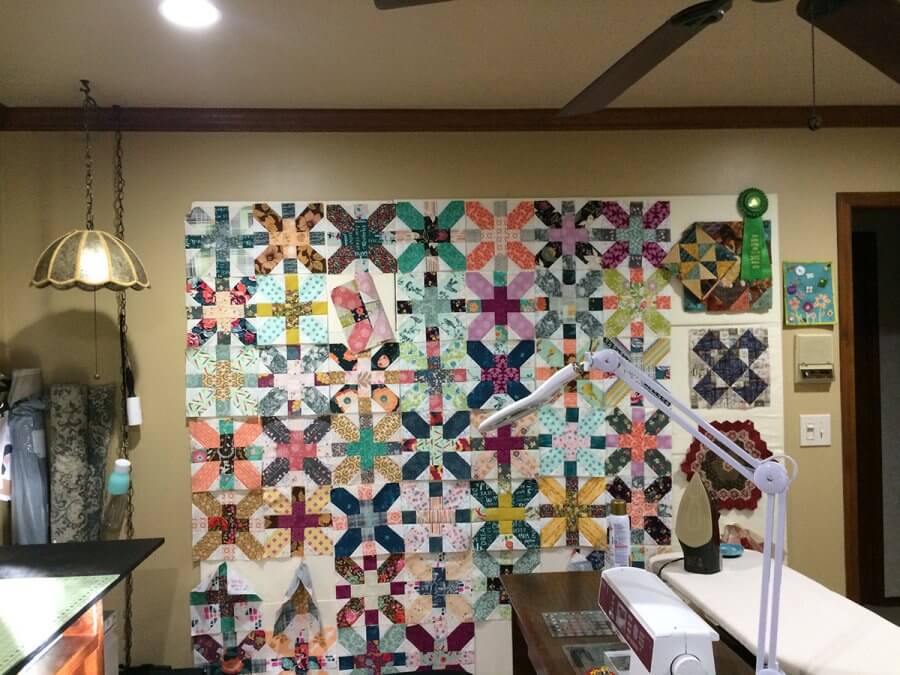
How I made a simple foam core design wall
I purchased nine 20″ x 30″ foam core boards from Hobby Lobby, and I bought enough cream-colored flannel to cover each one. You might be able to use larger sized boards, but this size worked nicely because using 42″ wide flannel I was able to cover two boards per yard. I cut the flannel and secured it to the back side of the boards with duct tape. Starting at my baseboard, I arranged them in a 3×3 grid, with each board resting snugly against the boards next to it.
Originally, I tried hanging each board with 3M Command Strips, but they just didn’t work well. Ultimately, I put large drapery pins in each corner and pinned them to my walls. While that may have put quite a few holes in my wall, the holes are much smaller than any other type of hanging device would have been.
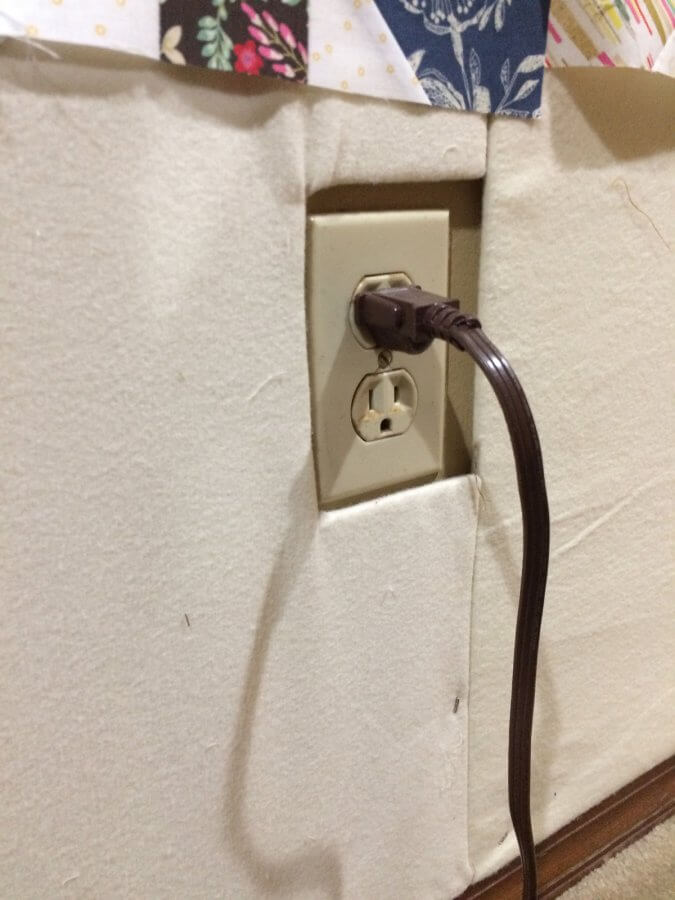
One other little thing to point out is that I have an electrical outlet on this wall. I carefully measured where the cutout would need to be in that foam core board and cut it out so the board would fit just right over the outlet.
How well does this design wall work?
This design wall set up actually works quite well for me. The only drawback is that in the summer when I run the ceiling fan, the blocks can get blown off. I keep some small pins nearby and usually put a pin in each one to prevent a cyclone of quilt blocks.
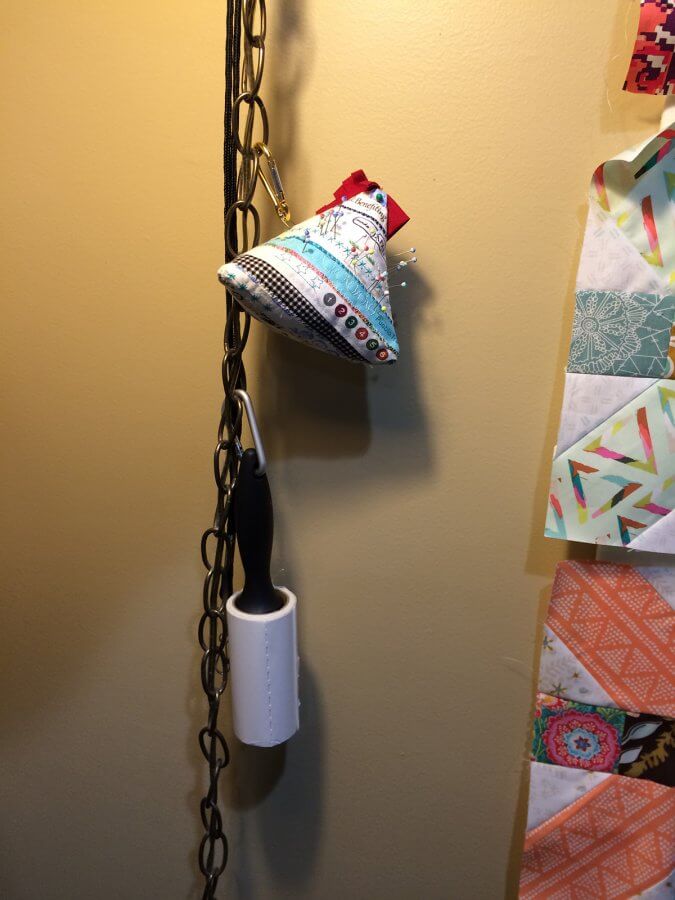
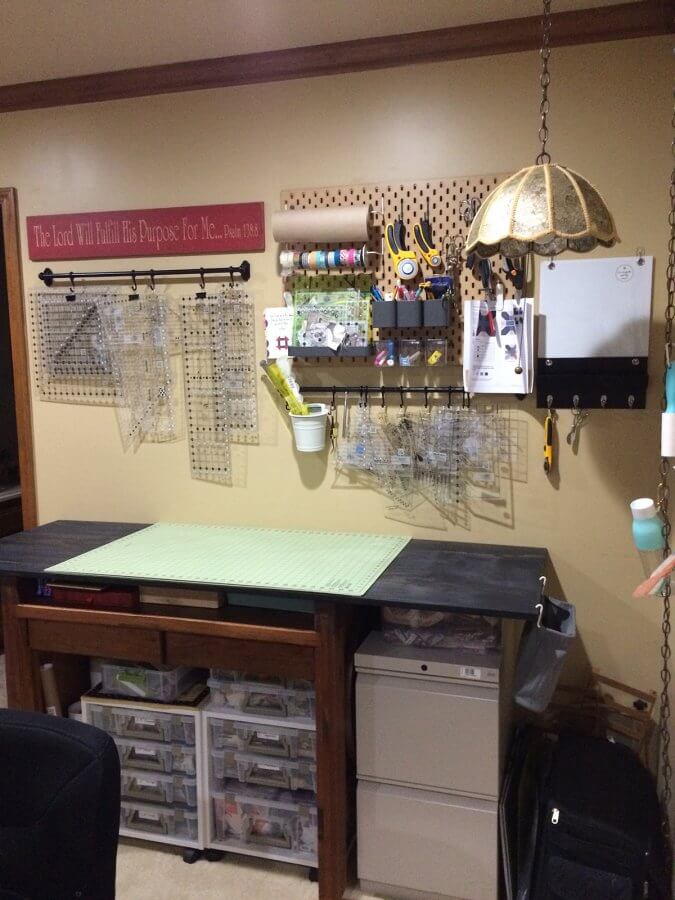
In the corner between my design wall and cutting station, I have an old hanging lamp that has been in the family for generations. My husband’s grandfather made it. I love having the extra light above the work area, but I realized that the chain that runs down the wall was unused storage space. I rounded up a few unused carabiner hooks from the junk drawer and hung up a lint roller along with a few other items I frequently need in this area. (The lint roller is one of my best friends, and is great for cleaning up the stray threads that collect on the design wall and other places.)
You may remember from Part 2 that right in the corner there hangs a little dry erase marker board. It’s ideally placed for me to jot down measurements when designing, and the little tray that hangs below it holds some dry erase markers and (usually) my design notebook where I keep more detailed notes and ideas.
So, that wraps up this “little” tour of my sewing space that turned into a five-part mini-series! I will be back next week with a new post. It should be fun because we are going to get to peek inside my friend’s fabulous sewing room. Until then,


Thanks for sharing this series on organization. You have some great ideas!
Carla, Thanks so much for the feedback! In some future posts, I think that we will find some even better ideas as we peek into some other sewing rooms! Best regards, Maria