Essential Quilting Tools for Beginners
Estimated reading time: 17 minutes
For starters, how is your 1/4″ seam looking? Is it straight? I hope so! Today’s post is all about essential quilting tools for beginners. Technically, you can start quilting with just a few basic supplies, but if you want to get excellent results, there are plenty of tools that can help with that.
Let me just say, that if you thought having a baby brought lots of paraphernalia into your world, just wait until you see all the stuff Quilting can bring into your life! I’ve owned almost all of it. I’ve sold almost all of it while working at a quilt shop. AND, I’m a sucker for any new tool that promises to make quilting quicker, easier, more accurate, etc. (Any of the usual marketing tactics work on me where quilting is concerned.) I’m pretty well versed in the in’s-and-out’s of what is out there in the way of quilting tools and equipment. So, I’m going to link you up with the stuff I recommend.
The links below are affiliate links, which means that if you click the link and choose to make a purchase, I will earn a commission. This commission comes at no additional cost to you. Please know that I only link to items which I personally use and feel that I can confidently endorse.
Let’s dig in!
The Essential Quilting Tools::
- A sewing machine in good working order that you know how to use and care for. I could do a whole post just on sewing machines, and may very well do that sometime down the road, but for now that phrase says it all. It needs to work, you need to know how to use it, and you need to know how to maintain it. Become her best friend. Give her a name. (I call mine Rachel…the name of the daughter I never had.) Take her into a good sewing machine store once a year for her annual. Ask them to show you the best way to clean the fuzz out and keep her insides lubricated. (I know that one made you laugh!) Memorize the manual. Now, if you don’t own a sewing machine, find yourself a reputable dealer and invest in the best one you can afford. I DO NOT recommend that you buy a machine from big box store because you are going to need the service and education that a dealer can offer you. If you can’t afford one right now, borrow one while you save for one.
-
Good Sharp Scissors.
I recently purchased a pair of Kai scissors to replace my 25 year old Mundials and am loving them. There are several good brands, all of which will do the job. But buy the best you can afford. Kai scissors are an excellent brand, and so are the Gingher scissors shown below.
- Pins. Of course you should use what you have for now, but when you have a dime to spare, splurge on some long thin flower headed quilters pins. They go through fabric like butter and will do amazing things for your patchwork accuracy.
- A seam ripper. They do get dull over time and need to be replaced. I really like the Clover one shown below because it doesn’t roll off the table and it’s very sharp. You are going to use them. A lot. So I recommend you get two. And remember … it’s not called “ripping.” It’s called “unsewing.”
- Marking Tools. I like the Chaco liner chalk markers and I like the Sewline marking pencils. I also like the Frixion erasable pens, but I find that the ink dries out very quickly, and I never feel like I get my money’s worth out of them.
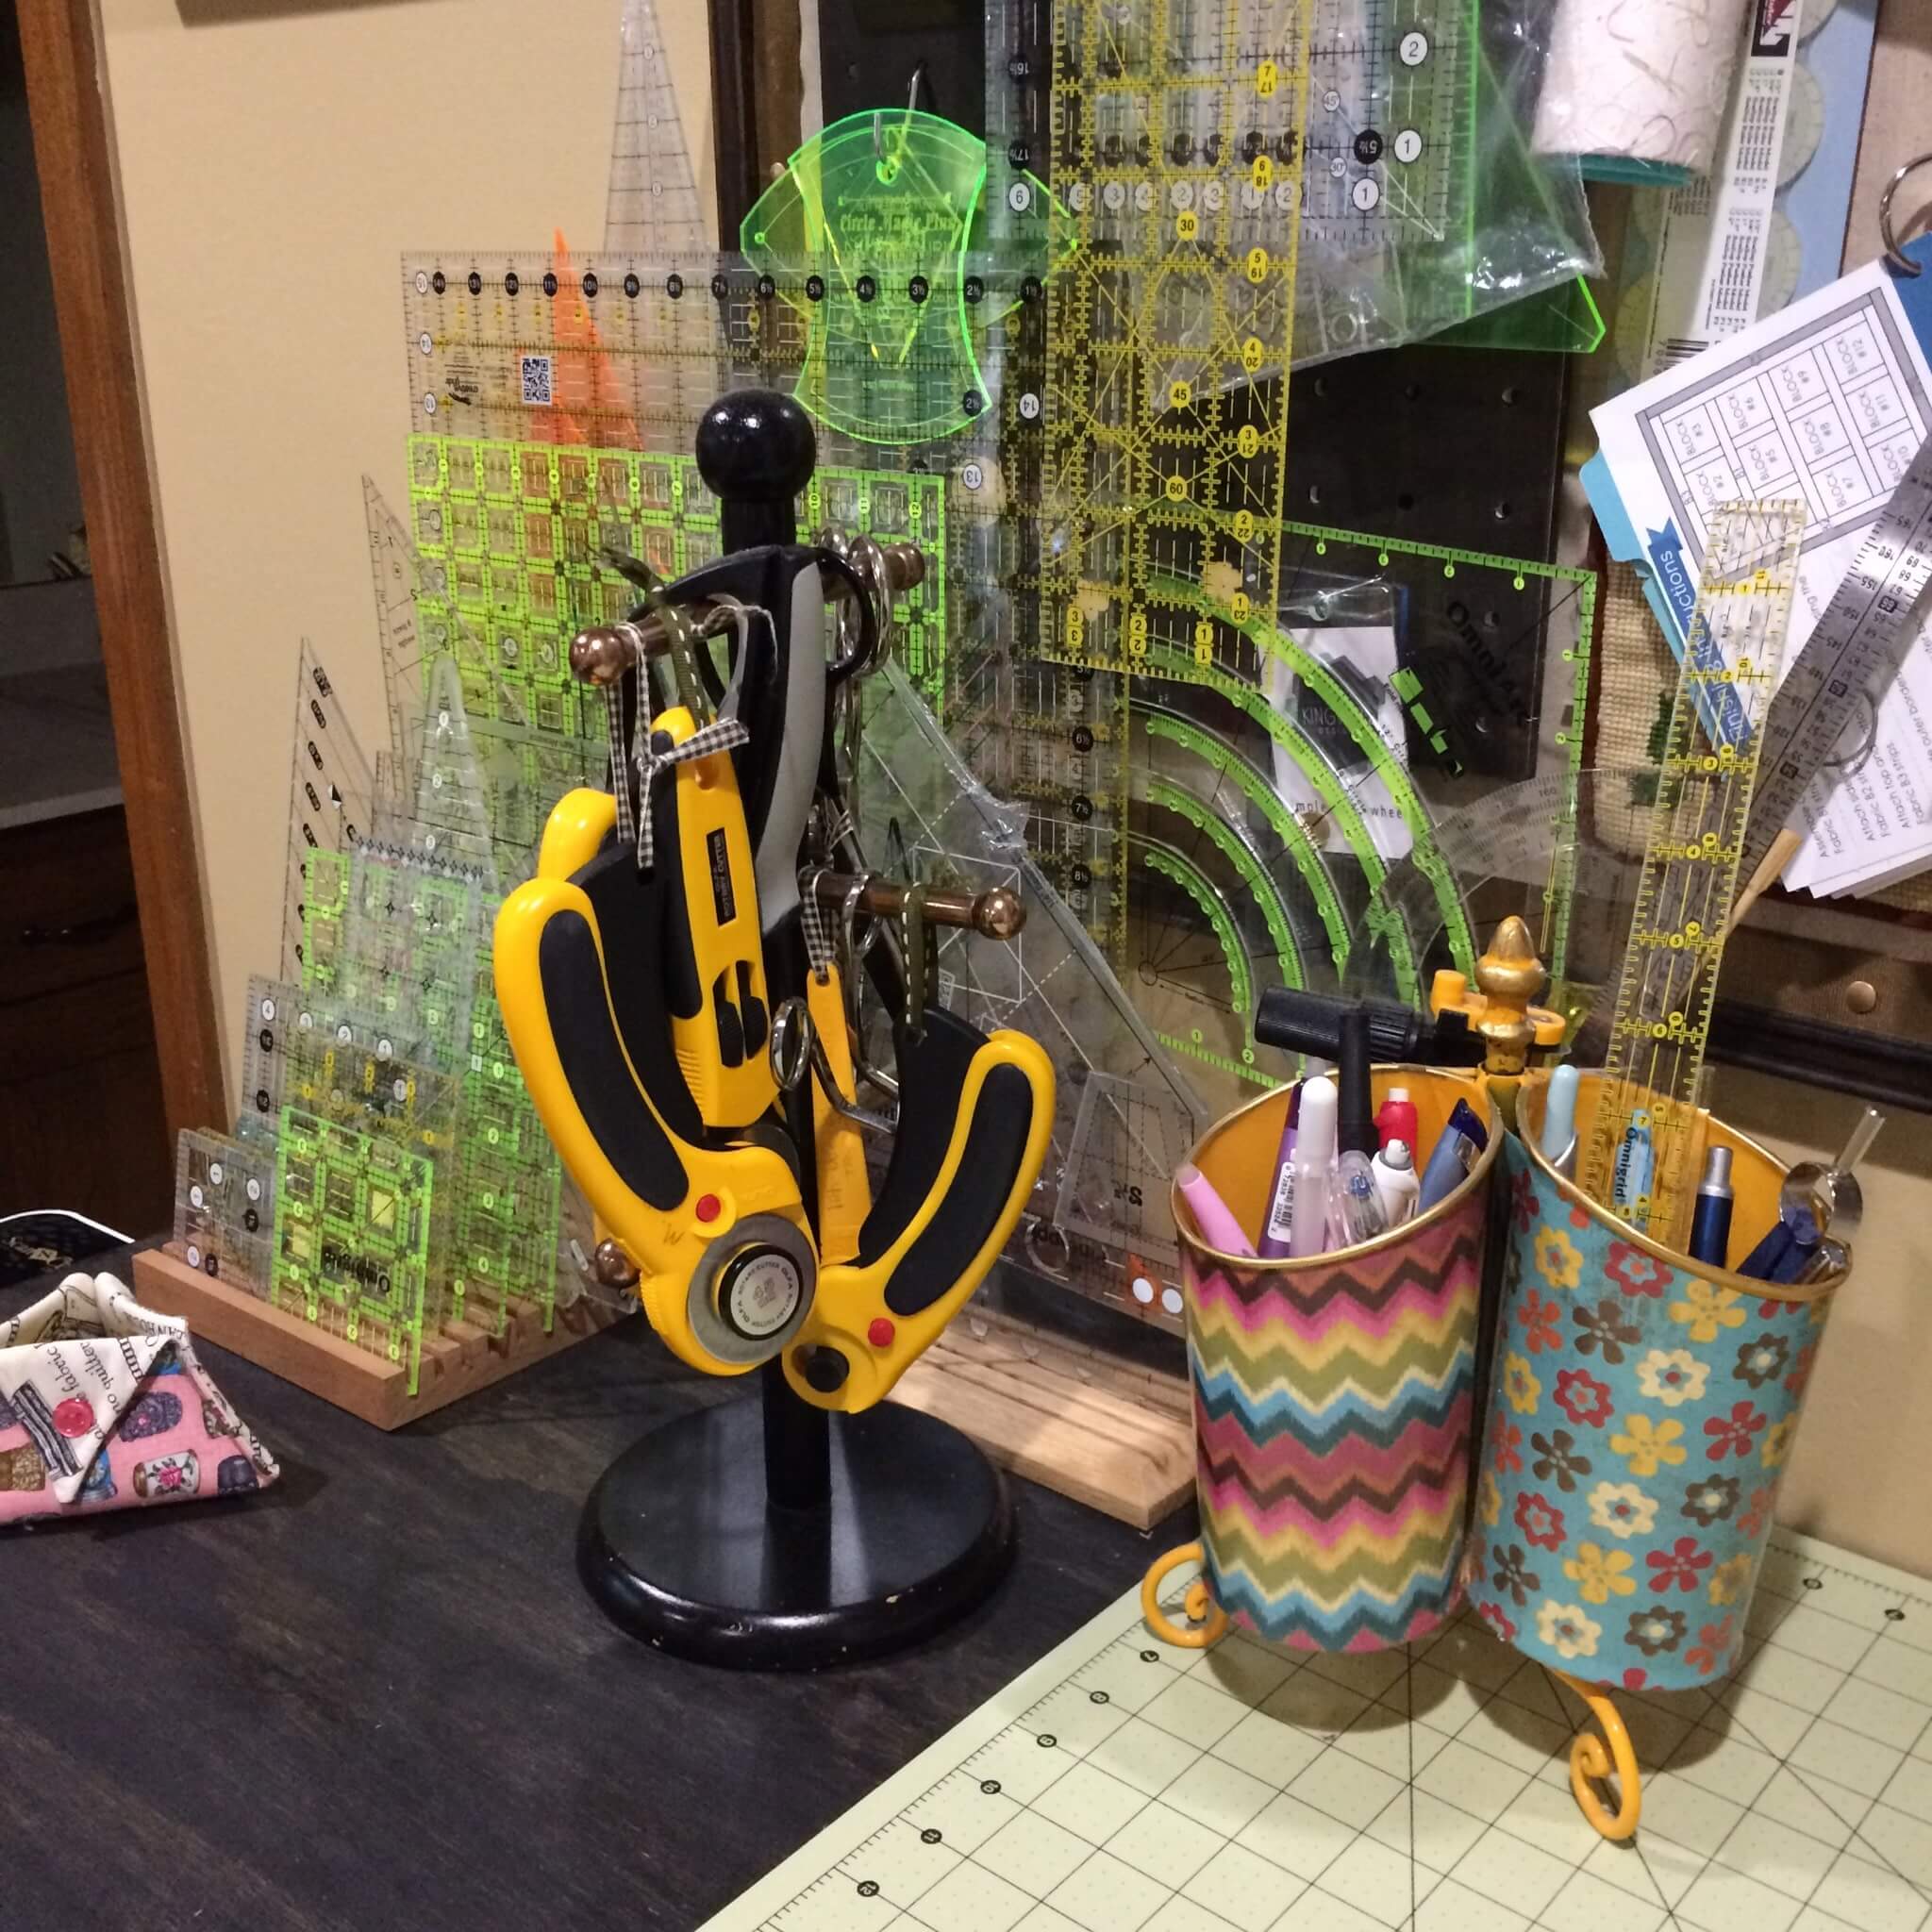
- Rotary cutting equipment. The rotary cutter (invented in 1979 by the Olfa company) revolutionized quilting back in the 80’s. It looks like a pizza cutter on steroids. And it’s about 10x sharper, so respect the blade! You need one of these, and a mat to go with it. Here are my recommendations:
- Rotary cutter – start with a 45mm size. There are several styles out there, but I prefer the kind that you have to squeeze to activate the blade.
Be sure to keep it locked when you are not using it. Especially if you have children in the house. Once your rotary skills get better you may want to upgrade to a 60mm, as it will cut through thicker layers of fabric (think cutting 4 at a time instead of just 1 or 2.) Those small 18mm ones are only good when cutting around really small templates or when cutting inside the grooves of a curved ruler. You don’t need that size yet.
- Rotary cutter – start with a 45mm size. There are several styles out there, but I prefer the kind that you have to squeeze to activate the blade.
-
- Spare rotary blades – I like to buy these in bulk on Amazon. I get a good price that way, and always have a fresh one around, It is no joy to use a dull blade and a dull blade will damage your mat. (And a bad mat will dull your blade. It’s a vicious cycle.)
- Rotary mat – these can be especially pricey, but buy the biggest one you can afford and that makes sense for your space. I use a 24″ x 36″ mat, and I keep a second one underneath for times when I need to spread out on the kitchen table to make very large cuts from yardage. Most of the time, an 18″ x 24″ will suffice, so if space is limited that may be a good size for you. I’m partial to the Fiskars brand because it does not have as funky of an odor as some of them. (Mat odor is a huge nuisance to many a quilter!) Below is a link to the one I use.
- Spare rotary blades – I like to buy these in bulk on Amazon. I get a good price that way, and always have a fresh one around, It is no joy to use a dull blade and a dull blade will damage your mat. (And a bad mat will dull your blade. It’s a vicious cycle.)
-
- Rotating Rotary Mat (say that 5 times fast!) To me, this is a must have at my sewing station. It allows me to make quick cuts without having to get up to the cutting table, and it greatly improves accuracy because you don’t shift the pieces when turning them around to cut.
-
- Acrylic rulers – Miss Emma, who taught me how to quilt, told me early on to only buy the rulers I needed for the job I was working on at the time. She was right. There are a million of them out there, and they are not cheap, but you will slowly accumulate a collection of them over time. Another tip is that you want to pick a brand and stick with it because often there are tiny differences in the measurements from brand to brand. Using one ruler to cut your strips and then another brand to square up, is going to cause accuracy problems. We don’t want that. After using almost every brand out there, I finally settled on Creative Grids. I like that they are clear, making them easy to see through, they do not slip as much as other brands, and the markings are clearly defined. Creative Grids makes about 40 different rulers, so which ones do you need to start off? Fortunately, just two are essential for beginners:
Later you’re going to need the following, so be saving your pennies:
-
-
- Half Square Triangle ruler
- Quarter Square Triangle ruler
- Flying Geese Ruler.
- Assorted Square up rulers – as the name indicates, these are used to make sure a quilt block is perfectly square. They are usually in “1/2″ size increments. Good sizes to have around range from 3.5″ – 12.5”, but as stated earlier, don’t invest in them until you are actually making a block in the particular size you need.
- Half Square Triangle ruler
-
There are lots of other specialty rulers out there, and they are fun to play with. But here is a tip: Join a quilt guild. Some of them have quilting ruler libraries so that you can try before you buy!
- A good iron, a pressing surface, and some spray starch.
- You want an iron that gets really hot. (It’s hard to find one that lasts and takes all the abuse a quilter gives it. I started off using the iron I was given when Paul and I got married. It had been a perfect little device for 25 years. Six months into quilting, it exploded. When I look for an iron, I always look for one with an auto-off feature.
If I had money to form a start up company, I would invent the perfect iron for quilters. Believe me, the pricey Oliso out there has plenty of the same issues. If you’re lucky enough to have a vintage iron from the era when they made stuff right, then hold on to it!)
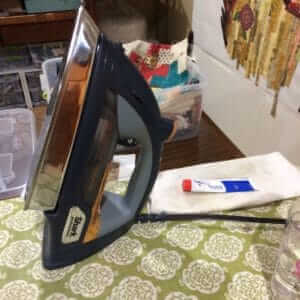
I wish I felt confident enough about a brand of iron to recommend it, but I just don’t at this point. I am currently using a Shark Professional Iron. It’s good and heavy, but it leaks and doesn’t get as hot as I would like.

My Shark Iron – 3rd Iron I’ve had in 5 years
-
- The ideal pressing surface is cushioned but a bit hard. Your ironing board will work fine, but at some point it’s nice to have a little table top surface that’s about 16″ square. What’s really nice is to have this on a side table next to your sewing machine so you don’t have to get up and down like a pop tart to press your pieces! You can buy these ready made or make your own with a little ingenuity. These little Steady Betty surfaces are a nice thing to have around.
- Spray starch – I don’t use steam, but I do use starch, and I will cover this in detail when we get to prepping and cutting fabrics. Pricey starches are all the rage in the quilting community, but I get excellent results with the premium (gold capped) can of Faultless spray starch. I buy it in bulk at Sam’s. Also, find you some of the Faultless Iron cleaner. It comes in a tube like toothpaste and is a miracle worker at getting gunky accumulations off of your iron.
- The ideal pressing surface is cushioned but a bit hard. Your ironing board will work fine, but at some point it’s nice to have a little table top surface that’s about 16″ square. What’s really nice is to have this on a side table next to your sewing machine so you don’t have to get up and down like a pop tart to press your pieces! You can buy these ready made or make your own with a little ingenuity. These little Steady Betty surfaces are a nice thing to have around.
- And now for the good stuff – you’re gonna need fabric. You will never have enough but you don’t need much for us to start. Now I have a really strong opinion on this: buy the best you can afford. You are going to spend countless hours making a quilt and you don’t want it to fall apart after a few washings due to inferior materials. A later post will gush on about my favorite fabrics and why, but for now you need to accumulate just a little bit of fabric so we can PRACTICE. (By the way, have you practiced your 1/4″ seam today?) What kind of fabric do you need? 100% woven cotton. It’s often called “quilting cotton.” Do not get “knit” cotton. While it’s possible to make a quilt with knit cotton, it takes special prep work, and we’re not there yet.
- And you need thread. It’s important that you use 100% cotton thread. Why? Why won’t just any thread do? It has to do with making sure the fibers in your quilt are going to stand the test of time. Thread that is made with polyester is much stronger than cotton fibers. And that might sound like a good thing. Except for the fact that it’s not. Here’s why: Your quilt is made out of cotton. If the thread holding your seams has a poly content, those poly fibers are going to act like a knife over time, eventually wearing down the cotton fibers and causing the seam to fray. And it will be irreparable. And that would be really sad. So you need to buy yourself some 100% cotton thread. What color? Believe it or not, you don’t really need to match your fabric. About half of all the patchwork I make is stitched wth Aurifil 2000 ( a kind of sandy color). The rest of my patchwork is stitched using gray, white or black thread. Those four colors are all you will ever need to sew quilt blocks.
Your Workout Assignment:
1.) Make sure you gather the essential quilting tools mentioned in this post. Most of it can be found online or in a local quilt shop. If you have a quilting friend, perhaps they have some extra supplies you can borrow.
2.) Find some quilt shops in your area. Pay the owners a visit. They are usually very friendly, knowledgeable and helpful. Notice what kind of fabrics they sell, what types of designs do they favor (modern, traditional), what kinds of notions and patterns are on the wall. Take note of the prices. Here in the US, quilting cotton is going to cost you between $11 and $14 a yard. Do they have a “sale” section? Can you sign up for a mailing list? Do they teach technique classes?
3.) While you are out and about, purchase 1/2 yard each of 3 different solid fabrics. (Solids aren’t nearly as expensive as prints.) They can be whatever color you want, just as long as they differ in “value” meaning one of them should be light, one of them should be medium, and one of them should be fairly dark. We will use these in our next lesson. I realize I haven’t “taught” you anything about color values, but if you need help with that, I’m sure the people at the quilt store will be able to help.
Until next time, keep practicing your 1/4″ seam!
Happy Quilting!
Maria


