Leftover Quick Corner Project: Tiny Geese Placemats
Estimated reading time: 7 minutes
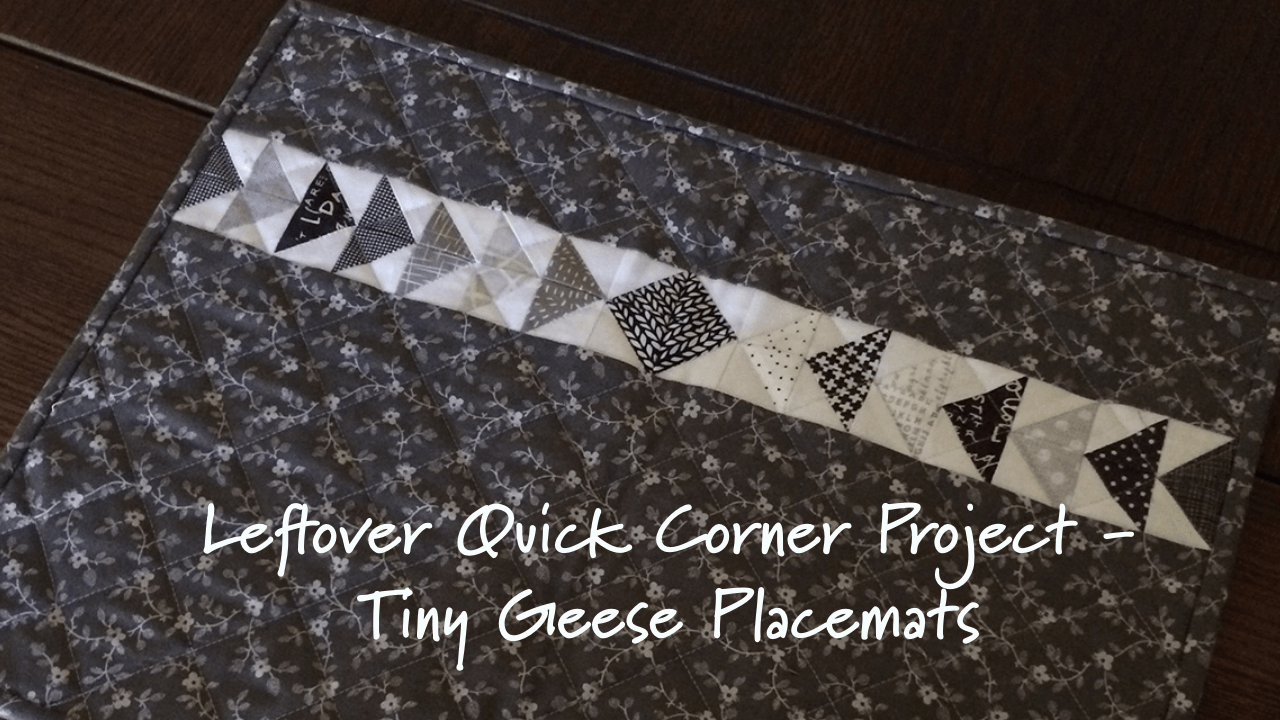
Hello, everyone! Today I’m back with a quick post to show you a project I just finished that uses up a few of my leftover quick corners. This project I’m calling my Tiny Geese Placemats.
If you’ve been following along, you may recall that I tend to save those little quick corners you end up with when making flying geese and snowball blocks. And earlier this year I made a promise to myself to come up with a new project every month this year to use up said quick corners. As usual, I’m a bit behind schedule. This was supposed to be February’s project, but a sinus infection threw me a bit off track. Hopefully, March’s project will be posted pretty soon!
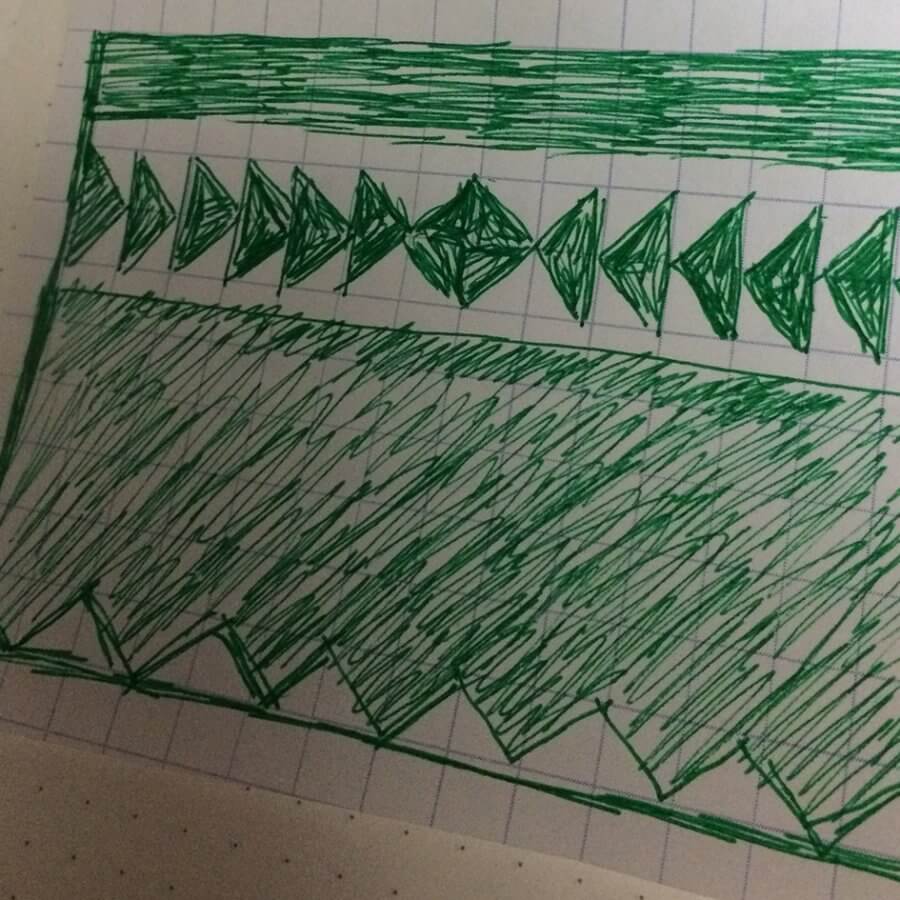
I’ve been sketching ideas in my journal for these projects since the first of the year. Here is the sketch I originally drew for the Tiny Geese Placemats:
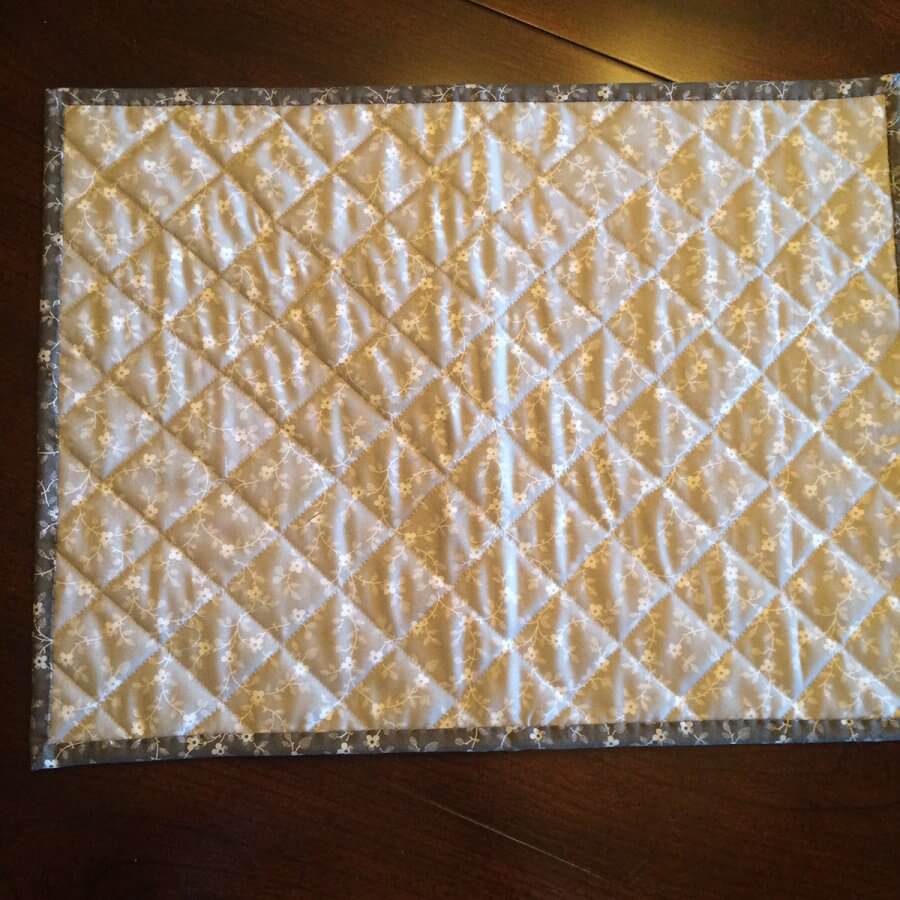
And here is the finished product:
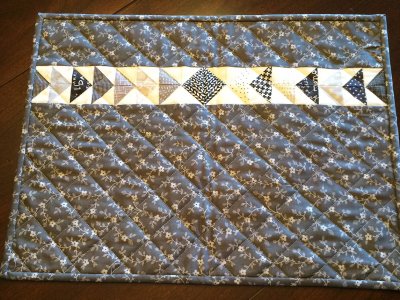
Because I have to be the first to point out all my flaws, let me say that my placemats
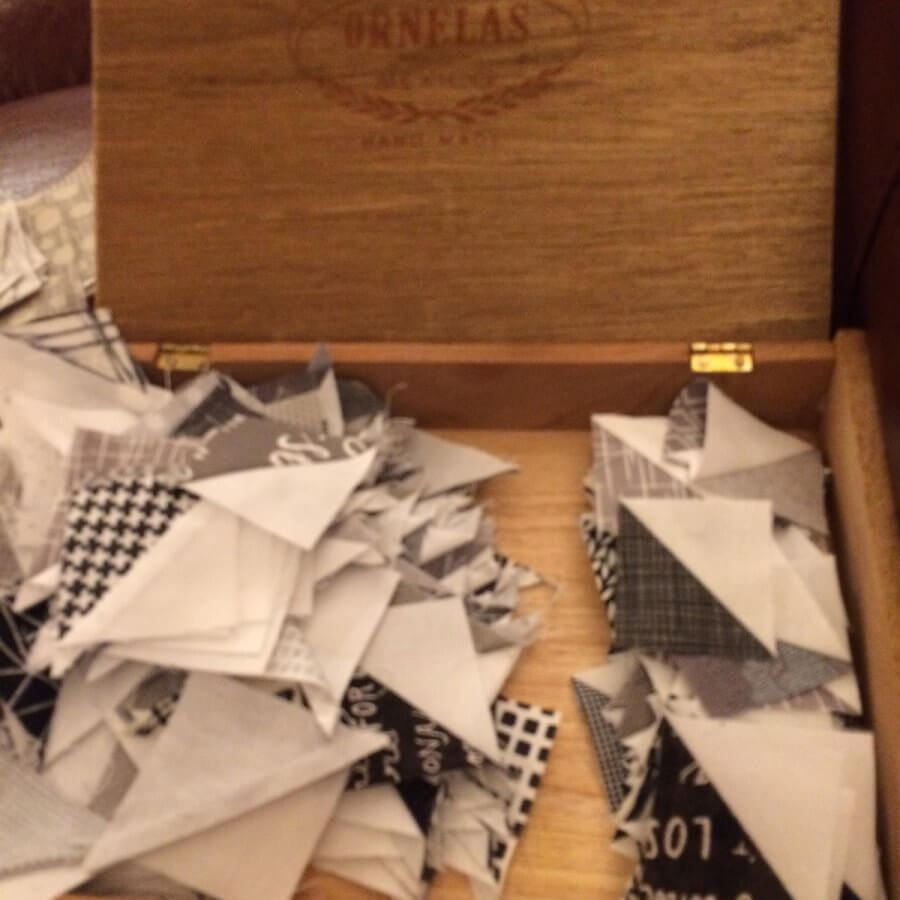
The quick corners I used in these Tiny Geese Placemats were pulled from the leftovers from this Sky quilt I completed earlier this year. Despite the fact that making four placemats uses 128 leftover quick corners, this project hardly made a dent in my pile!
Make your own Tiny Geese Placemats
What I like about a placemat project is that it’s a great way to use up leftover batting and other fabrics from a project. If you’d like to make Tiny Geese Placemats of your own, here are the supplies you will need to make each placemat:
- 32 leftover quick corners, trimmed to 1.5″
- a piece of contrasting fabric cut 3.25″ x 17″
- another piece of contrasting fabric cut 9.25″ x 17″
- backing fabric cut at least 16″ x 19″
- a piece of batting cut at least 15″ x 18″
For this project, I found matching pairs of HST’s so that they would appear to be flying geese, but you don’t have to do that if you don’t want to. In fact, you could turn the HST’s so that they stand alone as triangles if you prefer.
Below are the steps to make the placements: (I apologize for not getting photos of every step along the way. I’ve substituted some illustrations for those steps where I failed to get snapshots.
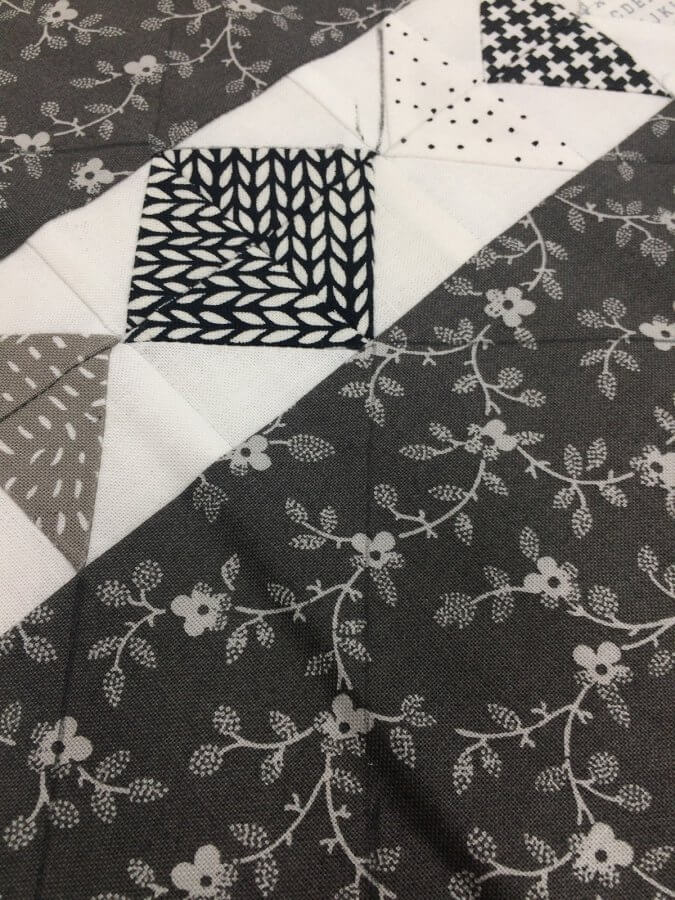
Step 1: Make sure all of your HST’s have been trimmed to 2″ square and remove the little corner flags of fabric formed by the seam. This will ensure the accuracy of the units and make your patchwork much neater. Keep in mind that this is tiny patchwork, and the smaller the patchwork the more important it is to be accurate since there is less fabric to “absorb the fudge.”
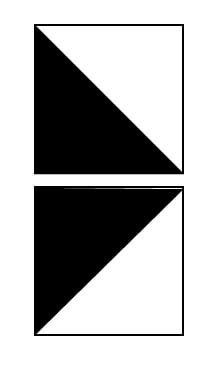
Step 2: Sew pairs of HST’s together to make Flying Geese units. For each placemat, you will need 16 pairs of FG units.

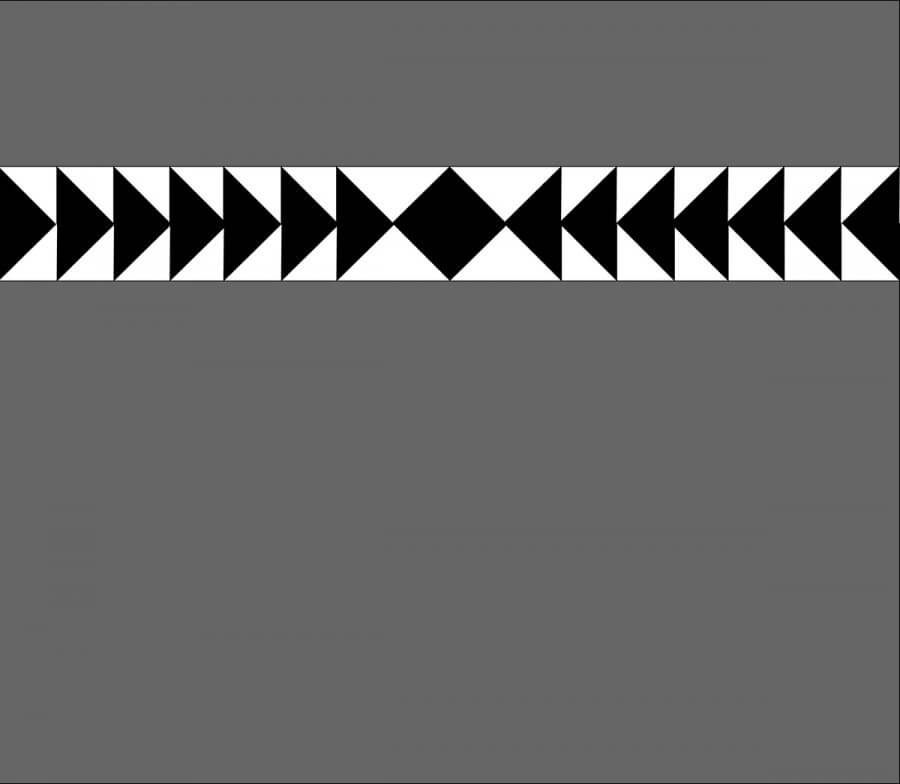
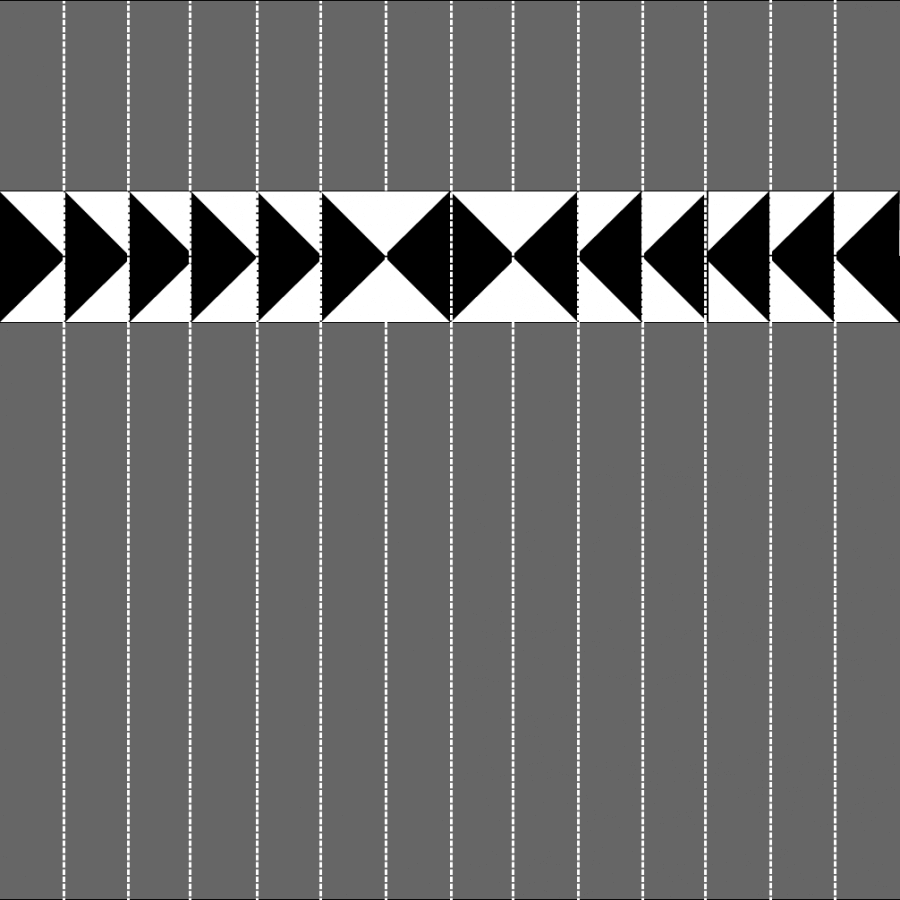
Step 3: Sew seven flying geese units together so that they all face the same direction. Repeat, so that you have two of these.

Step 4: On each end of your rows of flying geese, sew another FG unit so that it faces the opposite direction.

Step 5: Sew the two units together in a row so that your “opposite” geese are facing each other in the middle. This will form a Square in a Square unit in the center of your row.
Step 6: Sew your contrasting fabrics to the top and bottom of your row of geese.
Step 7: Sandwich, Quilt, then Bind.
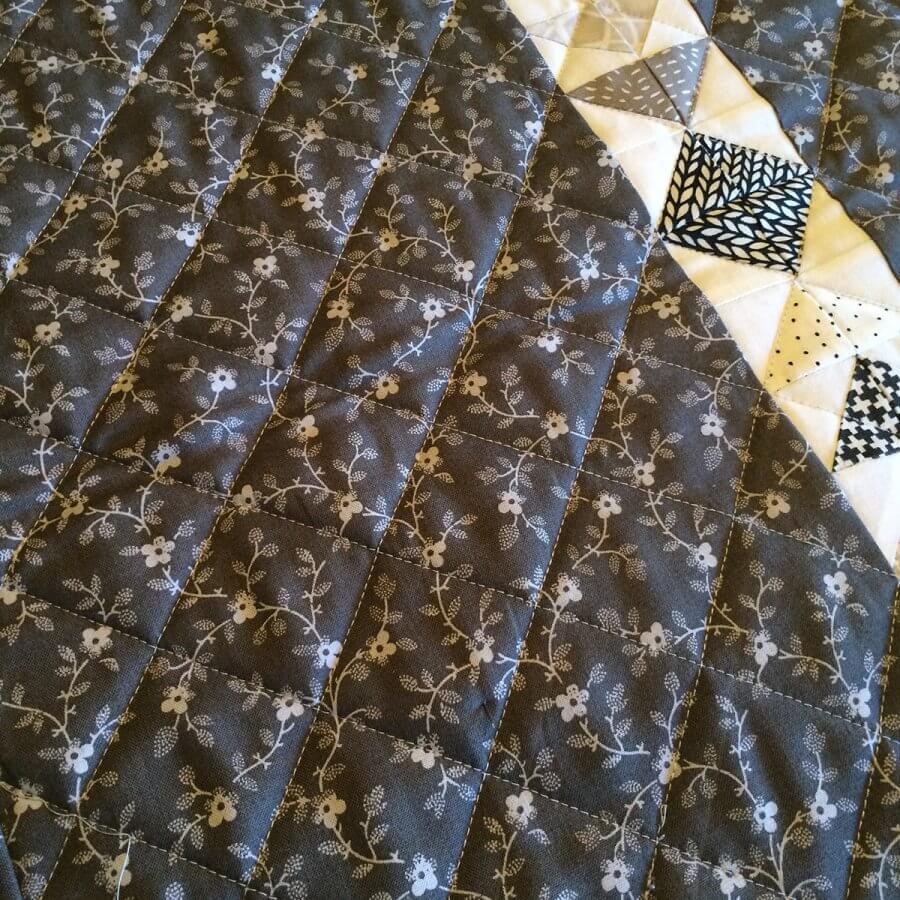
I opted to quilt mine on the diagonal, crosshatch style.
I drew two plumb lines along the sides of the center geese, then used my quilting guide bar to quilt equally spaced lines.
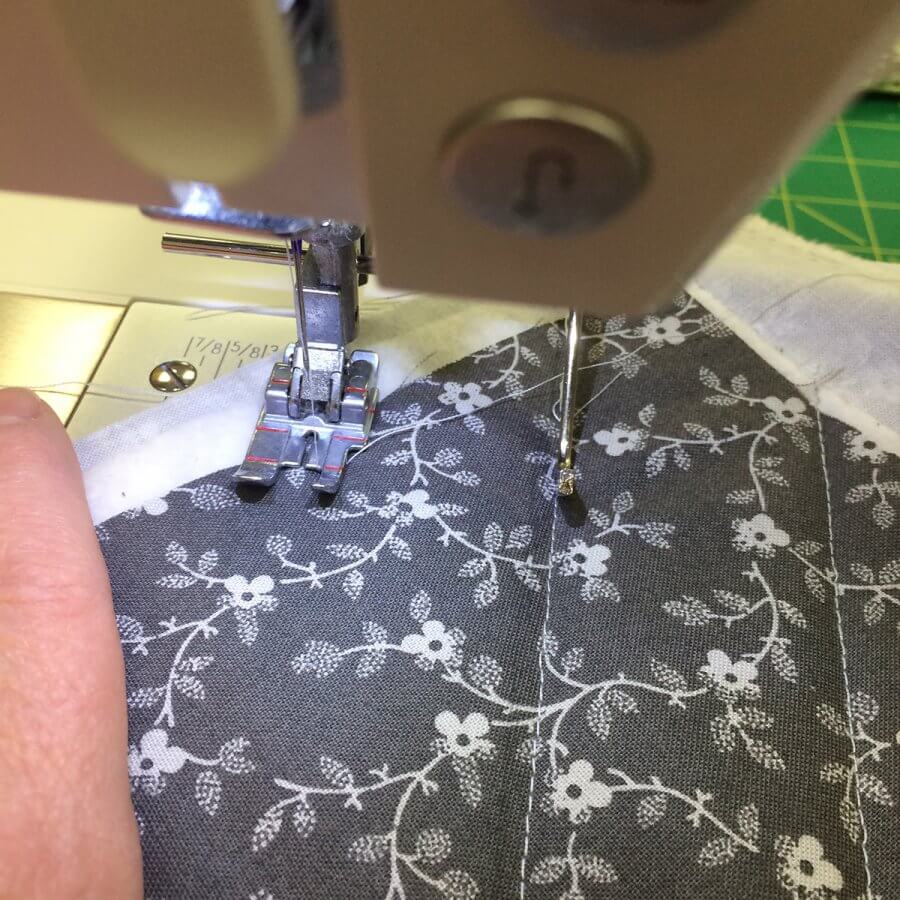
After I had quilted three of the placemats, I realized that straight up channel quilting lines would have been a good choice, too, and would have been a little less labor-intensive.
I hope you enjoyed this tutorial for making my tiny geese placemats. If you make some, please contact me and let me know how they worked out for you!